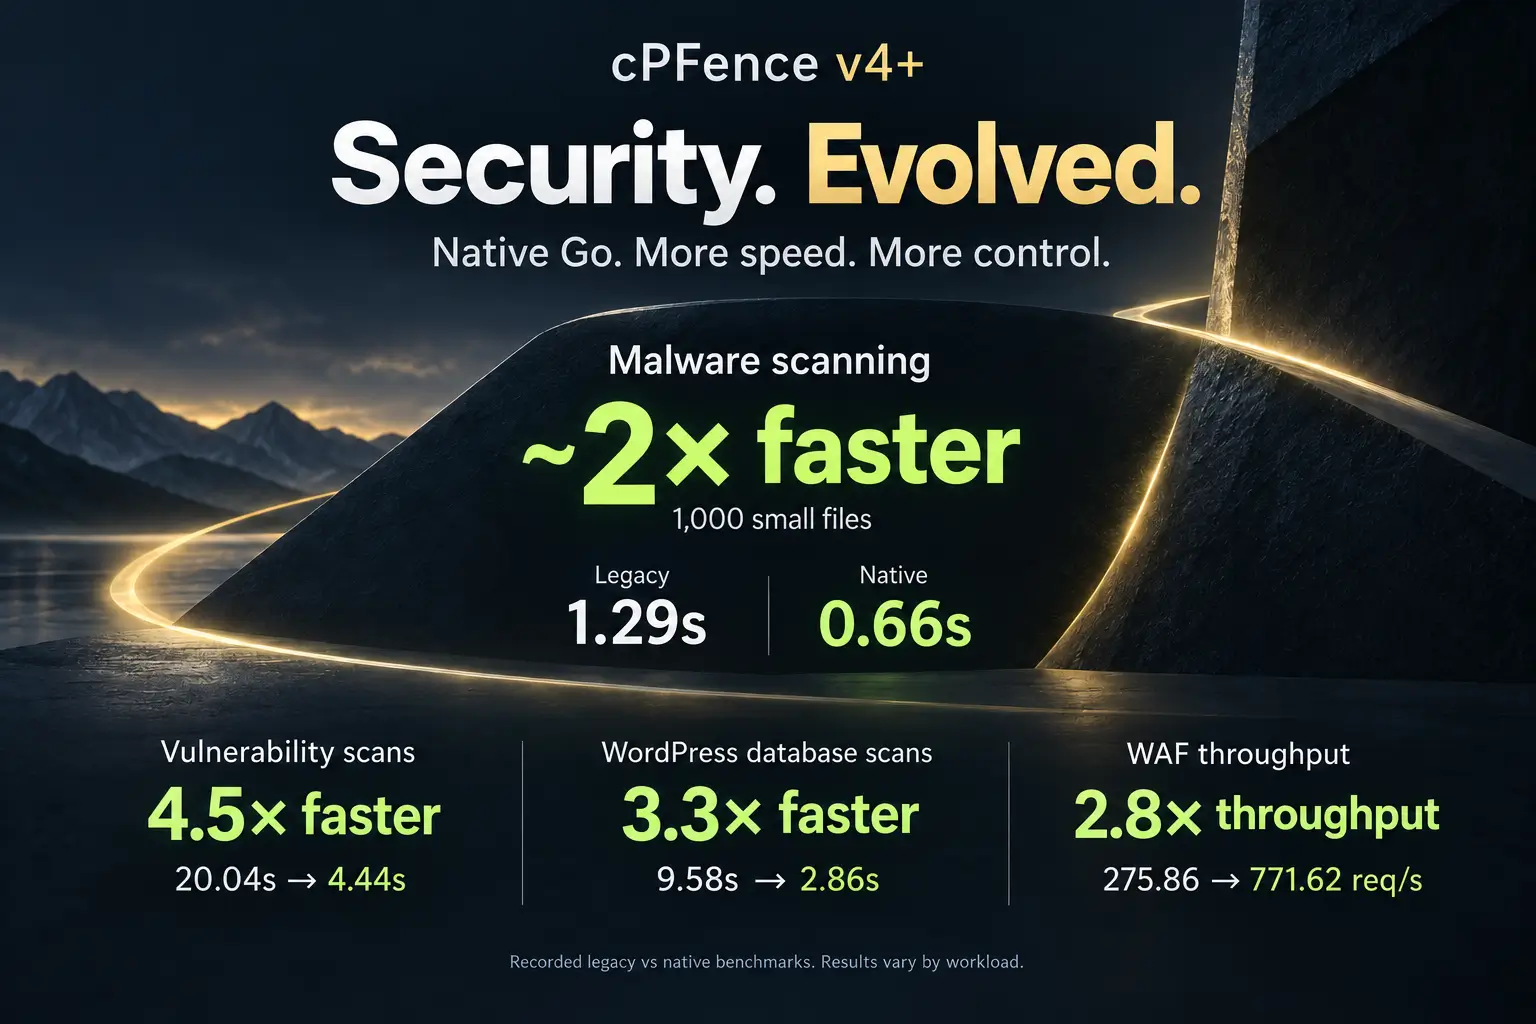
cPFence Admin UI – Security Management, Now with a Mouse!

cpfence --ui as root on the server you want to manage. For browser-based tools and centralized control across your cluster, use the cPFence WebUI on your main control panel server, enabled with cpfence --enable-webui.Gone are the days of memorizing CLI commands, digging through configuration files, and referencing cheat sheets just to manage your server’s security. Say hello to the new cPFence terminal UI—built directly into cPFence and ready from your terminal.
No separate browser panel to open. Run it on the server you want to manage, pick a tab, and move through the tools with your keyboard. The command preview shows what you’re about to run, so there’s no guesswork about the selected action.
Monitor attacks, choose a malware scan, manage WAF rules, or adjust IP protection—all from one command menu. Settings, configuration editors, MonitorPro, WordPress backups and bulk tools belong in the WebUI; they aren’t menus in this new TUI.
Ordinary cPFence v4+ features don’t need passwordless SSH access between servers. Only MultiRun and remote WordPress backups/restore need it. You can disable passwordless SSH when you don’t use those two features.
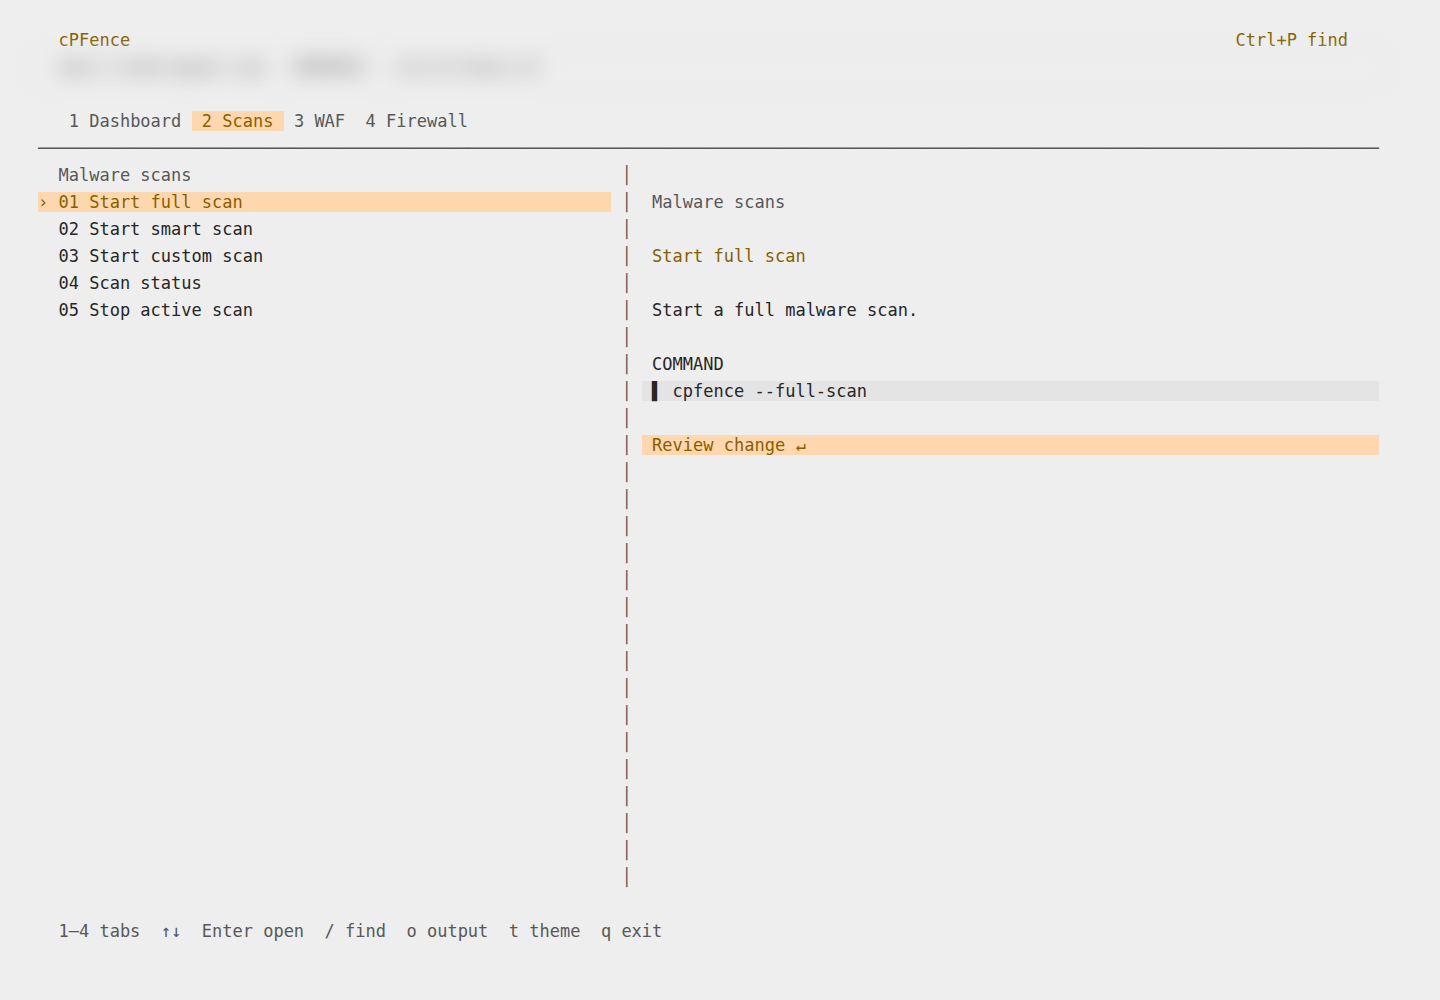
cPFence Admin UI – Feature Highlights
- Real-Time Security Monitoring
Open Dashboard for server and protection status, protection statistics, and WAF attack logs. Reports and live logs open in a dedicated output screen. - Virus Scans (Without the Headache)
Choose Scans for Full, Smart or Custom scans, scan status, and stopping an active scan. Custom Scan asks for the absolute path. Review the selected command before confirming a change; opening its menu doesn’t start a scan. - WAF Rule Management Made Simple
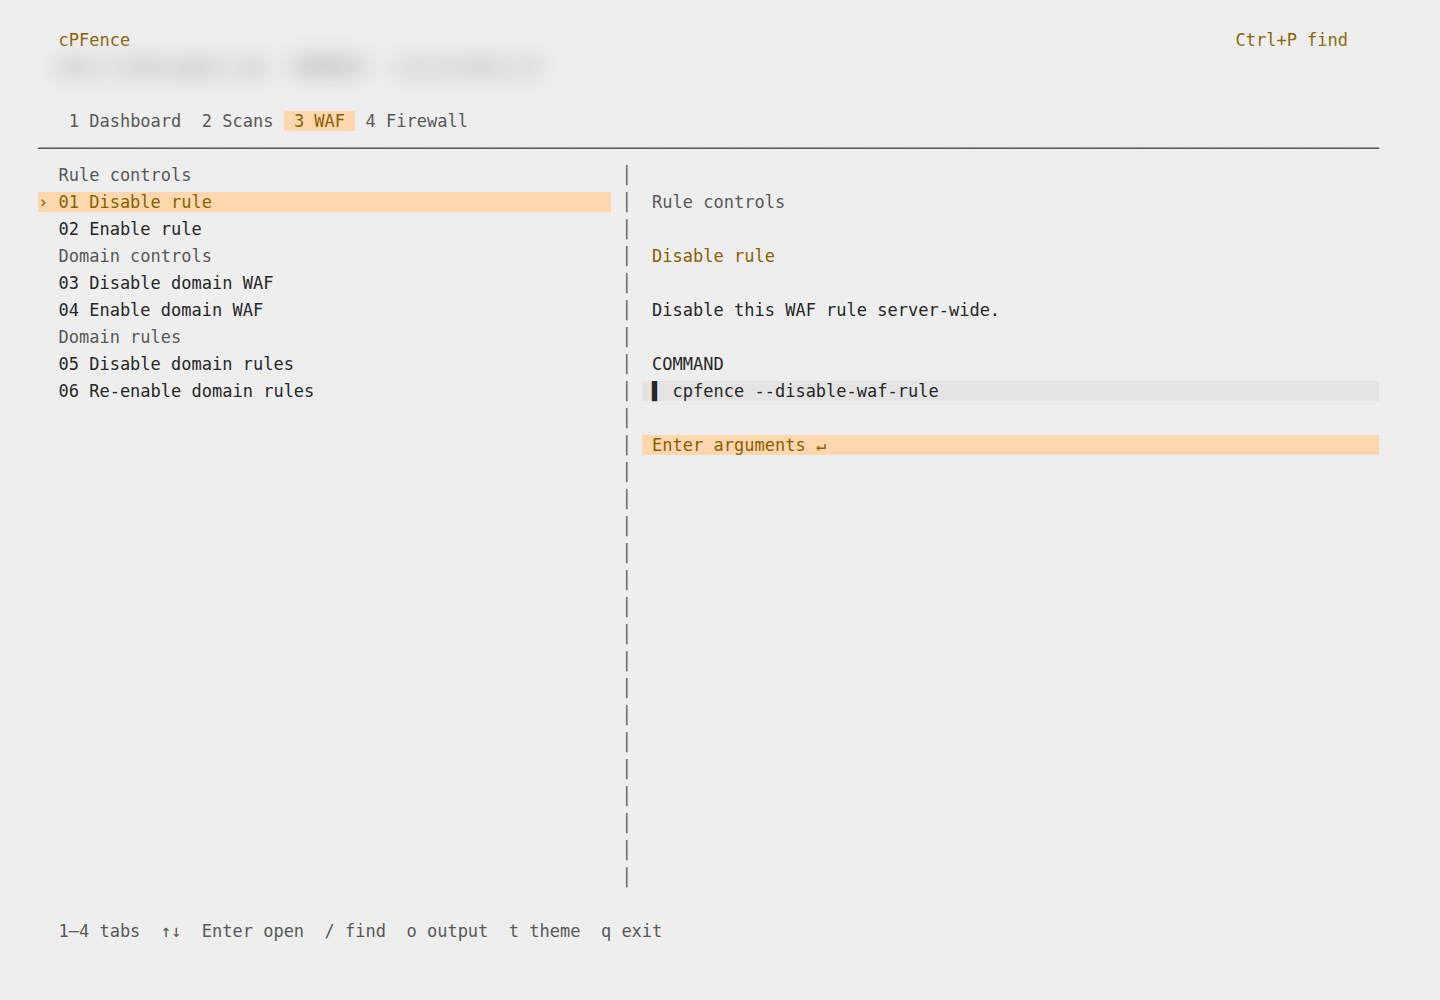
Use WAF to disable or re-enable a rule server-wide, a domain’s WAF, or selected rule IDs for a domain. Enter the requested domain or rule IDs and review the scope before confirming. Disabling a rule or a domain’s WAF reduces its protection.
- IP Protection Without Command-Line Gymnastics
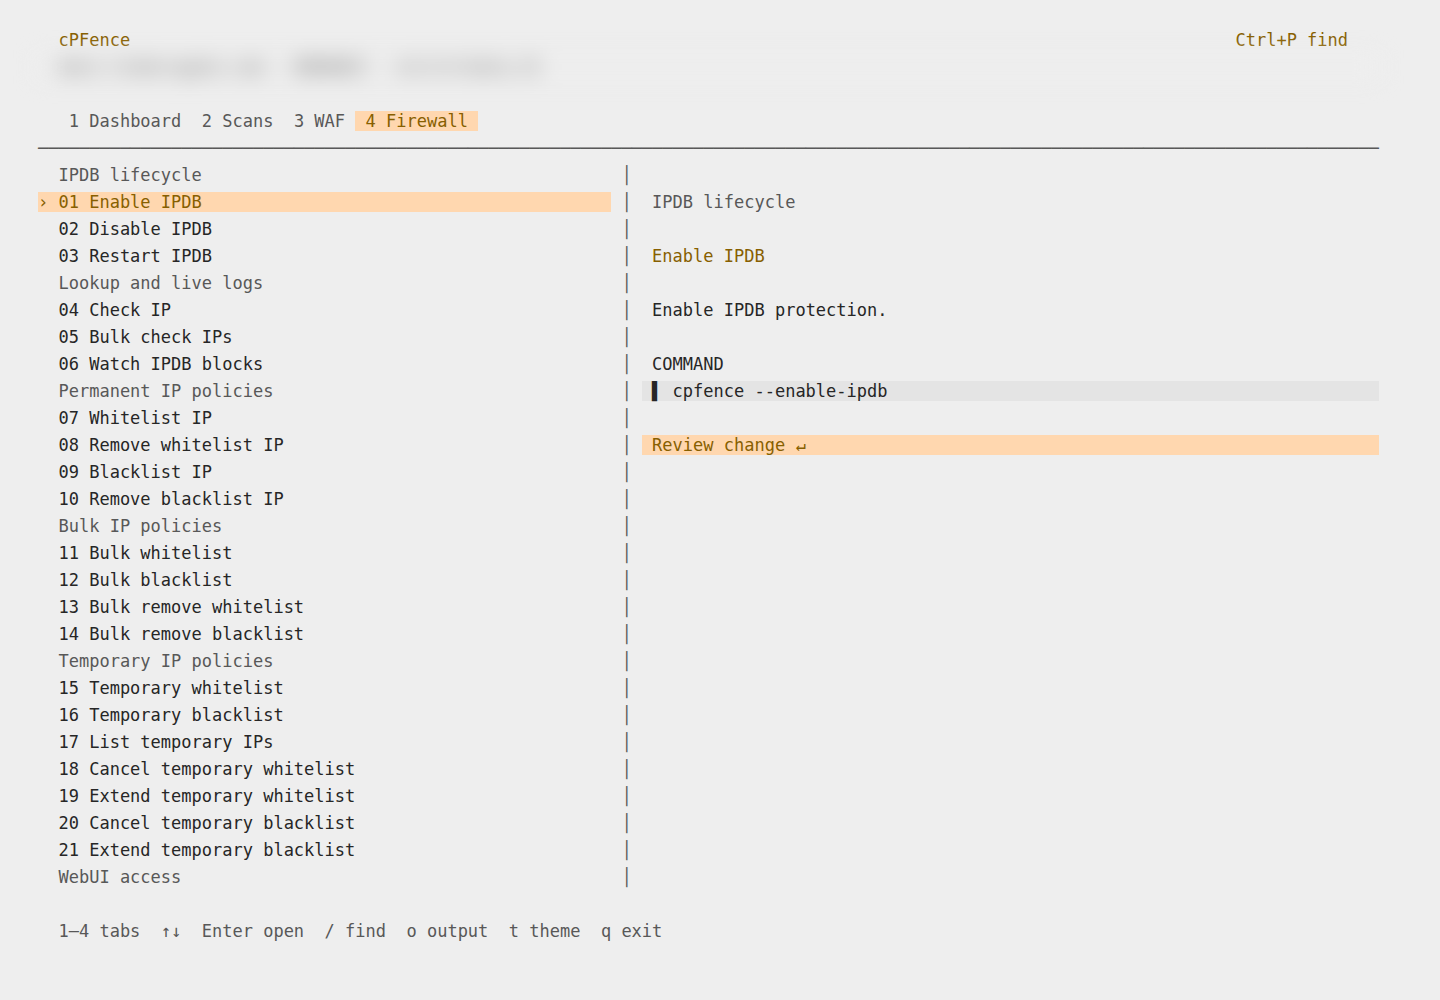
Open Firewall for IPDB controls, IP checks, live block logs, and permanent or temporary IP policies. Temporary policies can use a TTL such as30m,2hor1d; leaving it blank uses 60 minutes. Review changes carefully so you don’t block an address you need for access. Main control panel server roles also expose WebUI IP access controls.
And that’s just the beginning. More innovative tools are on the way to transform how you manage security and hosting.
How to Get Started with the Admin UI ?
Getting started with cPFence Admin UI is ridiculously simple. No need to memorize long, boring, cryptic commands anymore—just remember this one:
cpfence --ui
Use 1–4 or Tab to switch tabs, ↑/↓ to choose a command and Enter to open it. Press / or Ctrl+P to find a command, t to switch theme, and q to exit. Fill any requested arguments, read the command and effect, then confirm only when you’re ready. Esc backs out of a form or confirmation.
That’s it. One command, and you’re in. No more CLI acrobatics, no more scrolling through documentation trying to find the right syntax. Just launch, choose, and manage your security like a pro.
Your security tools, one command away.
Start your cPFence trial and explore the terminal UI alongside the WebUI for your Enhance servers.
Start your free trial →