How to Upgrade Rspamd & Activate the WebUI on Enhance Servers?

Rspamd is the best open source anti-spam solution we’ve used, both in terms of speed and accuracy. The fuzzy storage feature in Rspamd blows SpamAssassin out of the water—even if you’re boosting SpamAssassin with other solutions. Unfortunately, cPanel doesn’t support Rspamd, so if you stick with cPanel, you’re left with a second-rate filter or forced to rely on third-party inbound filtering or a separate gateway. Luckily, Enhance Control Panel supports Rspamd natively. It’s a powerful, lightweight spam filter that handles large volumes of mail with ease and impressive precision—but only if trained and configured correctly. Rspamd is only as good as your setup and the data you feed it.
Rspamd stays quietly in the background, running as a permanent process and using the milter protocol to scan every email your server sees. It runs dozens of checks and spits out a score—higher scores mean more likely spam. If it smells like spam, scores like spam, it’s probably spam.
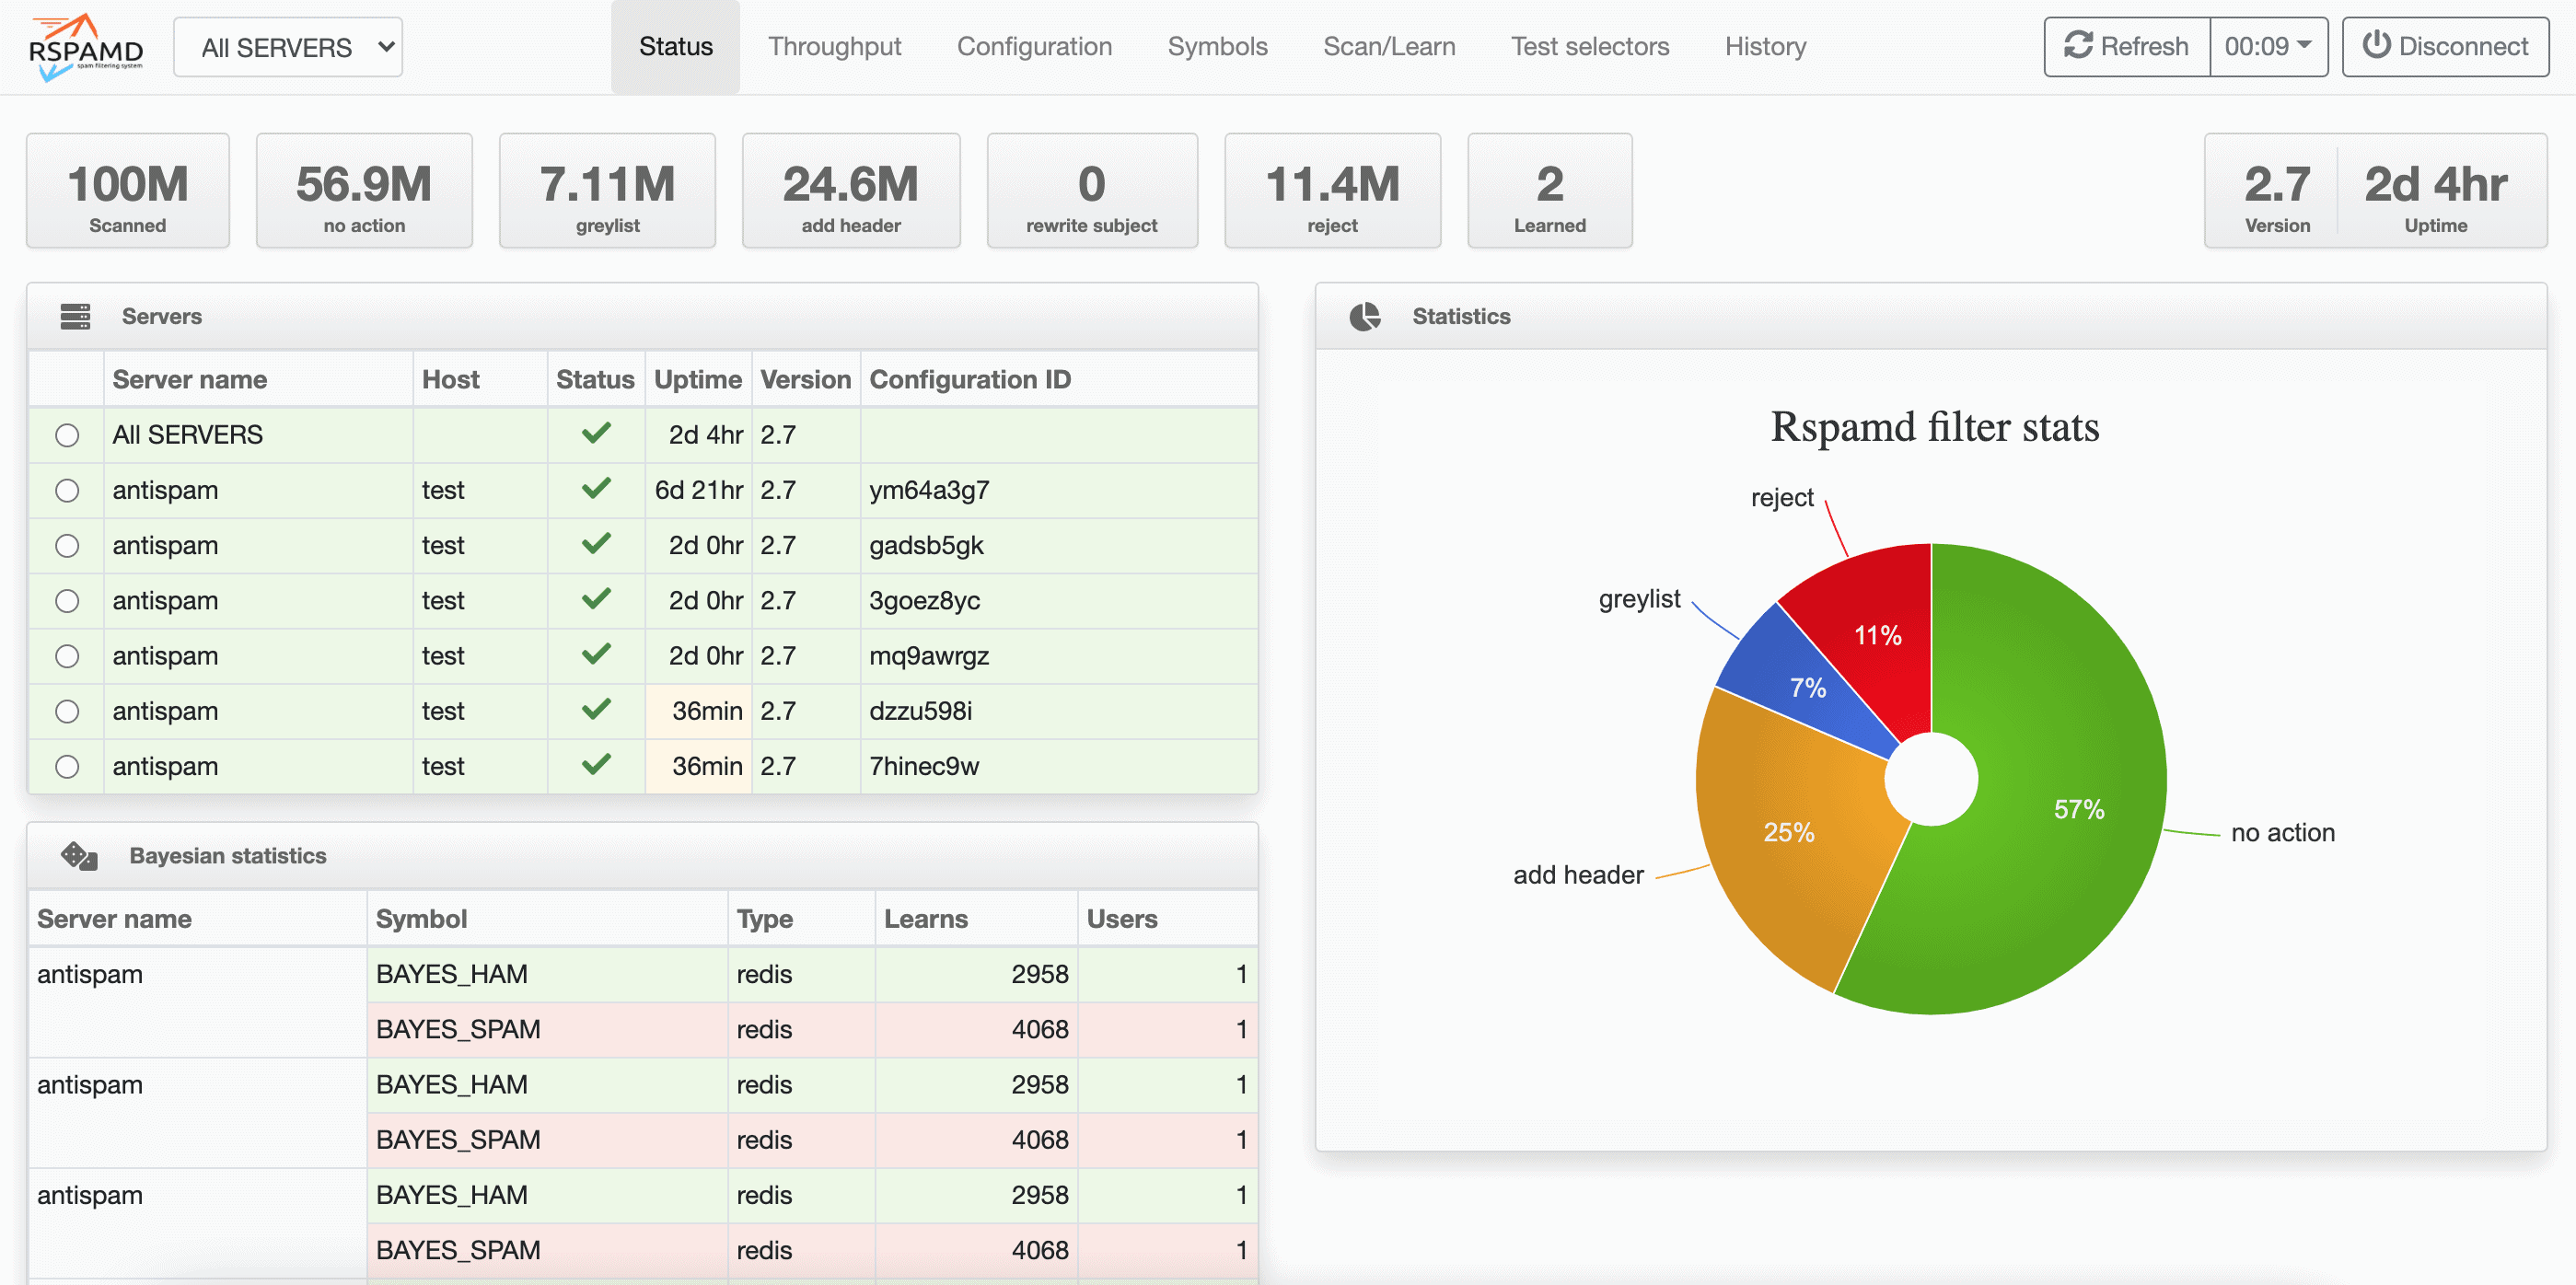
Now, the default version shipped with Enhance is great, but if you’re the kind of admin who likes being ahead of the curve, this guide is for you. We’re going to upgrade Rspamd to the latest version and enable the WebUI (https://rspamd.com/webui/) so you can tweak its settings, train it like a spam-detecting Jedi, and enjoy that clean inbox goodness.
So grab a coffee, open up your terminal, and let’s dive in. Use an administrator account on the Enhance mail server running Ubuntu 22.04 or 24.04, and save your Rspamd configuration before upgrading. Package changes and service restarts belong in a maintenance window.
Step 1: Check Your Current Version
root@my:~# rspamadm --version

Rspamadm 3.8.1
Outdated, huh? The original walkthrough upgraded from 3.8.1 (Jan 26, 2024) to 3.11.1 (March 8, 2025). Those are historical examples; check your own version and the current official stable packages before upgrading.
Step 2: Upgrade Rspamd
apt update

sudo apt-get install -y lsb-release wget gpg

CODENAME=`lsb_release -c -s`

sudo mkdir -p /etc/apt/keyrings

wget -O- https://rspamd.com/apt-stable/gpg.key | gpg --dearmor | sudo tee /etc/apt/keyrings/rspamd.gpg > /dev/null

echo "deb [signed-by=/etc/apt/keyrings/rspamd.gpg] http://rspamd.com/apt-stable/ $CODENAME main" | sudo tee /etc/apt/sources.list.d/rspamd.list

echo "deb-src [signed-by=/etc/apt/keyrings/rspamd.gpg] http://rspamd.com/apt-stable/ $CODENAME main"  | sudo tee -a /etc/apt/sources.list.d/rspamd.list

sudo apt-get update

sudo apt-get --no-install-recommends install rspamd
If you’re prompted about config file changes, compare the proposed file with your saved custom settings before choosing. Accepting a replacement can overwrite your changes.
Step 3: Verify the Upgrade
root@my:~# rspamadm --version

Rspamadm 3.11.1
Compare the new version with the package you intended to install, then check systemctl status rspamd and its logs. The 3.11.1 output above is the original example, not today’s latest release. You can explore that release’s changelog here:
https://github.com/rspamd/rspamd/releases/tag/3.11.1
Rspamd also comes with excellent documentation. If you plan to fine-tune your setup manually, we highly recommend going through it:
https://rspamd.com/doc/configuration/
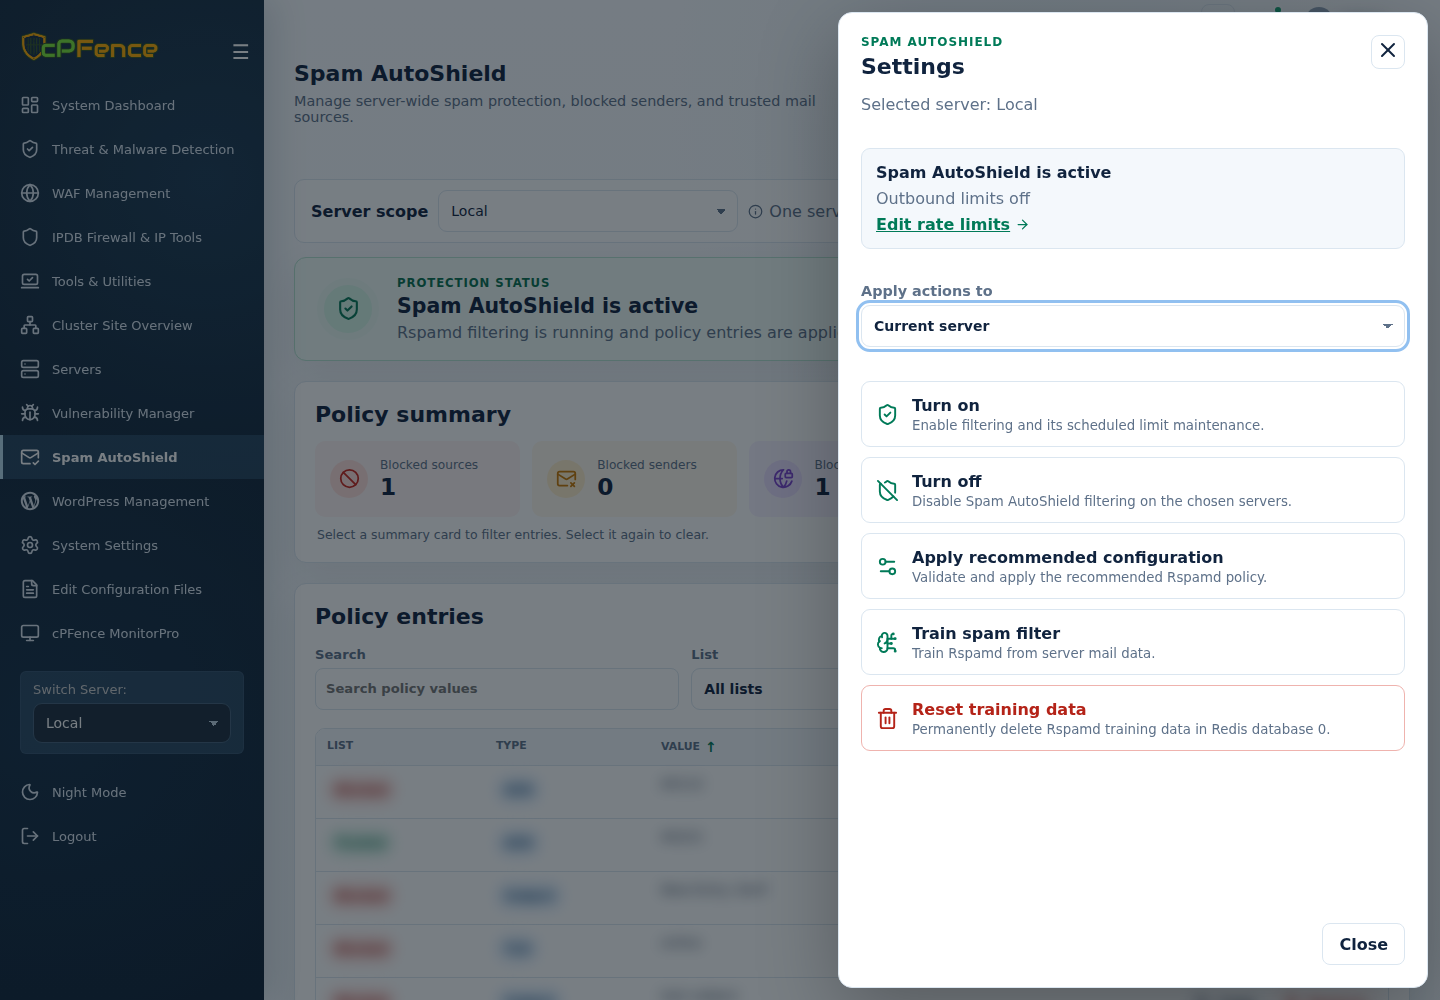
Using cPFence? Good news, you don’t have to worry about the heavy lifting. Our Spam AutoShield module provides configuration and training tools—just keep following along. In cPFence v4+, open Spam AutoShield → Settings and review Apply actions to before using Apply recommended configuration; it restarts Dovecot and Rspamd. See the current controls and training steps, and wait for each server’s final result.
Step 4: Securely Accessing the Rspamd WebUI via SSH Tunnel
Rather than exposing the Rspamd WebUI to the internet, a safer approach is to access it through an SSH tunnel from your local machine. This lets you keep the controller bound to localhost while accessing it through your administrator SSH connection.
1. Generate an SSH Key (If You Don’t Already Have One)
On your local machine (Linux, macOS, or Windows PowerShell), run:
ssh-keygen -t ed25519
Accept the default filename for a new key and choose a passphrase. If a key already exists, reuse it or choose another filename instead of overwriting it. These are administrator login keys: only MultiRun and remote WordPress backups/restore need passwordless inter-server SSH in cPFence v4+. Ordinary v4+ features do not.
2. Copy Your Public Key to the Server
If you’re using Linux or macOS:
ssh-copy-id root@your-server-ip
On Windows, ssh-copy-id isn’t available, use:
type $env:USERPROFILE\.ssh\id_ed25519.pub | ssh root@your-server-ip "mkdir -p ~/.ssh && cat >> ~/.ssh/authorized_keys"
3. Create an SSH Tunnel and Access the WebUI
Run this from your local machine:
ssh -L 127.0.0.1:11334:127.0.0.1:11334 root@your-server-ip
Then, open your browser and go to:
http://localhost:11334
Just keep that terminal session open while you’re using the interface.
Tip: If you want direct access without using an SSH tunnel: Change the controller password in Step 5 first. Restrict both server-local and provider firewalls to your administrator IPs, and use HTTPS for access over an untrusted network. Binding to all interfaces alone does not secure the WebUI; see the controller options.
Edit the Rspamd config file:
nano /etc/rspamd/override.d/worker-controller.inc
Use the controller override rather than editing the main rspamd.conf. Set its bind address:
bind_socket = "0.0.0.0:11334";
Then restart Rspamd:
systemctl restart rspamd
Now open the port for the Rspamd GUI:
sudo ufw allow from YOUR_ADMIN_IP to any port 11334 proto tcp

sudo ufw reload
Replace YOUR_ADMIN_IP with your trusted administrator IP and configure the provider firewall separately. This direct HTTP URL is only for a trusted network; use the tunnel above or configure HTTPS for internet access:
http://your-server-ip:11334
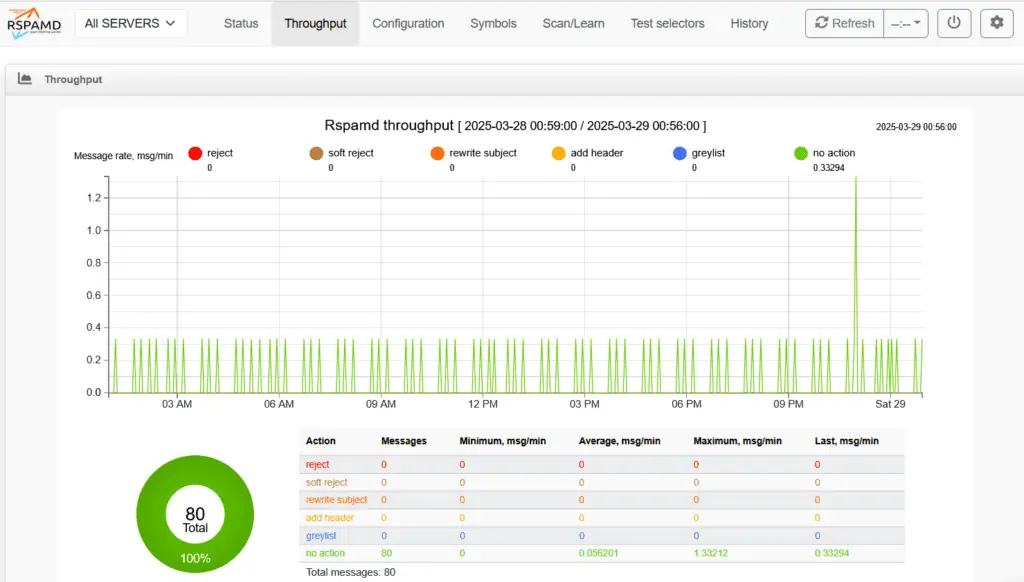
Now you can log into the new shiny Rspamd WebUI.
Update on 24-jun-2025:
The original 3.12.1-era update below highlighted configuration overrides. If another file sets the controller bind address, changing only the main configuration may not change the effective listener.
If changing the bind_socket in rspamd.conf has no effect, edit the following file:
nano /etc/rspamd/override.d/worker-controller.inc
Replace:
bind_socket = "127.0.0.1:11334";
with:
bind_socket = "0.0.0.0:11334";
Then restart Rspamd:
systemctl restart rspamd
Step 5: Change the Default Controller Password
It’s strongly recommended to change the default controller password—whether or not you plan to use the WebUI. This is highlighted clearly in the official Rspamd documentation, and it’s a simple but important step to secure your setup.
Generate a unique password with your password manager, or use pwgen if installed:
pwgen 16 1
Use your own unique password and keep it private. This is an example only—do not reuse it:
eiLi1lueTh9mia4
Now hash it:
rspamadm pw
Paste in the password and you’ll get something like:
$2$g95ywihfinjqx4r69u6mgfs9cqbfq1ay$1h4bm5uod9njfu3hdbwd3w5xf5d9u8gb7i9xnimm5u8ddq3c5byy
Now open the config file, preserving any bind settings already saved there:
nano /etc/rspamd/override.d/worker-controller.inc
Add your generated hash, replacing the example below:
password = "$2$g95ywihfinjqx4r69u6mgfs9cqbfq1ay$1h4bm5uod9njfu3hdbwd3w5xf5d9u8gb7i9xnimm5u8ddq3c5byy";
Restart Rspamd:
systemctl restart rspamd
Step 6: Using the Rspamd WebUI: Scan & Train Like a Pro
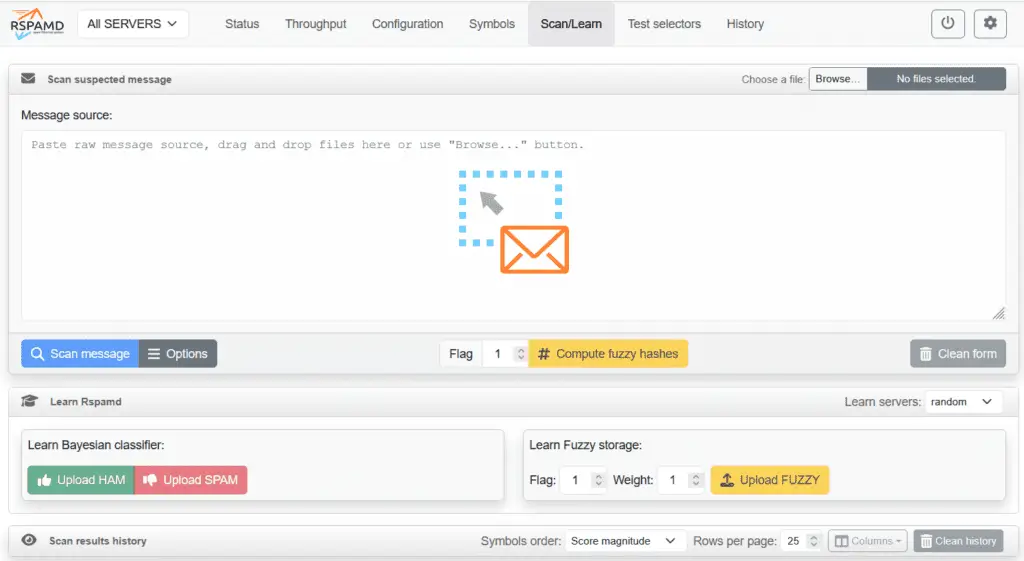
Now that your WebUI is live, let’s make the most of it. Head over to the Scan/Learn tab—this is where the real training happens. Use only mail samples you are authorized to inspect, keep raw messages private, and train on confirmed spam or legitimate mail rather than guesses.
- Scan a Message
Got a suspicious email? Just paste the raw message source or drop in an.emlfile. Click Scan message and Rspamd will run it through its filters, showing you exactly how it was scored and why. - Train the Bayesian Classifier
This is where Rspamd learns what’s good and what’s garbage.- Hit Upload SPAM to feed it confirmed spam.
- Use Upload HAM for legit emails.
The more you train, the smarter it gets—like a spam-fighting AI pet.
- Fuzzy Hash Learning
Fuzzy hashing helps detect spam variants that try to sneak past with small changes.- Use Upload FUZZY to train it on known spam samples.
- You can adjust the Flag and Weight, but defaults work fine for most.
Fuzzy storage is what makes Rspamd so much more effective than traditional filters.
Combining Bayesian learning with fuzzy hashing gives Rspamd a serious edge—it doesn’t just block known spam, it adapts and evolves with it.
Reviewing Message History
The History tab is your window into Rspamd’s decision-making. Every scanned email gets logged here with detailed scoring and action info.
- You’ll see the sender, recipient, subject, spam score, and final action taken (e.g.,
no action,reject, oradd header). - Click any entry to expand and see which symbols (rules) were triggered—like
FORGED_SENDERorMIME_GOOD—and how much each contributed to the total score. - You can sort results by score magnitude, value, or name to find the most suspicious or highest scoring emails.
This view is super helpful for tuning your rules, identifying false positives, and understanding why a message was (or wasn’t) flagged.
And that’s it. Once you have checked the installed version, service status and WebUI login, your Enhance server is ready for Rspamd tuning. Go forth and train it to fight spam like a pro.
Want Smarter Spam Protection Without the Manual Work?
If you’re ready to take your Rspamd setup beyond the basics, our cPFence Spam AutoShield module delivers a full-stack solution in three powerful steps.
First, it automatically configures and optimizes your mail server for better spam filtering—no more digging through confusing config files or trying to tune milters by hand. Mail server tuning is usually a pain, but not with cPFence.
Second, it tackles Rspamd’s biggest strength—and weakness: training. Rspamd is only as good as the data you feed it, and manually uploading spam and ham takes time. Spam AutoShield provides a training tool using the downloaded cPFence dataset. Read its resource warning, allow spare capacity, and wait for the final result; starting training is not the same as finishing it.
Third, it equips you with powerful tools to block spam at the source. Whether it’s a sender IP, domain, specific email, subject match, or even sketchy TLDs—you’re in control of what gets through, across your entire server.
Check out the full feature list and creative use cases here:
Spam AutoShield®: Total Server-Wide Spam Control for Enhance Servers
Try cPFence Free for One Month
Bring mail policy controls and server protection together with cPFence v4+ for Enhance.
Start free trial