Captcha WAF Is Now Live in cPFence!
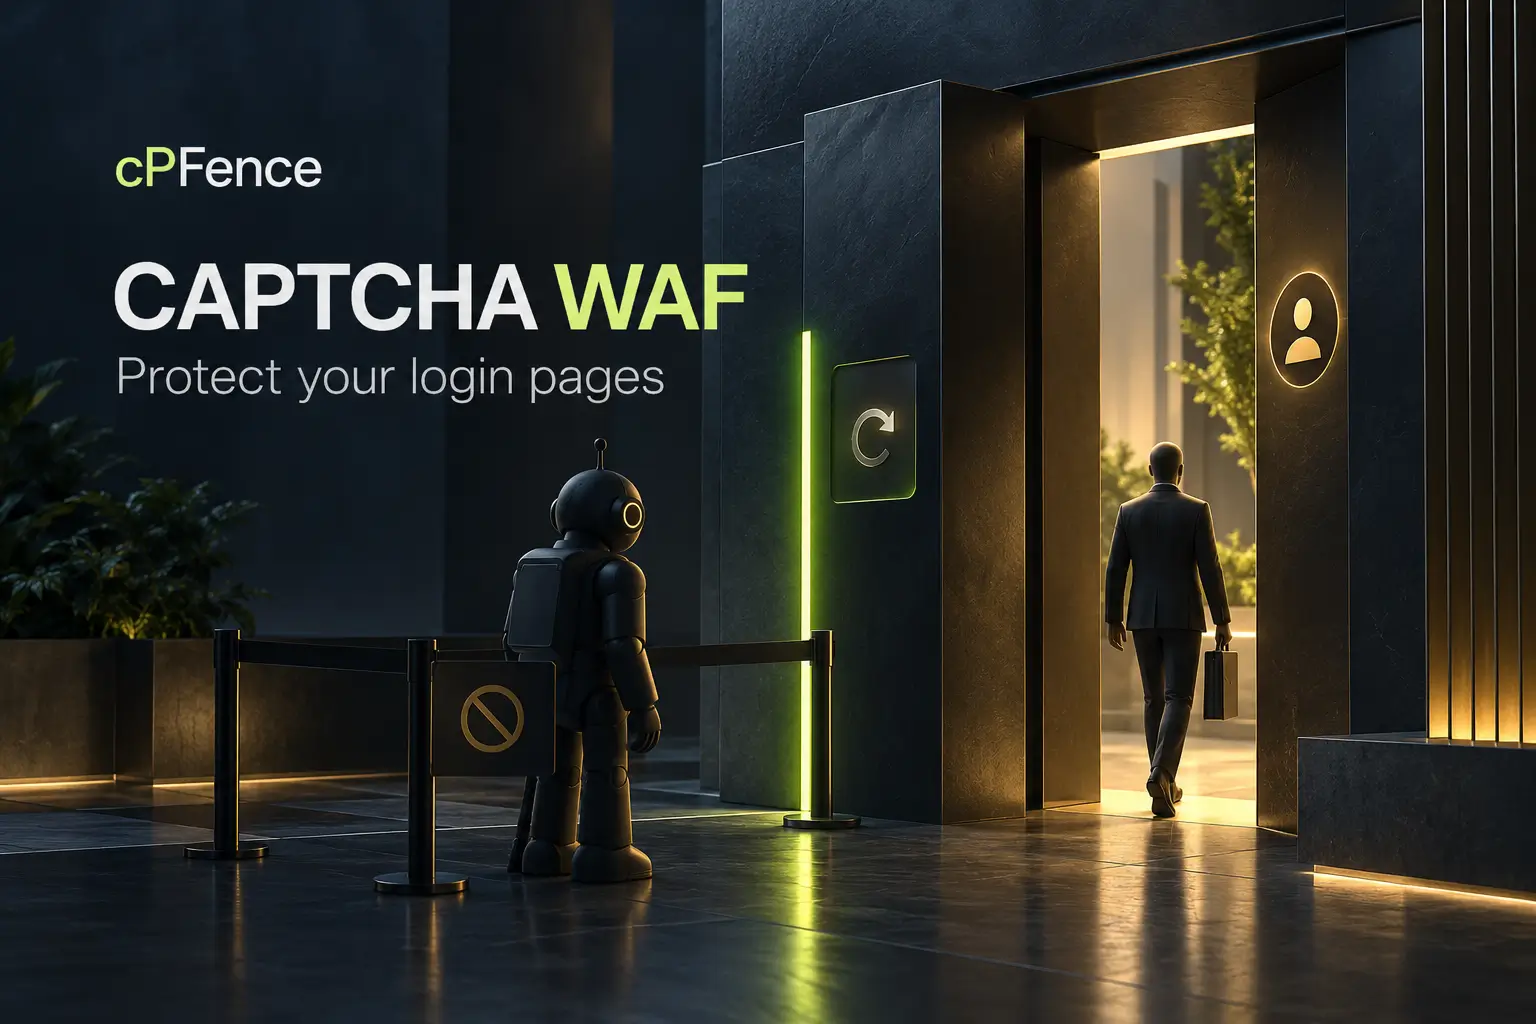
We’re excited to announce that the Captcha WAF module is now officially available in cPFence.
No more hours spent manually adding CAPTCHA plugins or scripts to every login page — with cPFence, you get one-click, server-level protection that applies instantly across all your sites. This feature brings silent, offsite protection to your login pages, blocking bots before they ever reach your server — all with zero user interaction required.
Why Captcha WAF?
Most CMS-based websites, especially WordPress, are constantly hit by automated POST requests to login pages like /wp-login.php. These attacks are often slow and distributed, using different IPs and user agents to bypass traditional brute-force protections.
That’s where Captcha WAF comes in:
- Intercepts bots offsite, before they reach your web server
- No user interaction – real visitors pass through silently
- Blocks automated brute-force, dictionary, and credential-stuffing bots
- Reduces server load by handling logic offsite
- Supports all popular CMS and custom login URLs
- User-defined protection – apply it to any path you want
- Working with WordPress, Joomla, Laravel, and any custom CMS or login system
- Powered by cPFence’s load-balanced backend for accurate, high-speed validation
It’s a smarter way to handle login protection—low impact, high effectiveness.
How It Works
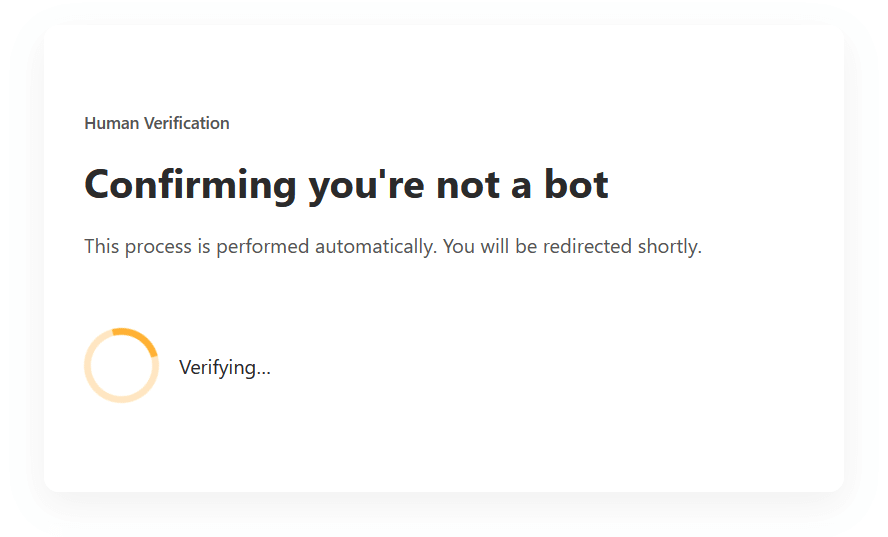
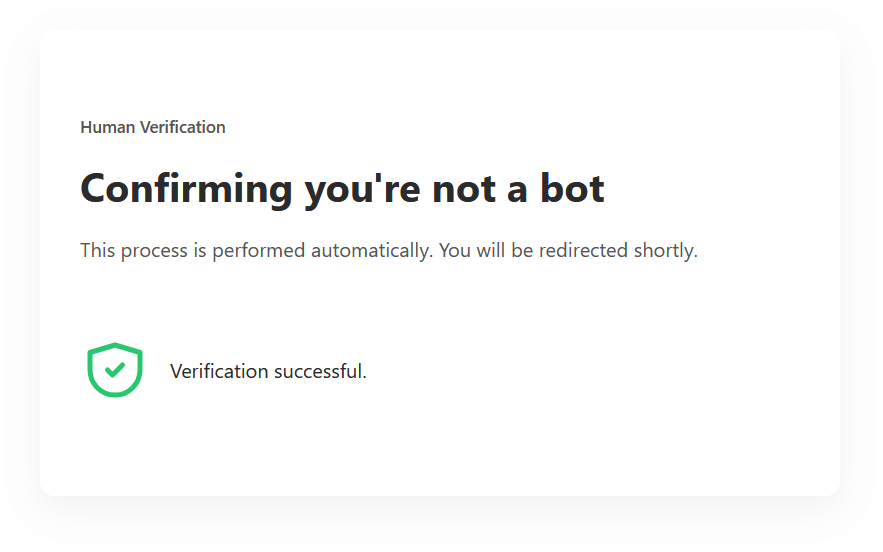
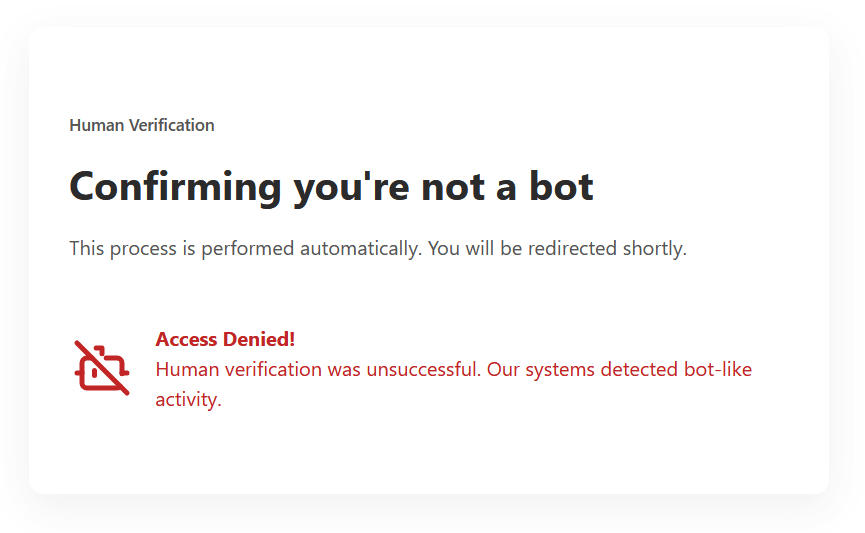
- A visitor tries to access a protected login page
- The request is redirected to cPFence’s offsite Captcha WAF
- It’s silently analyzed in real-time
- Real users are passed through instantly, bots are blocked
Visual example:
Built for Privacy and Performance
Captcha WAF is fully GDPR compliant, keeping user privacy intact while protecting your login pages.
Fully Integrated in the WebUI
Managing Captcha WAF is easy via:
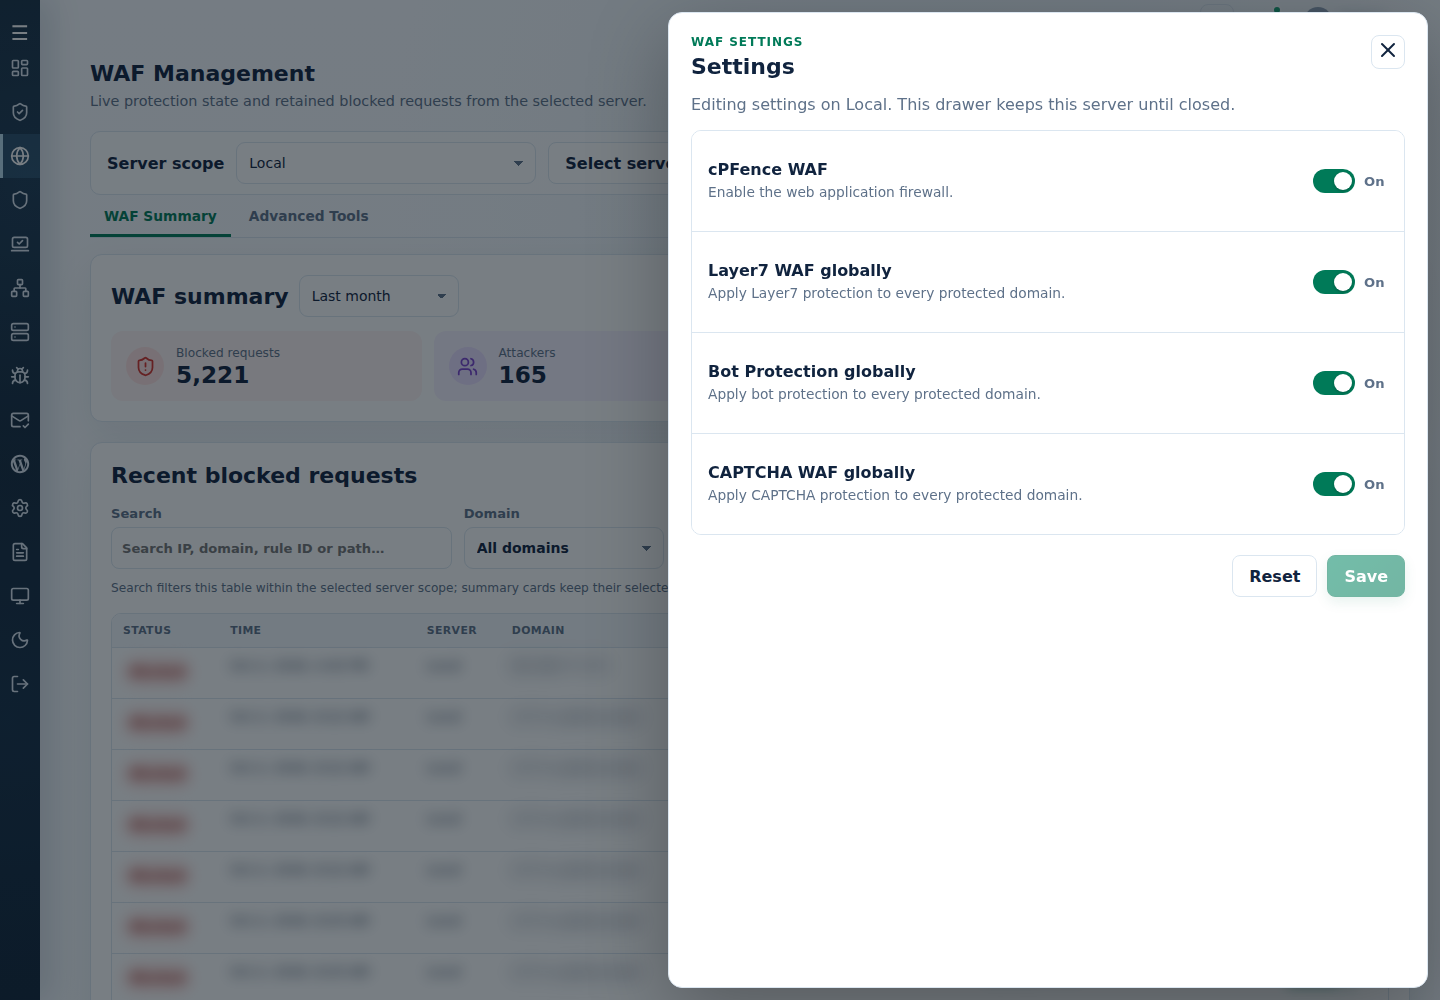
cPFence v4+ WebUI → WAF Management. Select the intended server; support accounts need the corresponding WAF management permissions.
You’ll see:
- Settings → CAPTCHA WAF globally to enable or disable the module server-wide. Keep cPFence WAF enabled, then Save.
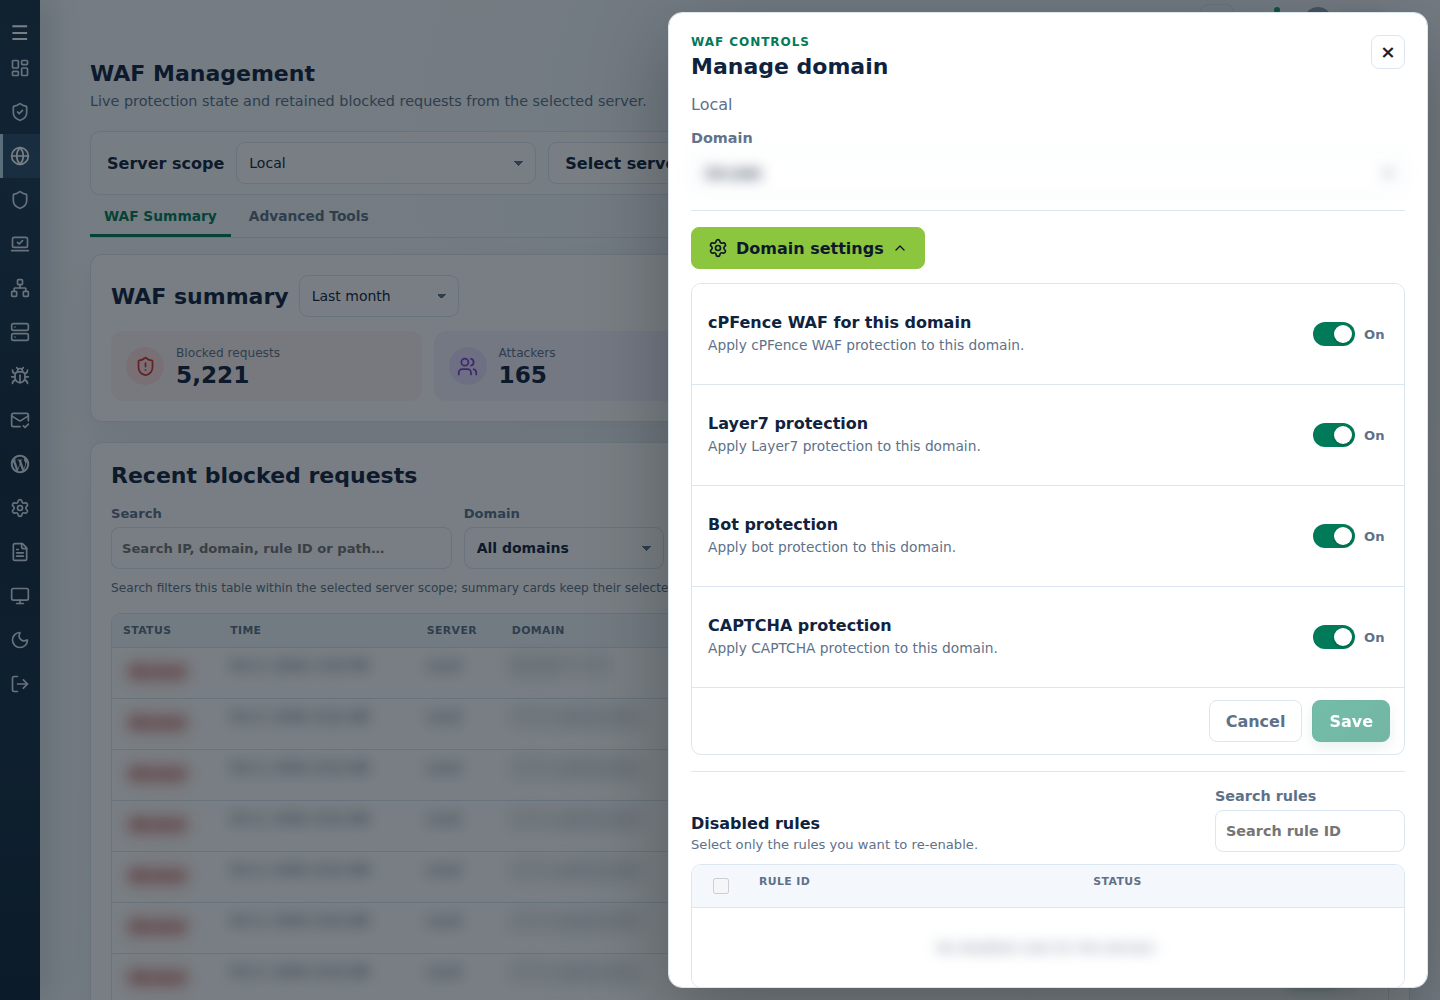
- Manage domain → Domain settings → CAPTCHA protection to enable or disable it for an individual domain, then Save.
After saving, check the result and try the intended login path as a legitimate visitor. Hosted WAF CAPTCHA is separate from WordPress math CAPTCHA; cookie and other exemptions can skip a challenge on some requests. See CAPTCHA controls and troubleshooting.
Prefer the CLI?
If you prefer working on the command line, run these commands as root on the intended server:
cpfence --enable-captcha-waf-domain DOMAIN
    Re-enable CAPTCHA WAF protection for a specific domain
    (e.g., cpfence --enable-captcha-waf-domain a.com)

cpfence --disable-captcha-waf-domain DOMAIN
    Disable CAPTCHA WAF protection for a specific domain
    (e.g., cpfence --disable-captcha-waf-domain a.com)

cpfence --enable-captcha-waf-global
    Re-enable CAPTCHA WAF Module globally for all domains on the server

cpfence --disable-captcha-waf-global
    Disable CAPTCHA WAF Module globally for all domains on the server
Easily Customize Protected URLs
You can now manage exactly which login pages are protected by Captcha WAF using a simple interface in the WebUI. Go to:
WebUI → Edit Configuration Files → CAPTCHA protected URLs. Choose the target server, keep a copy of its current list and briefly disable its WAF master before saving an edit.
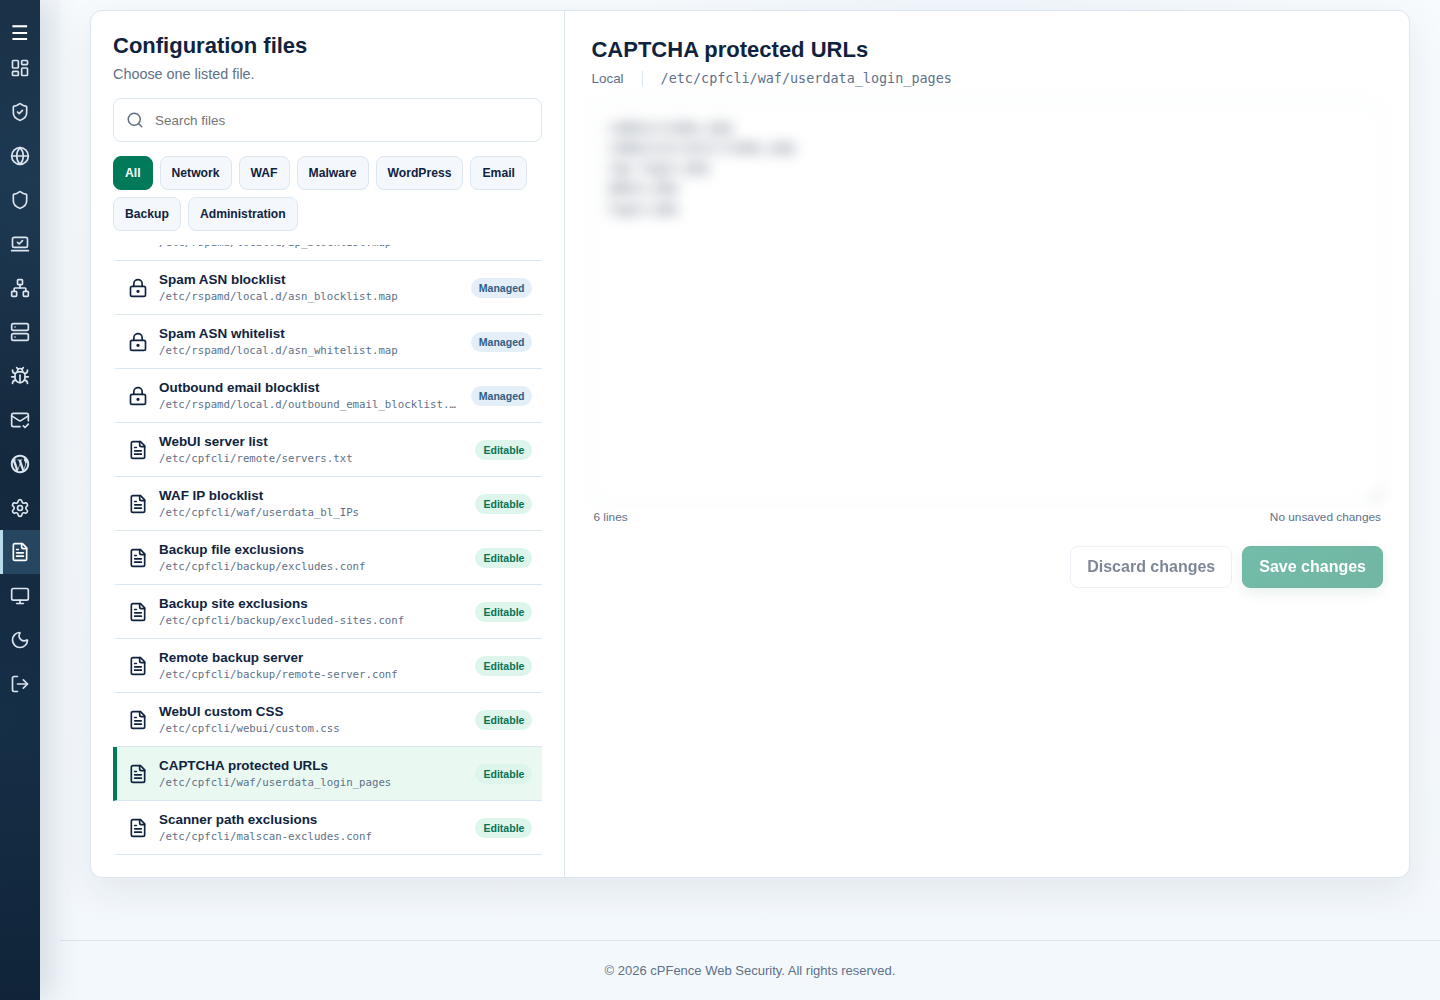
From there, add or remove one login path per line in File content — whether it’s a WordPress login, a custom admin panel, or a third-party app. Keep the paths you still need, Save changes, then reload to check the saved list.
This gives you full flexibility to define protection at any entry point without editing files manually on the server. Or simply edit the file :
/etc/cpfcli/waf/userdata_login_pages
Re-enable WAF promptly after editing. Changes apply at the next WAF enable; check the global and domain CAPTCHA switches again. If a legitimate login breaks, restore the prior path list using the same workflow. See protected URL editing.
LiteSpeed Cache Compatibility – Handled Automatically
To ensure proper interception of login requests, WP-AutoShield can automatically disable LiteSpeed cache on WordPress login pages when cPFence WAF is enabled and the login-cache policy is on. The change applies when WP-AutoShield runs.
This behavior is enabled by default, but you can control it via config or CLI:
Config option:
autoshield_disable_ls_cache_login_page
CLI commands:
cpfence --bulk-disable-ls-cache-login-page
    Disable login page caching in LiteSpeed Cache server-wide (recommended for Captcha WAF)

cpfence --bulk-enable-ls-cache-login-page
    Re-enable login page caching in LiteSpeed Cache server-wide (if not using Captcha WAF)
For browser-based site selection and login-cache controls, see WordPress login-page caching. Review the affected sites before applying a cache-policy change.
This ensures Captcha WAF works smoothly even with aggressive caching setups, with no extra configuration needed.
Ready to enable it on your servers?
Update to the latest version of cPFence and let’s stop bots before they knock. Try cPFence v4+ and manage login protection from the WebUI.
Start free trial