
Manage LiteSpeed login-page caching
- Choose the intended servers and sites. Start with one installation.
- Use the disable action when login CAPTCHA requires an uncached response; use Enable login-page caching only when compatible.
- Open Choose action → Bulk tools → Performance, then choose the intended login-page caching action under LiteSpeed.
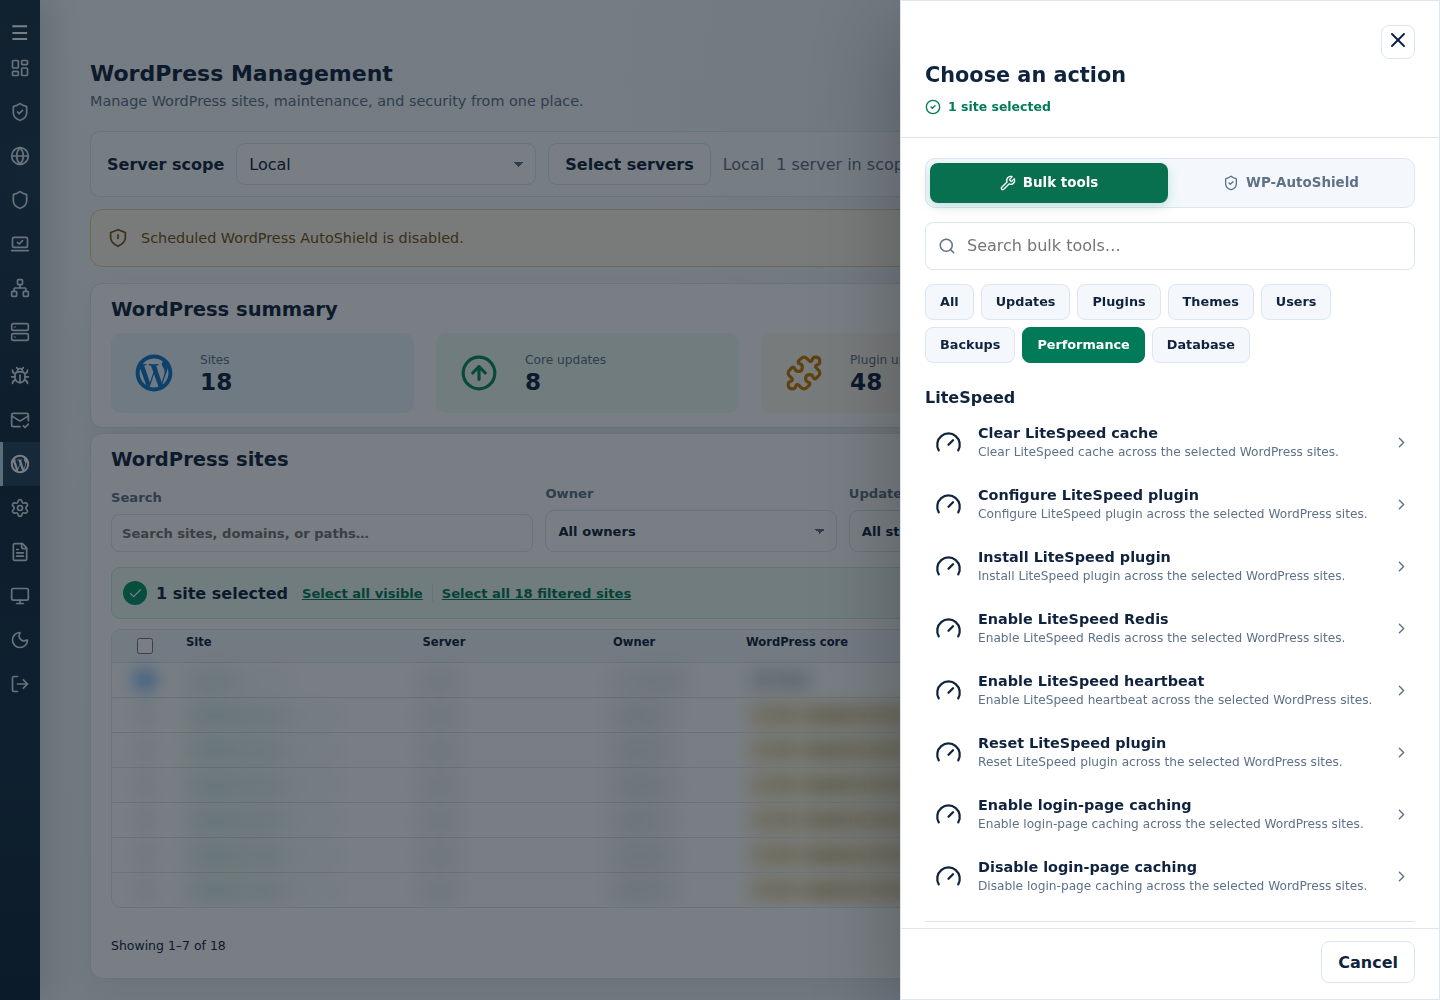
- Review the action and targets, then confirm. Read every site’s final result, including skips. Finished can include failed sites; see Read the outcome.
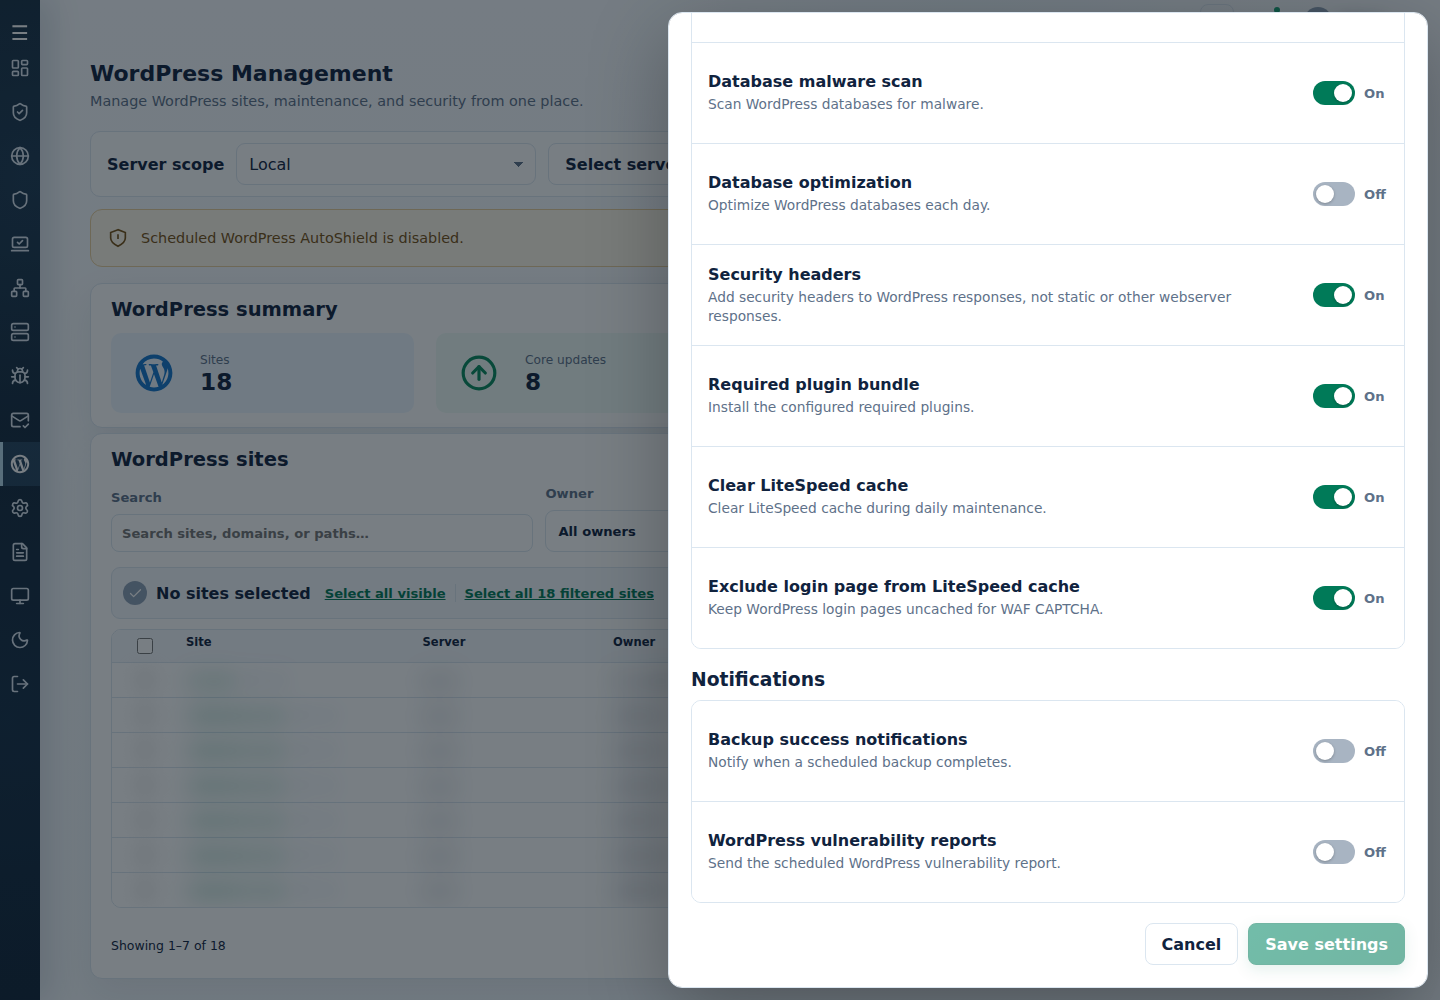
Check login and password-recovery forms after the change. Keep WordPress Settings Exclude login page from LiteSpeed cache consistent with the intended daily policy.
Command-line method
Section titled “Command-line method”From a root terminal on the server hosting the sites, disable cached login pages when using cPFence WAF CAPTCHA or another dynamic login control:
cpfence --bulk-disable-ls-cache-login-pageRe-enable caching only when the login flow is compatible:
cpfence --bulk-enable-ls-cache-login-pageChoose the appropriate command, then review /var/log/cpfenceav/wp-sites-list.txt and the inventory confirmation. These commands use this server’s listed installations, not the checked WebUI rows. The disable action adds /wp-login.php to LiteSpeed’s cache exclusions; the enable action removes that exact exclusion.
Read every site’s final output and test login, CAPTCHA and password recovery. Keep the recurring Exclude login page from LiteSpeed cache policy consistent so daily protection does not reverse your intended choice.