
Add or remove an ASN block
An ASN identifies a network operator. Blocking it in cPFence v4+ can affect all of its retrieved IP ranges.
Using the WebUI
Section titled “Using the WebUI”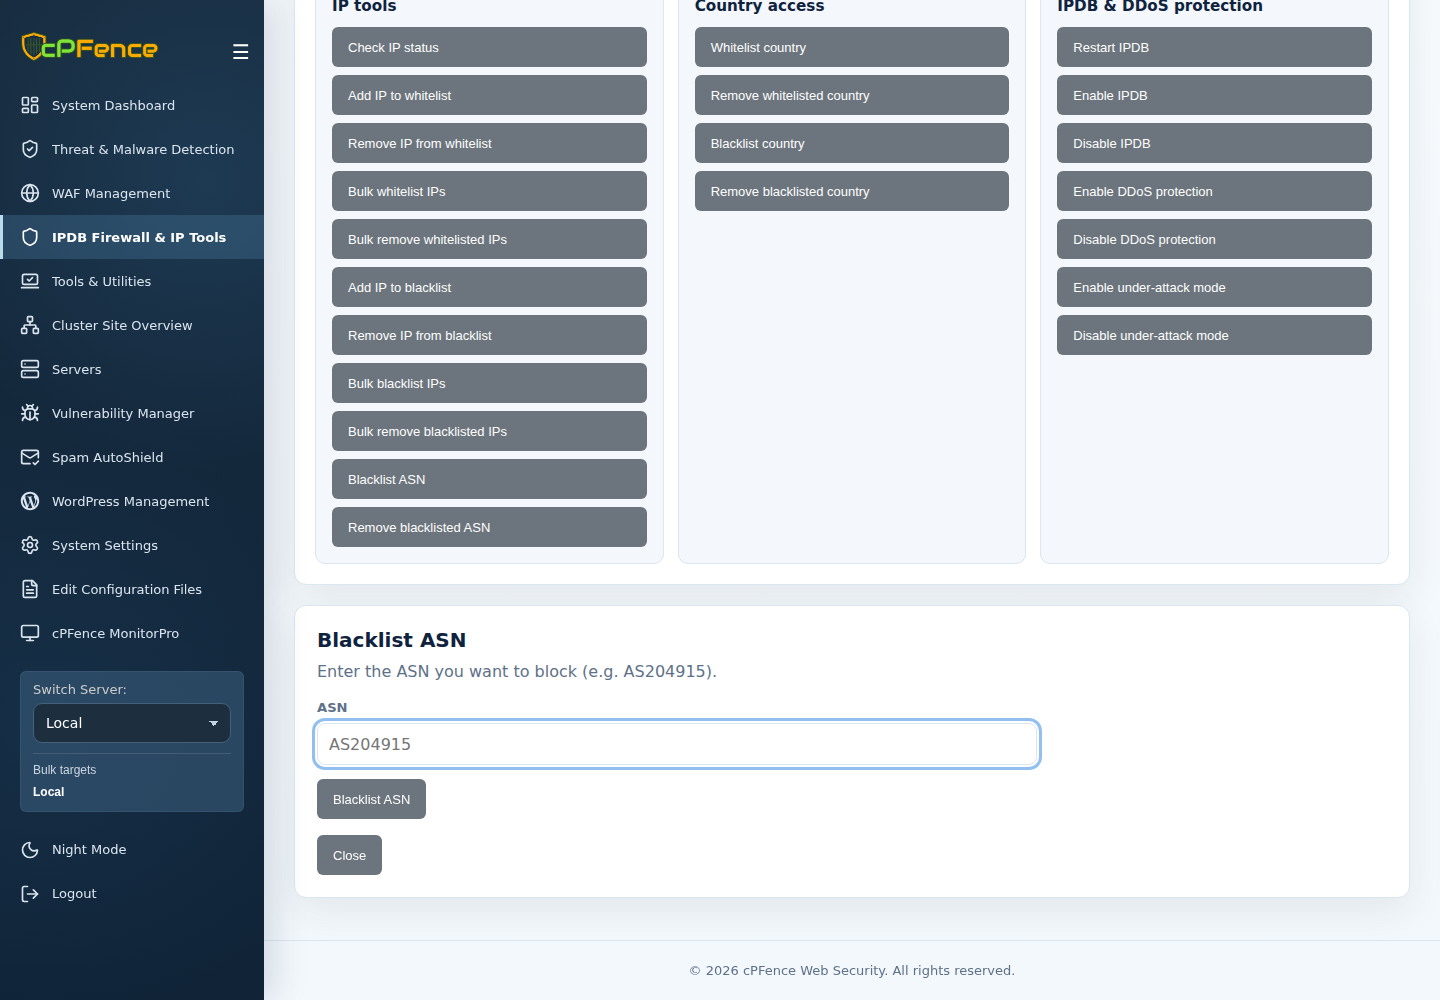
- Identify the abusive source IP and its ASN using a WHOIS lookup.
- Open IPDB Firewall & IP Tools → Advanced Tools → Blacklist ASN.
- Check the sidebar targets, enter ASN such as
AS64500, and confirm Blacklist ASN. - Read every target’s output and check the resulting policy. Provider failures or unavailable servers can leave partial coverage.
Remove an ASN block
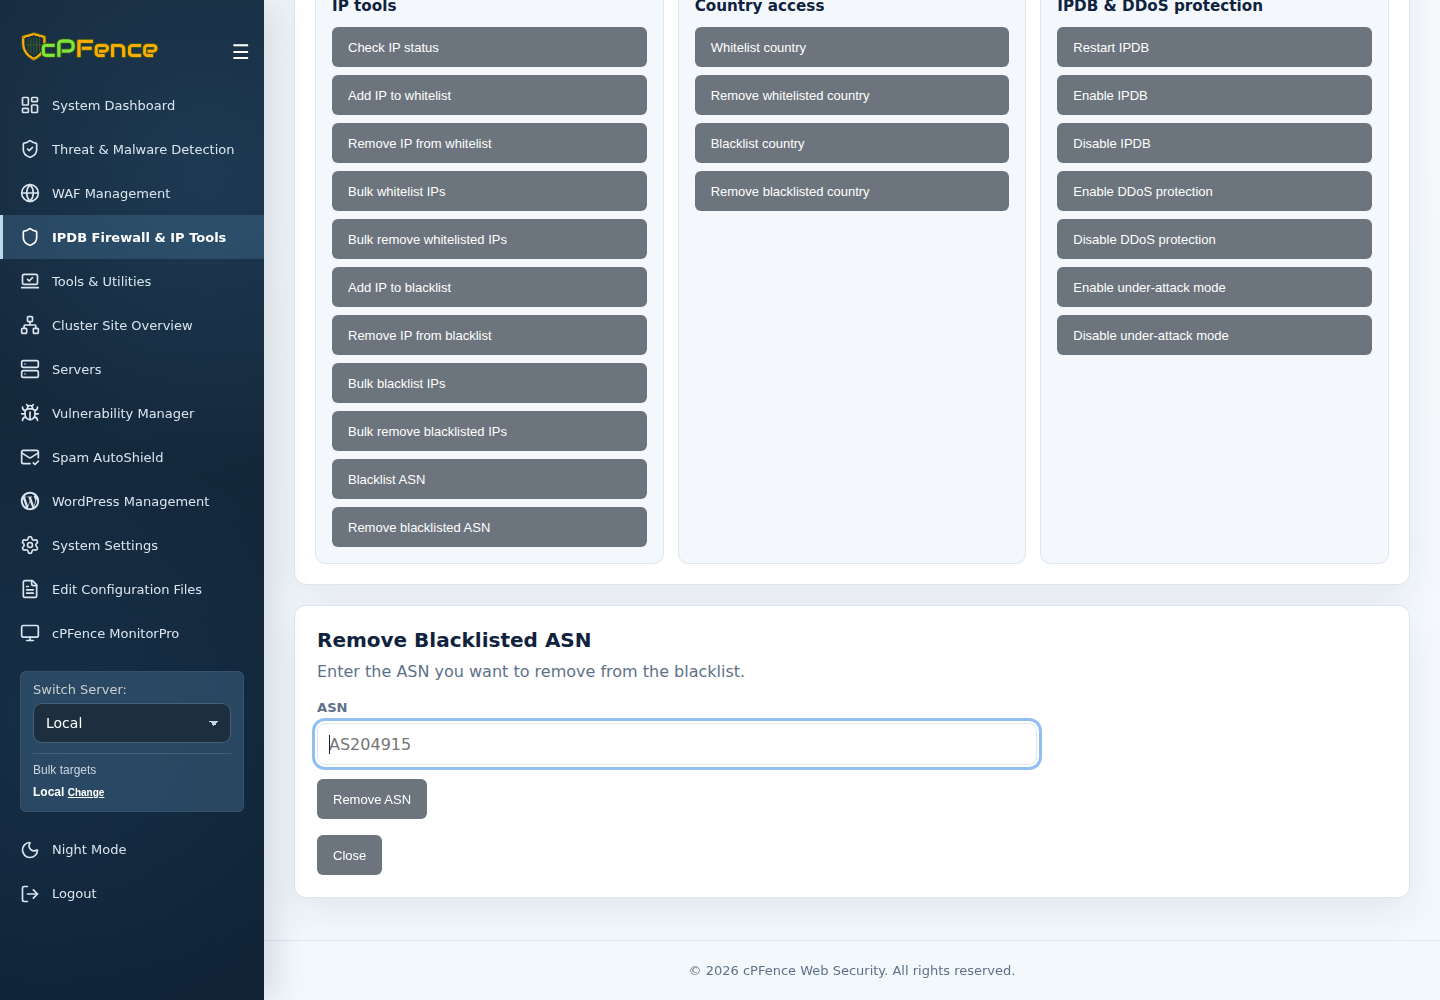
Section titled “Remove an ASN block”- Open IPDB Firewall & IP Tools → Advanced Tools → Remove blacklisted ASN.
- Check the same target servers used for the block and enter that ASN.
- Click Remove ASN, then read each server’s final output. An unavailable server or missing stored blocklist needs attention; submitting the request does not prove every target is unblocked.
Support users need permanent-list permission and target-server access.
View blocked ASNs
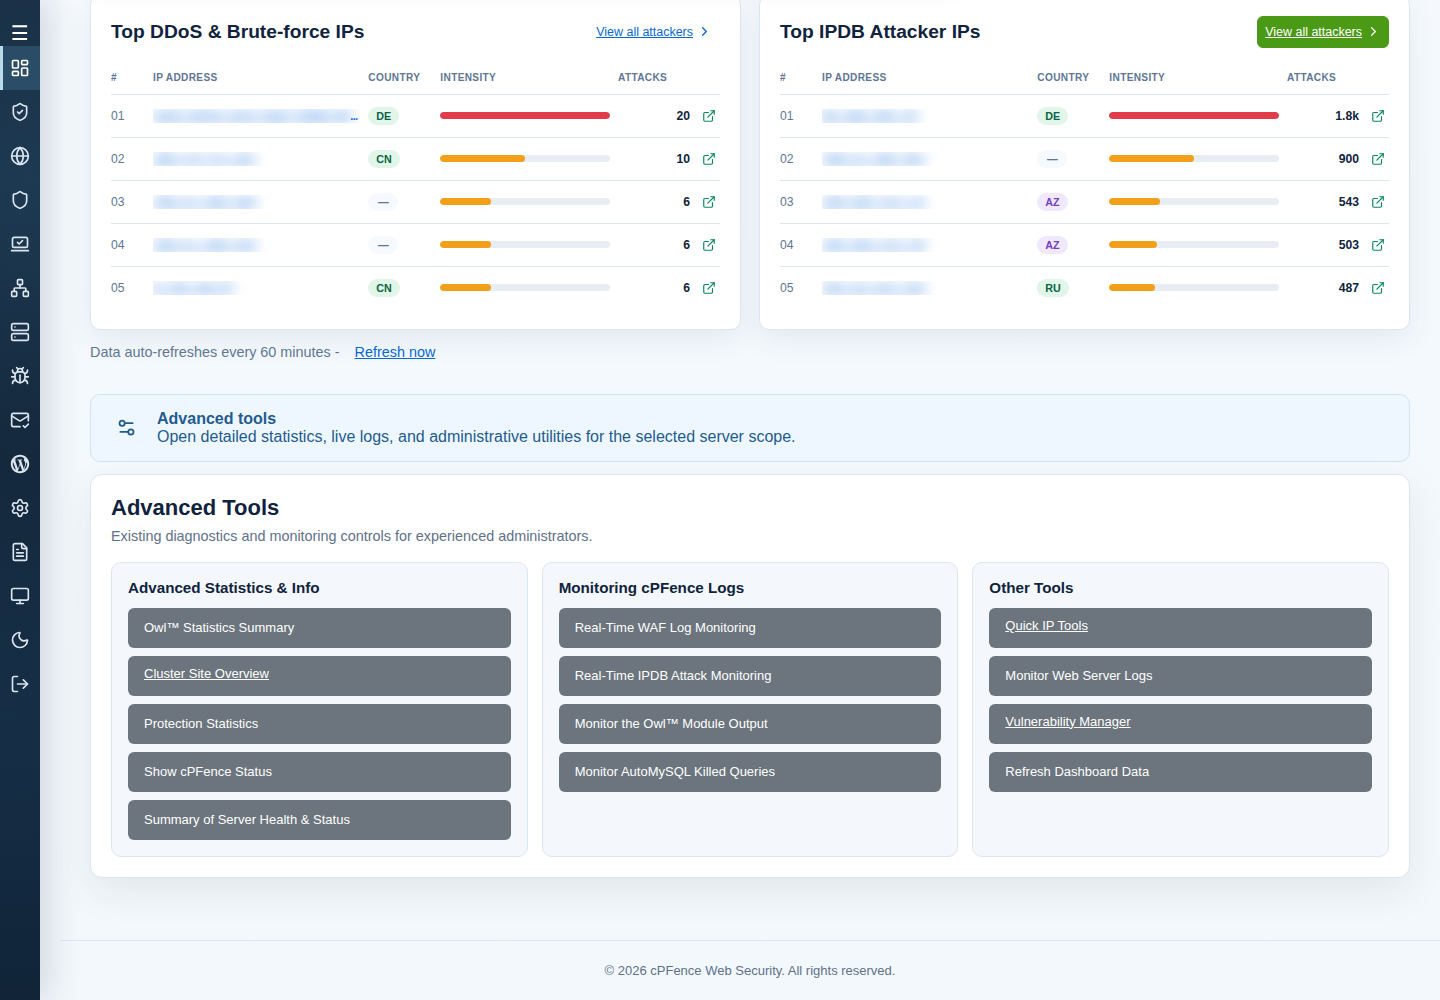
Section titled “View blocked ASNs”Open System Dashboard, check the server scope, then choose Advanced Tools → Show cPFence Status. Look for Blocked ASNs in the resulting status output. Check individual server results when reviewing several targets.
Using the CLI
Section titled “Using the CLI”As root on the licensed target, replace the documentation ASN:
| Action | Command |
|---|---|
| Block ASN | cpfence --blacklist-asn AS64500 |
| Remove ASN block | cpfence --remove-asn AS64500 |
| Read cPFence status | cpfence --status |
Omit the ASN argument from the block or remove command to use its interactive prompt. Supplying an ASN runs the corresponding operation without that prompt; check the value carefully first. Read the final output and use cpfence --status to inspect Blocked ASNs afterward.