
Set WordPress search-engine visibility
- Choose the intended servers and sites. Start with one installation.
- Select the sites whose visibility preference should change. Use Enable search-engine indexing to reverse it.
- Open Choose action → Bulk tools, search for
search-engine, then choose Disable search-engine indexing.
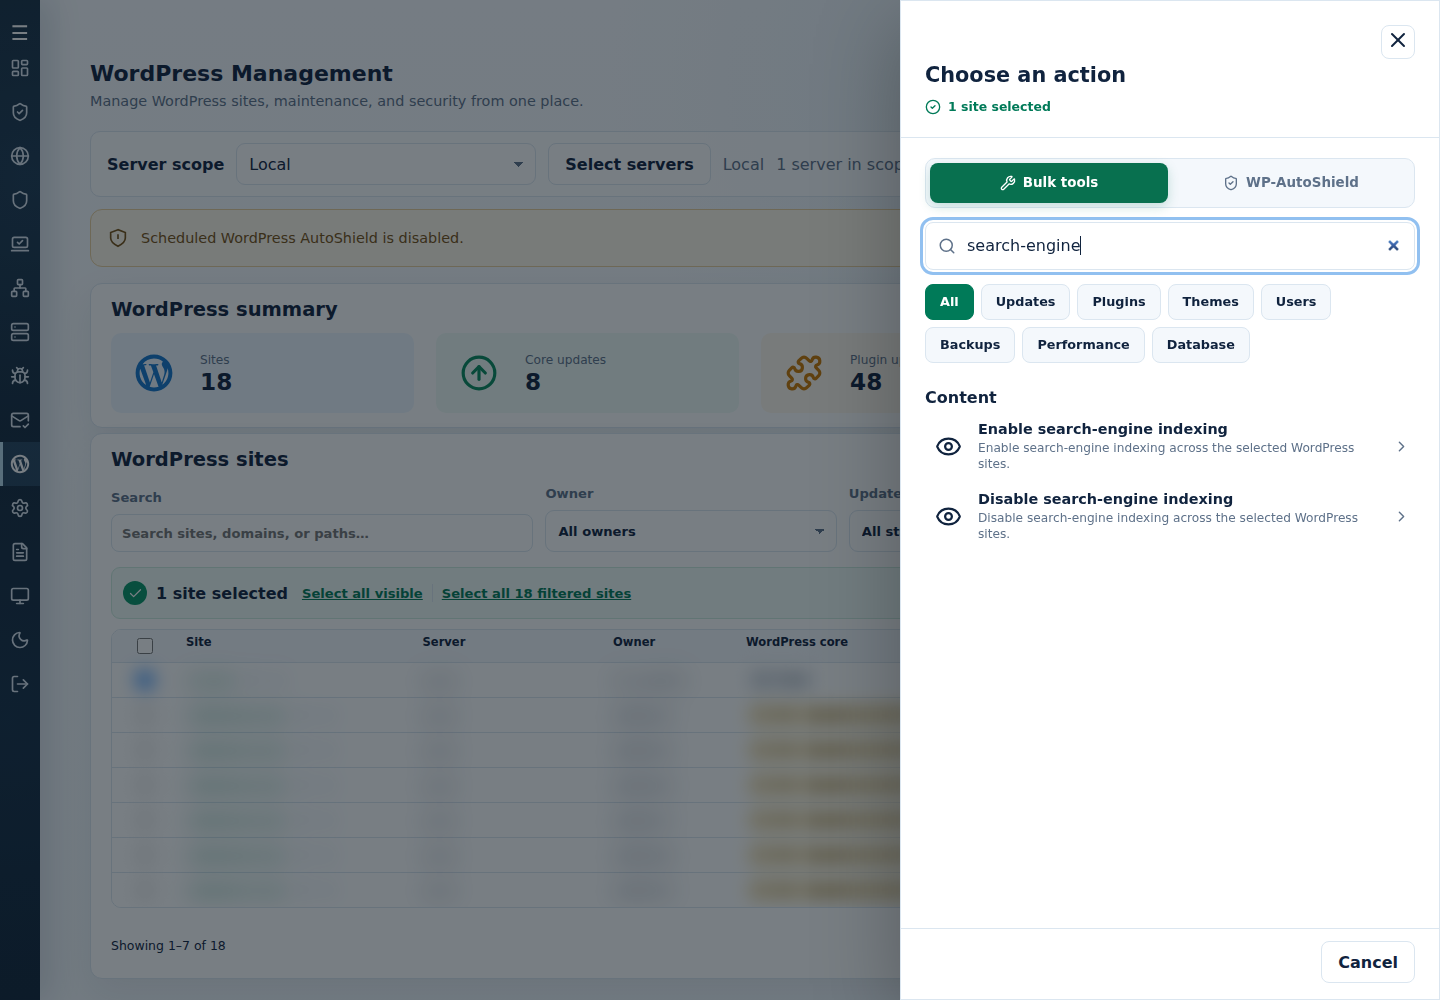
- Review the action and targets, then confirm. Read every site’s final result, including skips. Finished can include failed sites; see Read the outcome.
This changes WordPress’s discourage-indexing preference. Clear relevant caches and inspect resulting pages. It does not restrict access or guarantee that search engines remove existing results.
Command-line method
Section titled “Command-line method”From a root terminal on the server hosting the sites, discourage search-engine indexing:
cpfence --bulk-disable-search-engine-indexReview /var/log/cpfenceav/wp-sites-list.txt and the inventory/confirmation prompts first. Keep only the intended sites, such as staging installations. The command uses that server’s local list, not checked WebUI rows.
Restore indexing when ready:
cpfence --bulk-enable-search-engine-indexRead each site’s final output. Clear relevant caches so the visibility metadata updates, then inspect pages and WordPress’s visibility setting. This is a search preference, not a way to make staging private or a guarantee that existing search results disappear.