
Enable or disable a WordPress plugin
- Choose the intended servers and sites. Start with one installation.
- Open Choose action → Bulk tools → Plugins → Manage plugin by slug.
- Enter Installed plugin slug and choose Enable or Disable in Operation.
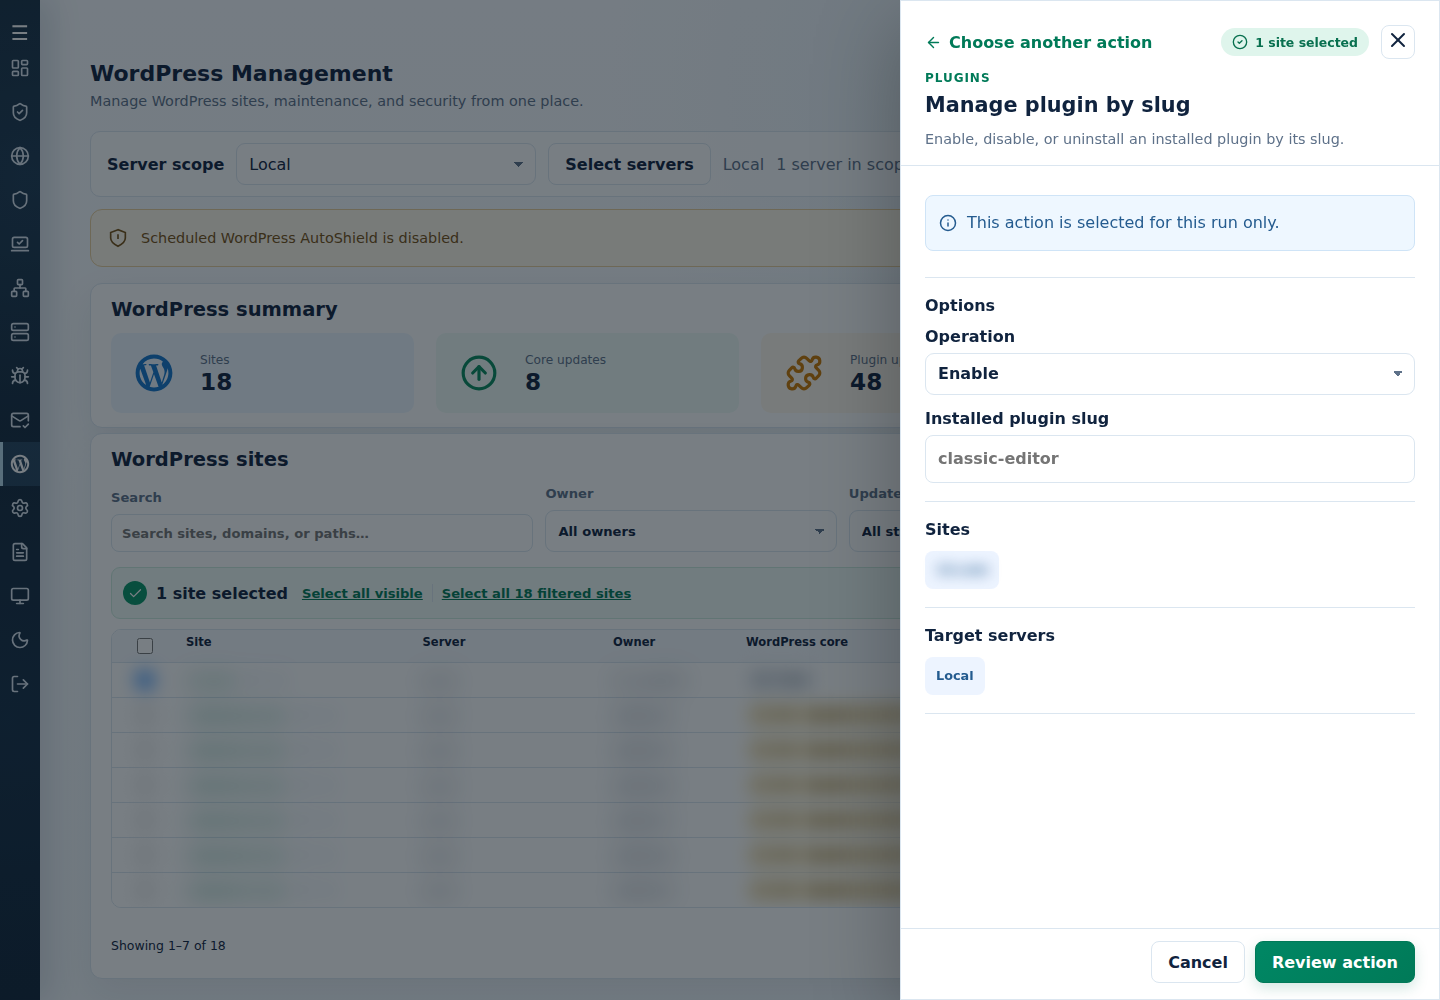
- Review the action and targets, then confirm. Read every site’s final result, including skips. Finished can include failed sites; see Read the outcome.
Enable activates an installed plugin; Disable deactivates it while preserving its files. Check the public site and dependent features. Use the opposite action to reverse the change. Clear relevant caches when changed assets are not visible.
Command-line method
Section titled “Command-line method”As root on the server hosting the sites, review /var/log/cpfenceav/wp-sites-list.txt first. CLI bulk tools use the listed installations, not the sites checked in the WebUI.
Choose the interactive command for your task, replacing classic-editor with the installed plugin slug:
| Action | Command |
|---|---|
| Enable | cpfence --bulk-enable-wp-plugin classic-editor |
| Disable | cpfence --bulk-disable-wp-plugin classic-editor |
Review the inventory and action prompts before confirming. Check each site’s final output, including installations where the plugin is missing or activation fails.
For reviewed automation, the original non-interactive forms remain available. Choose only the one you need:
cpfence --bulk-enable-wp-plugin-auto classic-editorcpfence --bulk-disable-wp-plugin-auto classic-editorThese skip confirmation. Prepare the intended site list first and check dependent features after the change. Disable preserves the plugin’s files, so the matching Enable command can reactivate it later. Install a missing plugin separately and clear relevant caches if its new assets are not visible.