
Change the WordPress language
- Choose the intended servers and sites. Start with one installation.
- Open Choose action → Bulk tools, search for Switch WordPress language, then choose that entry.
- Enter the intended WordPress locale, such as
en_US, and verify needed plugin/theme translations are available.
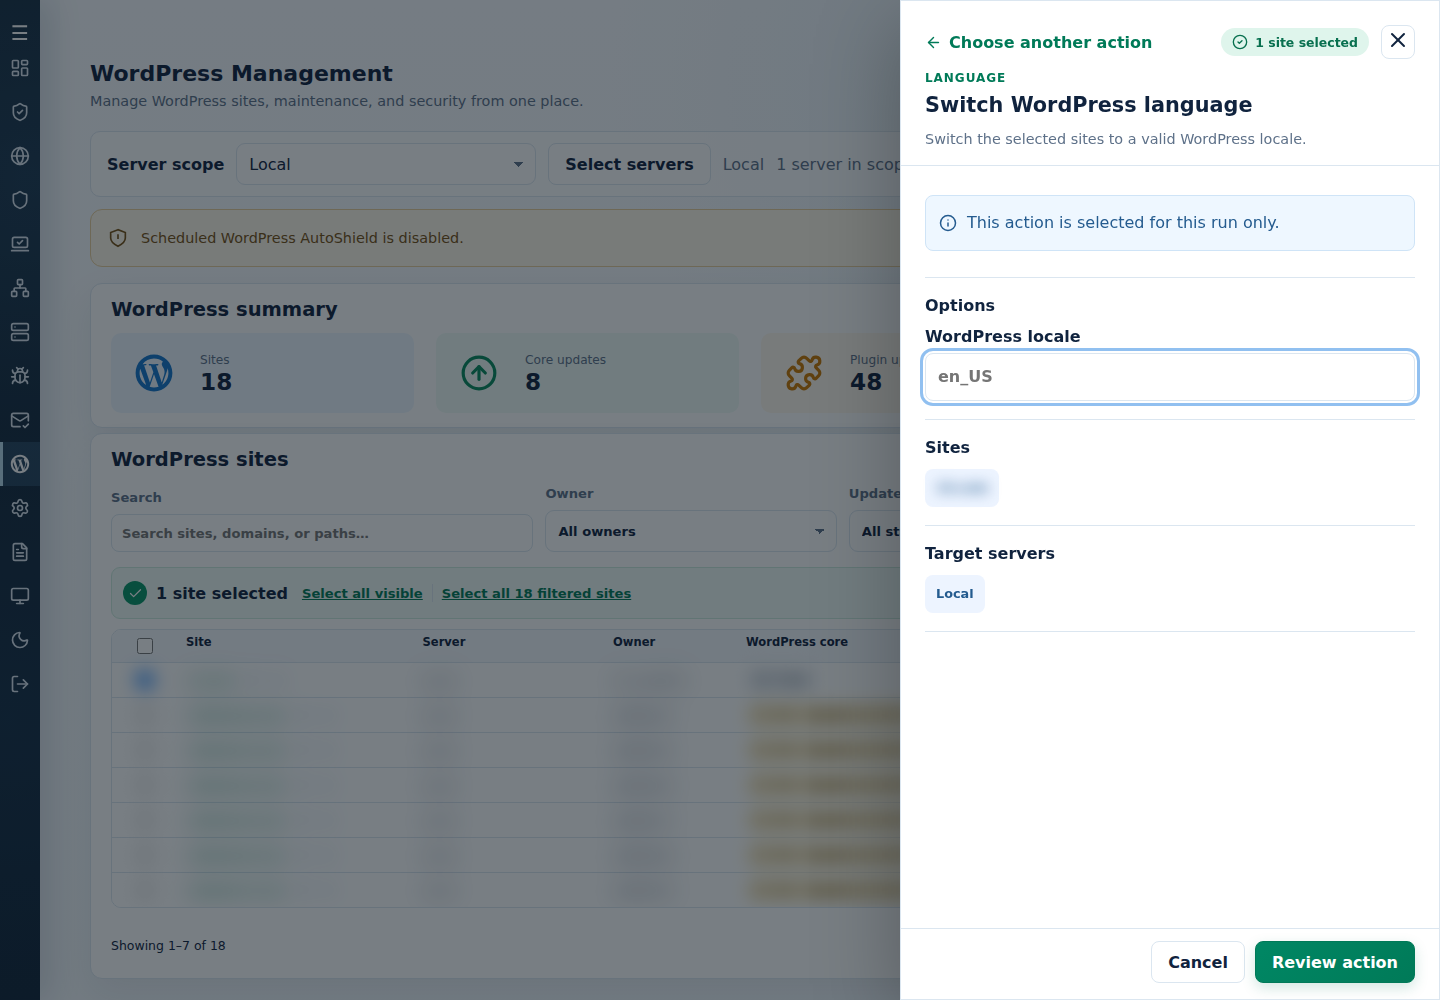
- Select Review action, check the action and targets, then confirm. Read every site’s final result, including skips. Finished can include failed sites; see Read the outcome.
Inspect installation and resulting language per site. Start with one customer and restore the prior locale if required; a component without translations will not gain them from a successful site-language change.
Command-line method
Section titled “Command-line method”From a root terminal on the server hosting the sites, switch to the intended locale, for example Spanish:
cpfence --bulk-switch-wp-language es_ESCheck the WordPress language list for locale codes. Review /var/log/cpfenceav/wp-sites-list.txt and the inventory/confirmation prompts first; the command uses that server’s listed installations, not checked WebUI rows.
cPFence installs the core locale files and switches the site language. Read each site’s final output and check the resulting language. Verify plugin/theme translations before a wider rollout. To reverse the change, repeat the same flow with the site’s previous locale, such as en_US.