
Enable LiteSpeed Redis integration
- Choose the intended servers and sites. Start with one installation.
- Check the target plugin and eligible Redis connection.
- Open Choose action → Bulk tools → Performance, then choose Enable LiteSpeed Redis under LiteSpeed.
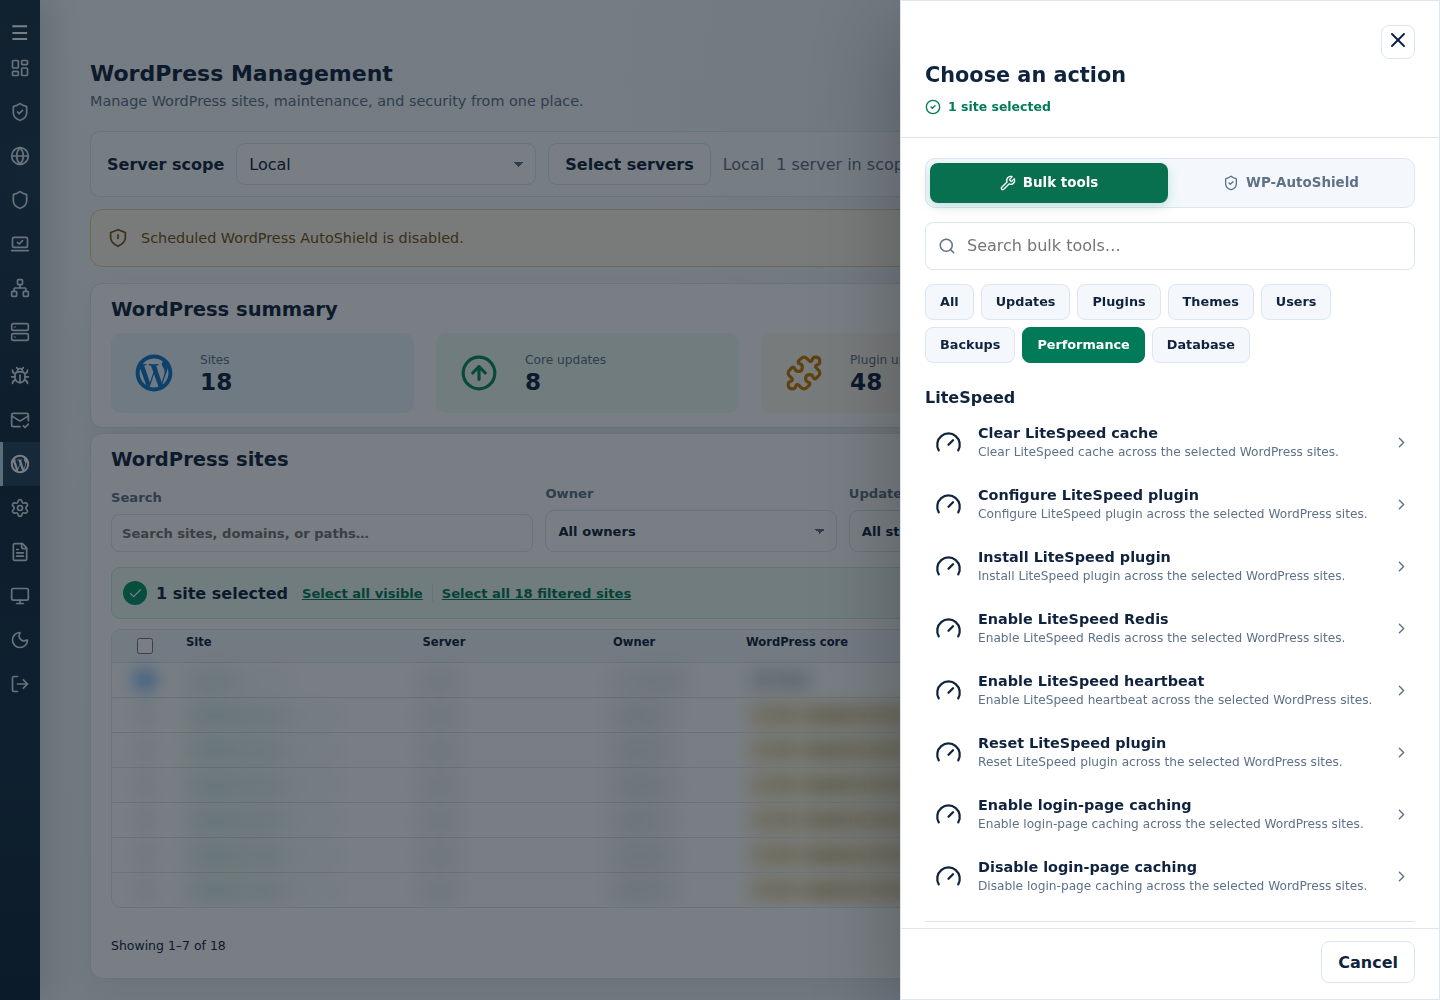
- Review the action and targets, then confirm. Read every site’s final result, including skips. Finished can include failed sites; see Read the outcome.
This configures the plugin’s object-cache integration. Server-side Redis deployment is separate; inspect connectivity and the final per-site result before relying on it.
Command-line method
Section titled “Command-line method”From a root terminal on the server hosting the sites, run:
cpfence --bulk-enable-ls-redisReview /var/log/cpfenceav/wp-sites-list.txt and the inventory confirmation first. This uses that server’s listed installations, not the checked WebUI rows. LiteSpeed Cache and a working Redis connection at localhost:6379 are needed.
For the separate Enhance infrastructure setting, use cpfence --bulk-enable-redis-cluster on the main control panel server. Prepare its API key and cluster site list first; it has a different target scope from this local plugin action.
Read each site’s final output, check Redis connectivity and test normal pages. If another plugin owns wp-content/object-cache.php, resolve that ownership deliberately rather than deleting its file blindly. Preserve the previous cache configuration so you can restore it if the integration is unsuitable.