
Enable or disable automatic quarantine
Automatic quarantine in cPFence v4+ moves detected website files out of their original paths. It is off in fresh settings.
Using the WebUI
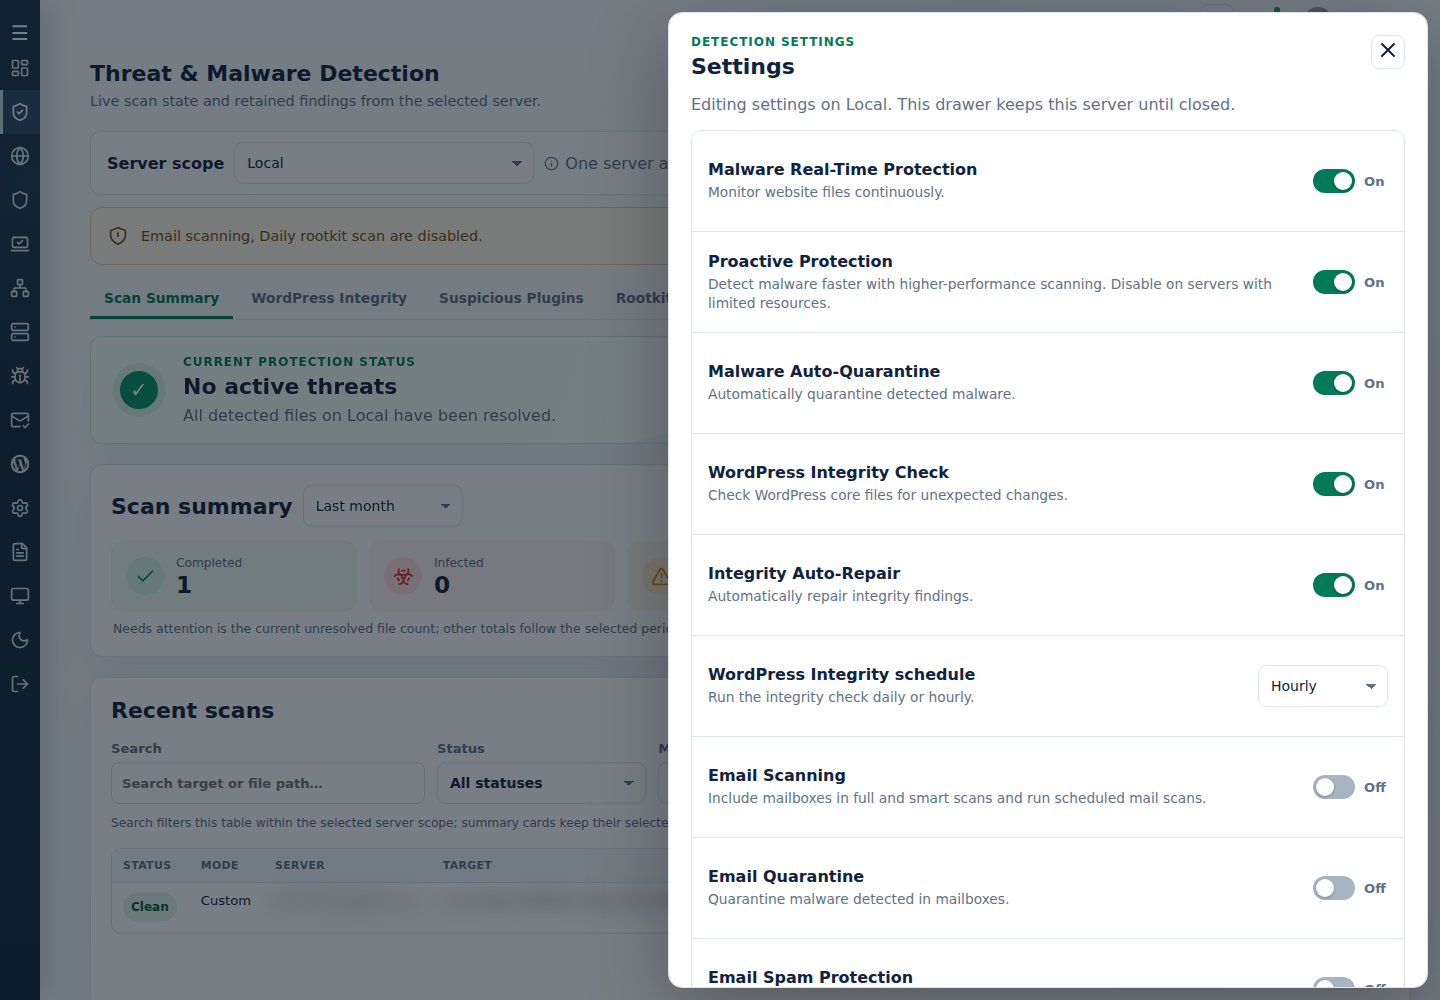
Section titled “Using the WebUI”- Open Threat & Malware Detection, choose the server and open Settings.
- Set Malware Auto-Quarantine, then Save.
- Confirm the saved value before starting a scan.
Support users need protection-setting permission. Email quarantine is a separate setting.
To restore this page’s defaults, follow reset feature-page settings.
Using the CLI
Section titled “Using the CLI”Run as root on the target server:
| Action | Command |
|---|---|
| Enable automatic quarantine | cpfence --enable-quarantine |
| Disable automatic quarantine | cpfence --disable-quarantine |
To review a full scan without automatic file moves, disable quarantine first, then run cpfence --full-scan. The scan command alone does not turn quarantine off.
Recoverable payloads are stored privately under /var/lib/cpfcli/quarantine/. Use the recovery controls rather than moving their files by hand.