
Apply LiteSpeed Cache presets
- Choose the intended servers and sites. Start with one installation.
- Record existing custom settings before applying the supported preset.
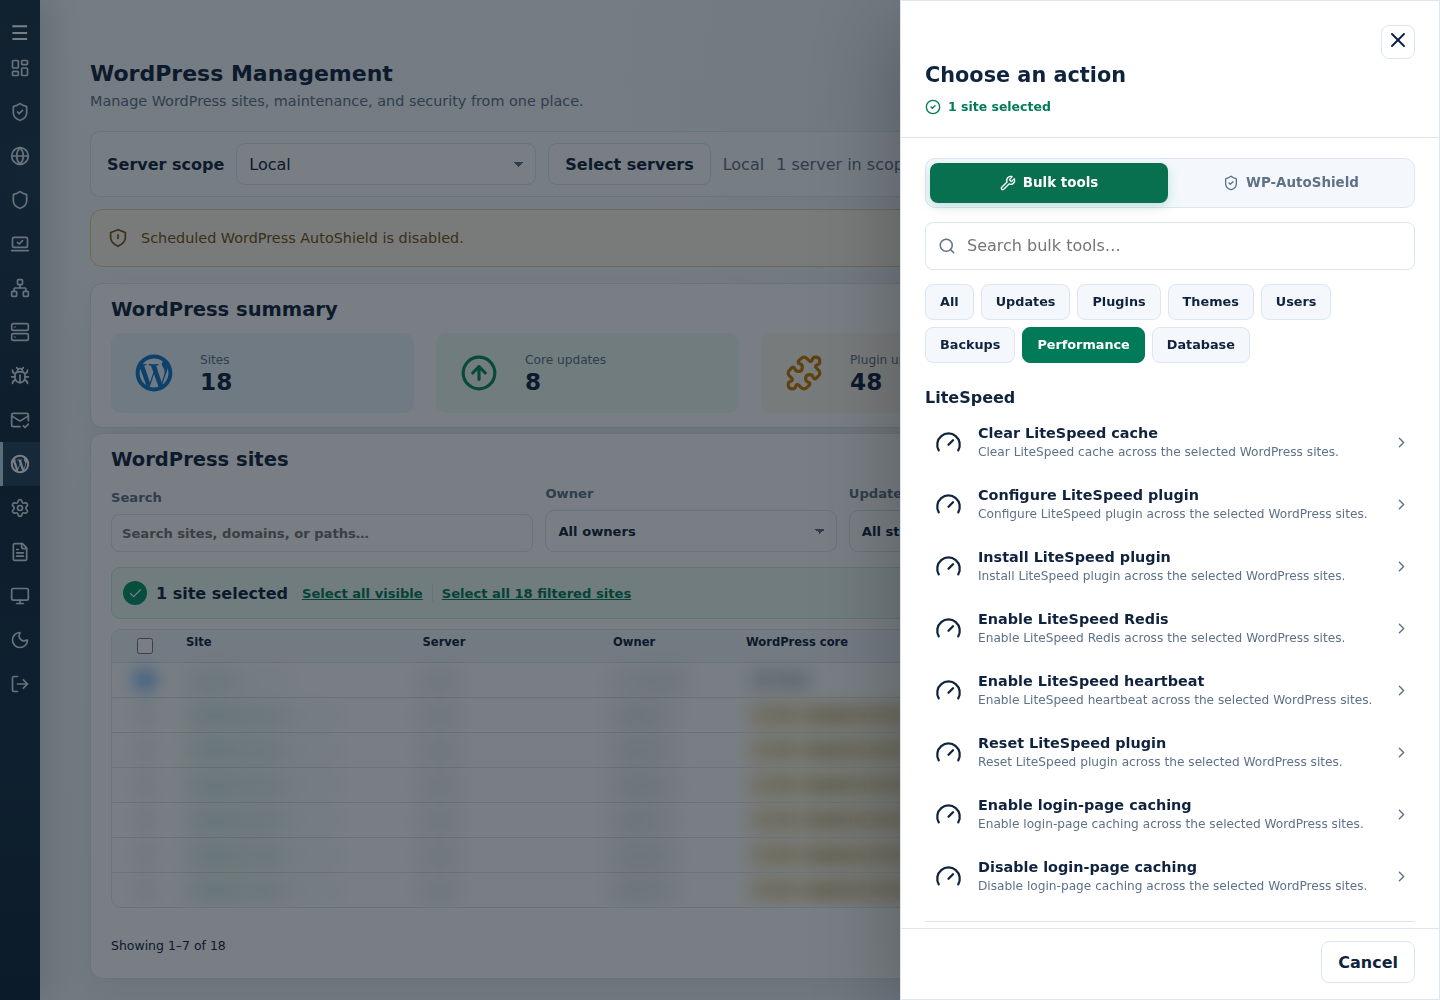
- Open Choose action → Bulk tools → Performance, then choose Configure LiteSpeed plugin under LiteSpeed.
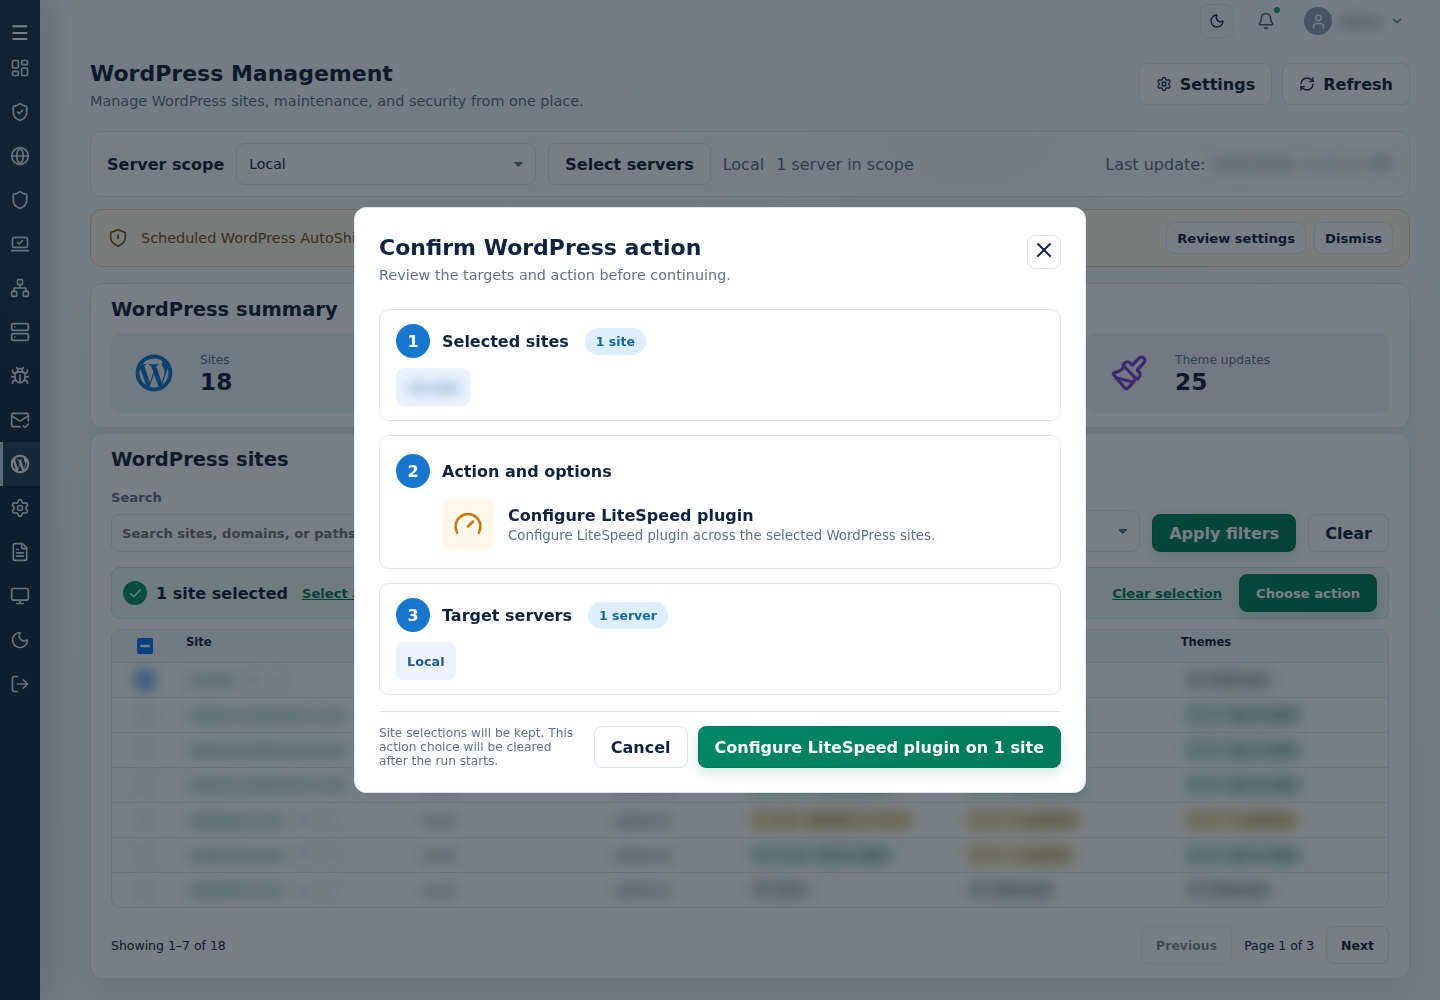
- In Confirm WordPress action, check Selected sites, Action and options and Target servers. Confirm Configure LiteSpeed plugin on …, or choose Cancel. Read every site’s final result, including skips. Finished can include failed sites; see Read the outcome.
Check caching, Redis connectivity and site behavior afterwards. A preset changes configuration; it does not guarantee identical performance across workloads.
Command-line method
Section titled “Command-line method”From a root terminal on the server hosting the sites, run:
cpfence --bulk-configure-ls-pluginReview /var/log/cpfenceav/wp-sites-list.txt and the inventory prompt first. This uses the server’s listed WordPress sites, not the rows checked in the WebUI. Confirm only when the existing settings are backed up and the intended sites have LiteSpeed Cache installed.
The action applies the advanced preset and configures Redis object caching. Read each site’s output and check Redis connectivity and the public site afterward. If another plugin owns object-cache.php, resolve that cache ownership before retrying; do not delete another plugin’s drop-in blindly.
Use this after installing LiteSpeed Cache or when deliberately returning sites to the supported preset. Restore your saved custom settings if the preset changes behavior you need to keep.