
Remove the cPFence security MU plugin
The cPFence security MU plugin supplies XML-RPC restrictions, login limits, WordPress CAPTCHA, idle logout and security headers. It loads automatically in WordPress.
Remove it and keep it disabled
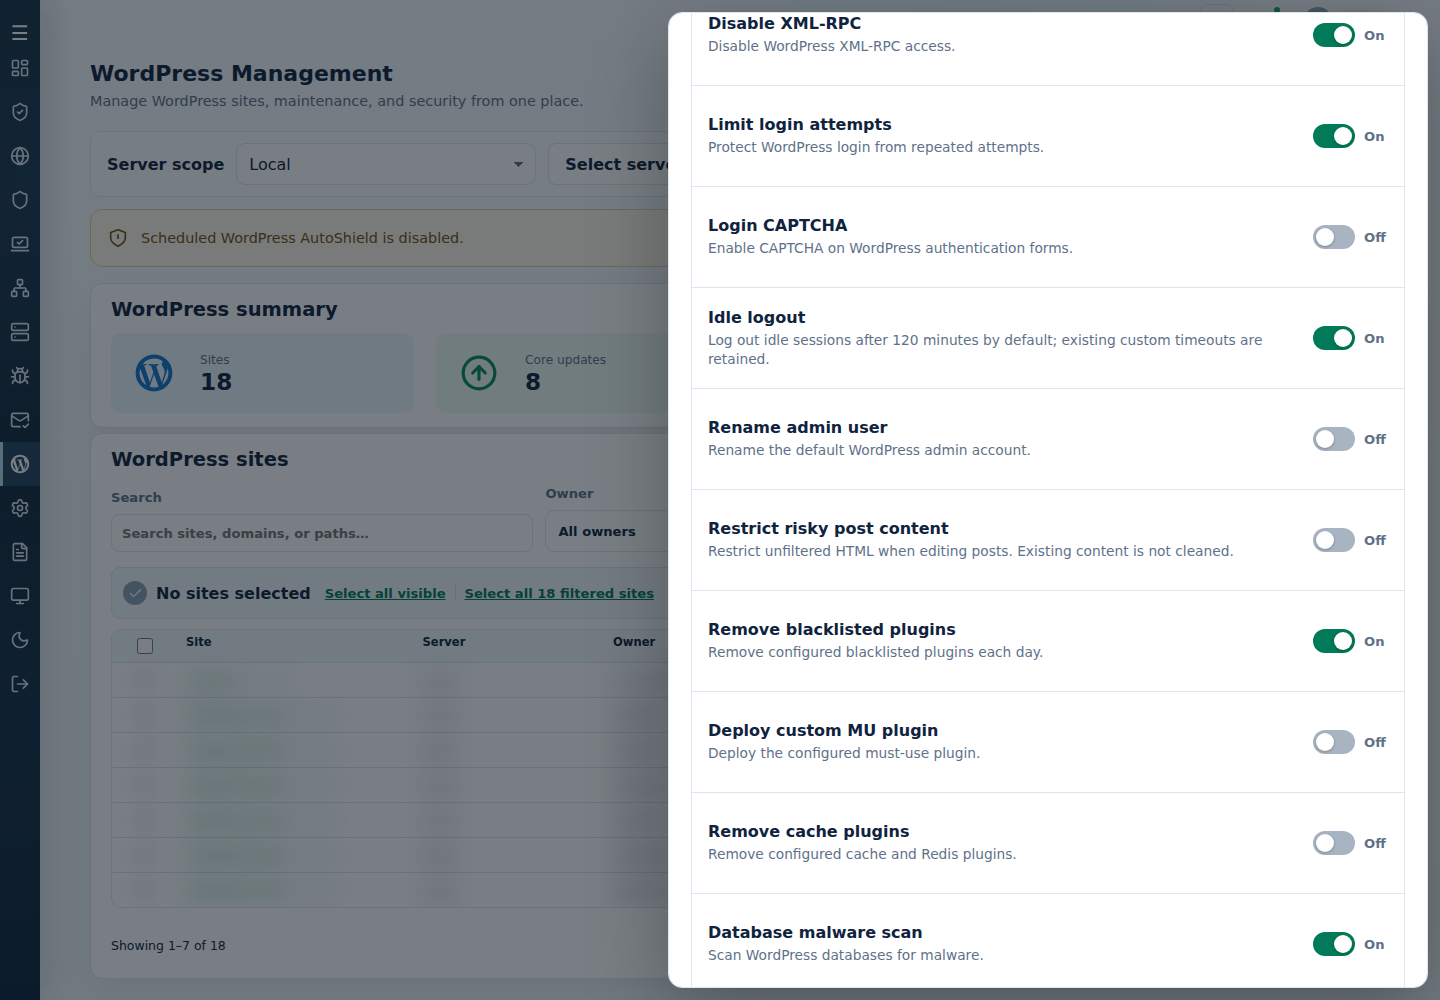
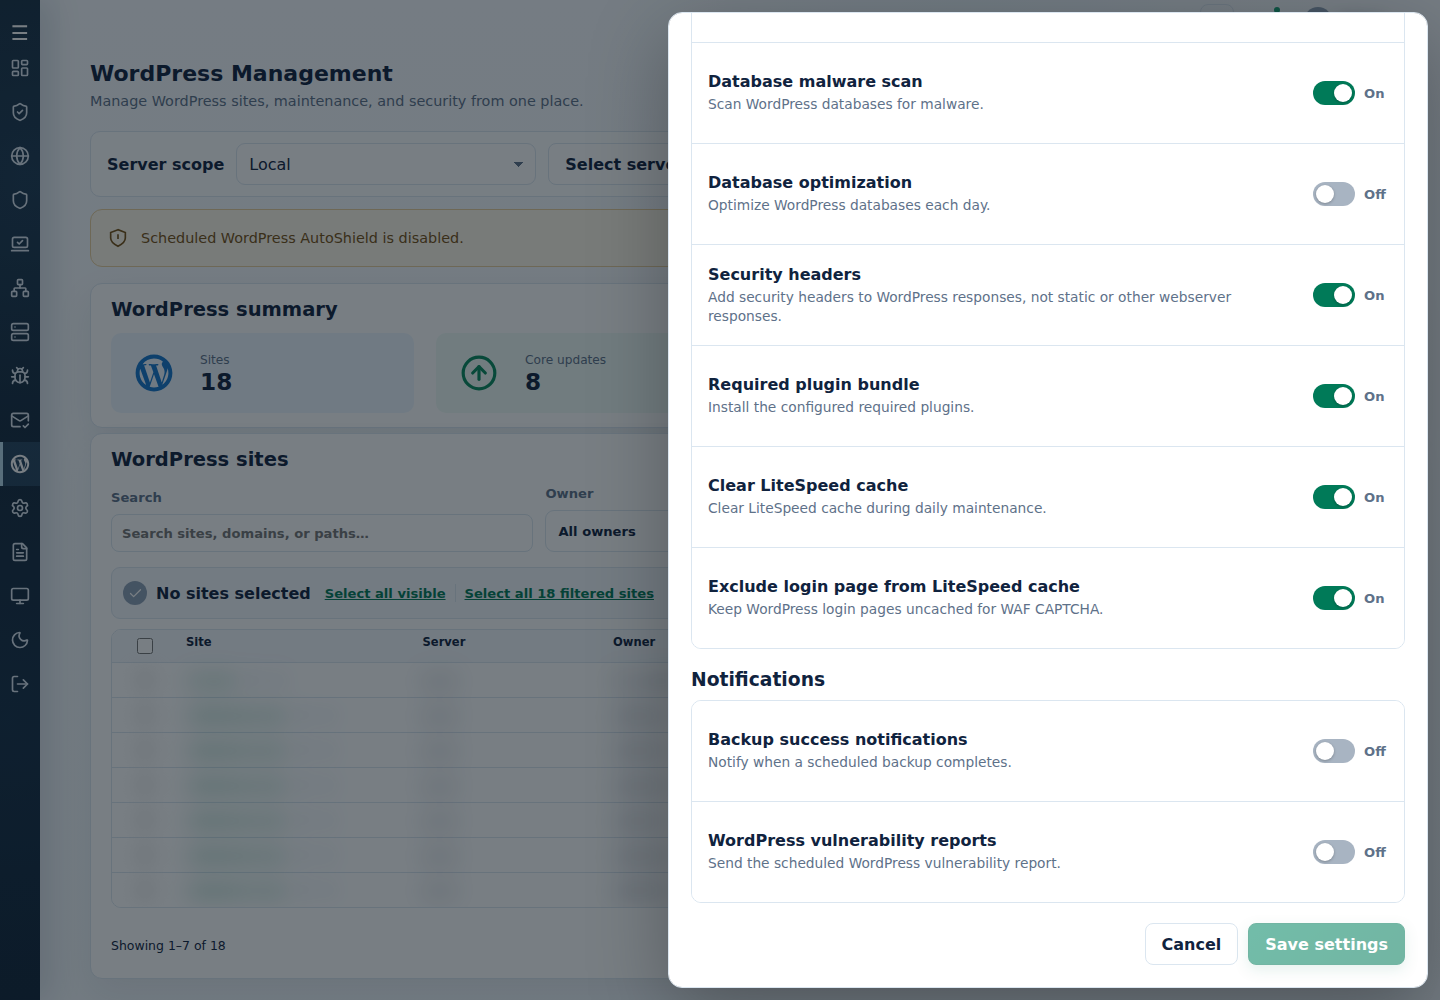
Section titled “Remove it and keep it disabled”- In WordPress Management, choose the server and open Settings.
- Turn these five child policies off: Disable XML-RPC, Limit login attempts, Login CAPTCHA, Idle logout and Security headers. Select Save settings.
-
As root on that server, run:
Terminal window cpfence --bulk-remove-mu-plugin -
Read the result and check site sign-in and response headers.
Manage custom MU plugin is a separate action for your uploaded PHP plugin; it does not mean removal of cPFence’s built-in security plugin.