
Uninstall a WordPress plugin
- Choose the intended servers and sites. Start with one installation.
- Open Choose action → Bulk tools → Plugins → Manage plugin by slug.
- Enter Installed plugin slug and choose Uninstall in Operation.
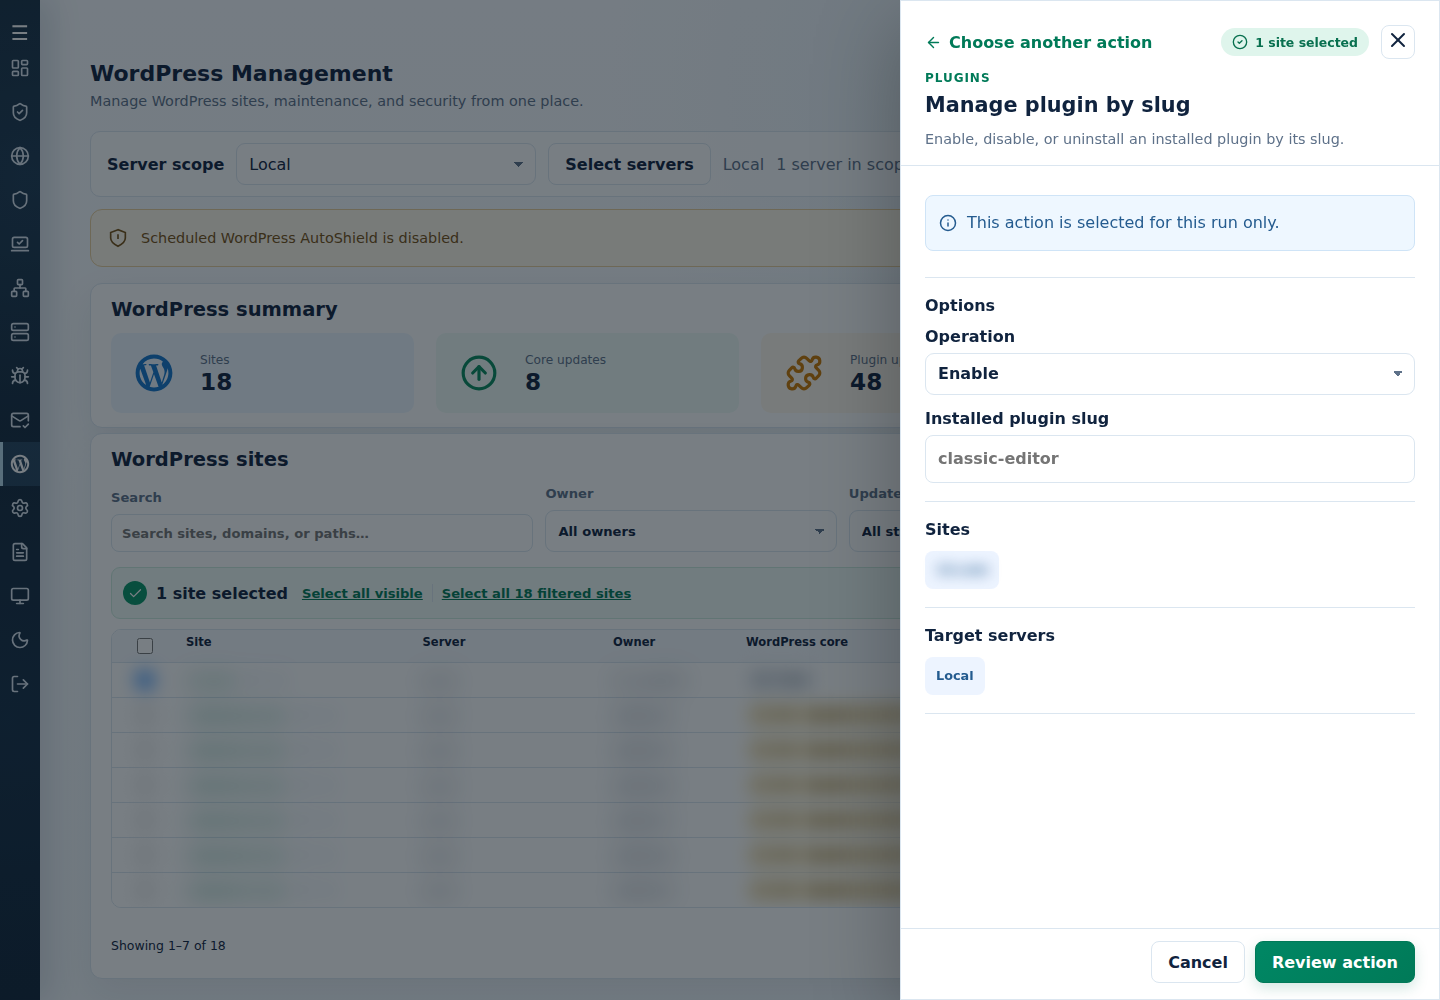
- Review the action and targets, then confirm. Read every site’s final result, including skips. Finished can include failed sites; see Read the outcome.
Check the result and plugin directory for each site. Confirm customers no longer depend on the plugin before running it.
Command-line method
Section titled “Command-line method”From a root terminal on the server hosting the sites, uninstall by slug with confirmation:
cpfence --bulk-uninstall-wp-plugin hello-dollyReview /var/log/cpfenceav/wp-sites-list.txt and the inventory and removal prompts first. This uses the server’s listed installations, not checked WebUI rows. Confirm customers no longer depend on the plugin and preserve its package, settings and data.
For automation, the original no-confirmation method is:
cpfence --bulk-uninstall-plugin-auto hello-dollyReplace hello-dolly with the intended slug and check the list before using the automatic method. Both methods deactivate and uninstall the plugin. Read each site’s final output and inspect its pages and plugin directory; recovery can require restoring data as well as files. If you want to keep the installed package, disable it instead.