
Use WordPress maintenance mode
- Choose the intended servers and sites. Start with one installation.
- Review the affected customers and maintenance window.
- Open Choose action → Bulk tools, search for
maintenance, then choose Enable maintenance mode.
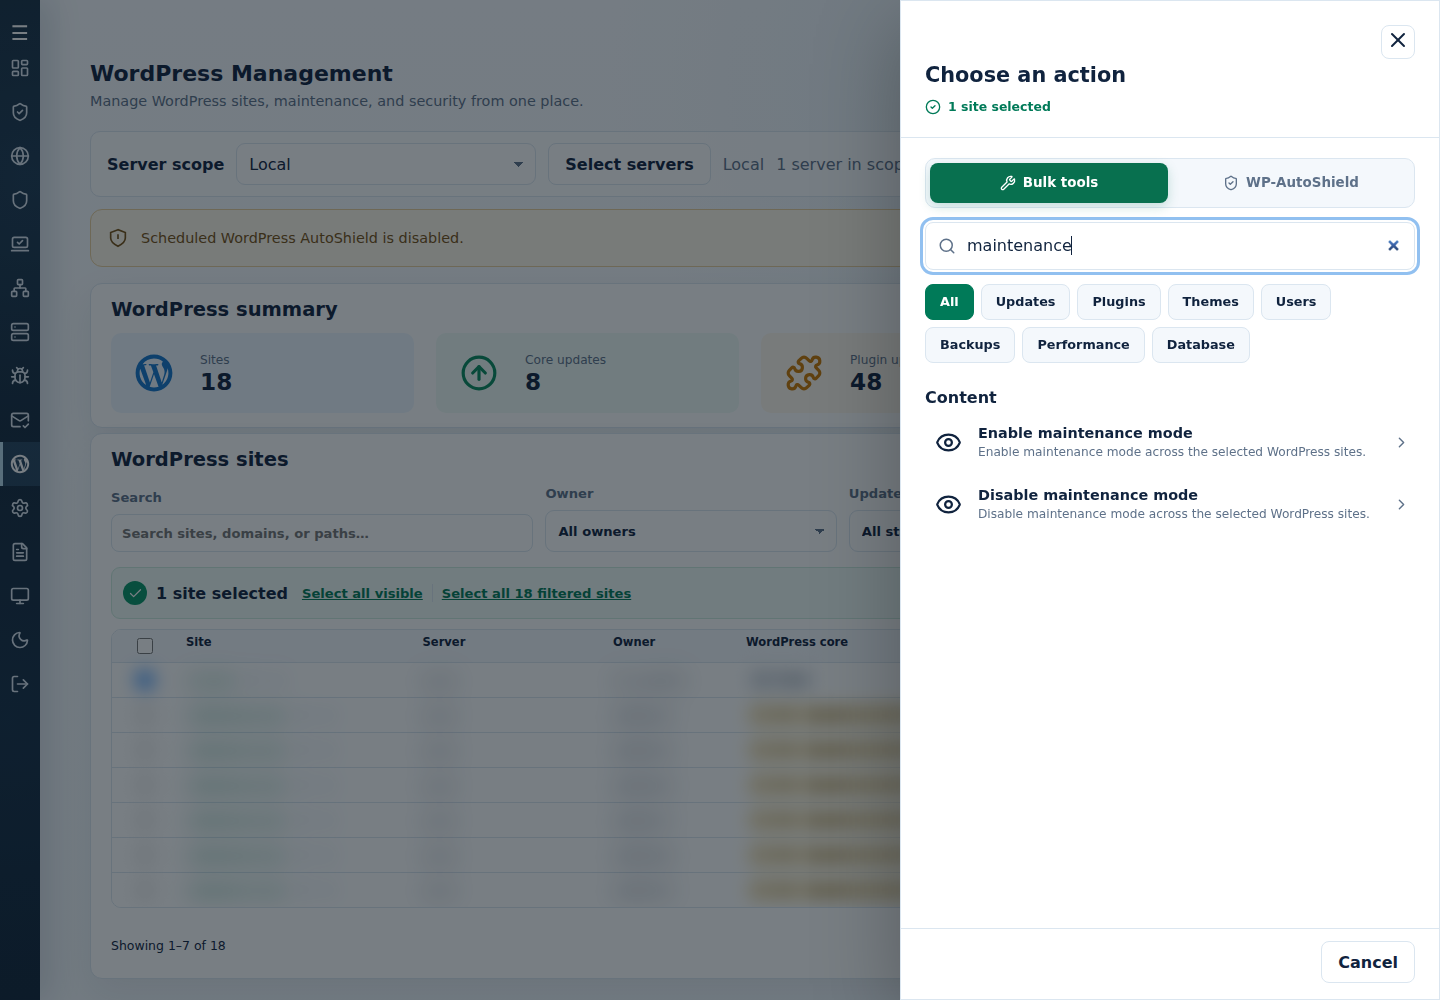
- Review the action and targets, then confirm. Read every site’s final result, including skips. Finished can include failed sites; see Read the outcome.
When finished, run Disable maintenance mode on the same sites, inspect final results and verify the public site is available again. A disconnected browser does not undo maintenance mode.
Command-line method
Section titled “Command-line method”From a root terminal on the server hosting the sites, enable maintenance mode:
cpfence --bulk-enable-maintenance-modeReview /var/log/cpfenceav/wp-sites-list.txt and the inventory/confirmation prompts first. This uses that server’s listed installations, not checked WebUI rows. Plan the enable/disable cycle during off-peak hours and notify affected customers.
When the work is finished, disable maintenance mode on the same list:
cpfence --bulk-disable-maintenance-modeRead every site’s result and verify the public site is available before informing customers. If a site remains offline, inspect its individual error and resolve it rather than assuming the whole bulk action succeeded. Preserve the original list so you can apply the recovery action to the intended sites.