
Change system settings and notification delivery
Use System Settings to change protection, monitoring, resource alerts, and notification delivery. This guide covers cPFence v4+ on Enhance.
Sign in as an administrator or a support user with View System Settings and the appropriate Manage General Settings or Manage Notification Settings grant. Bulk apply and advanced tools need their separate grants. Check the selected server and its connection before saving.
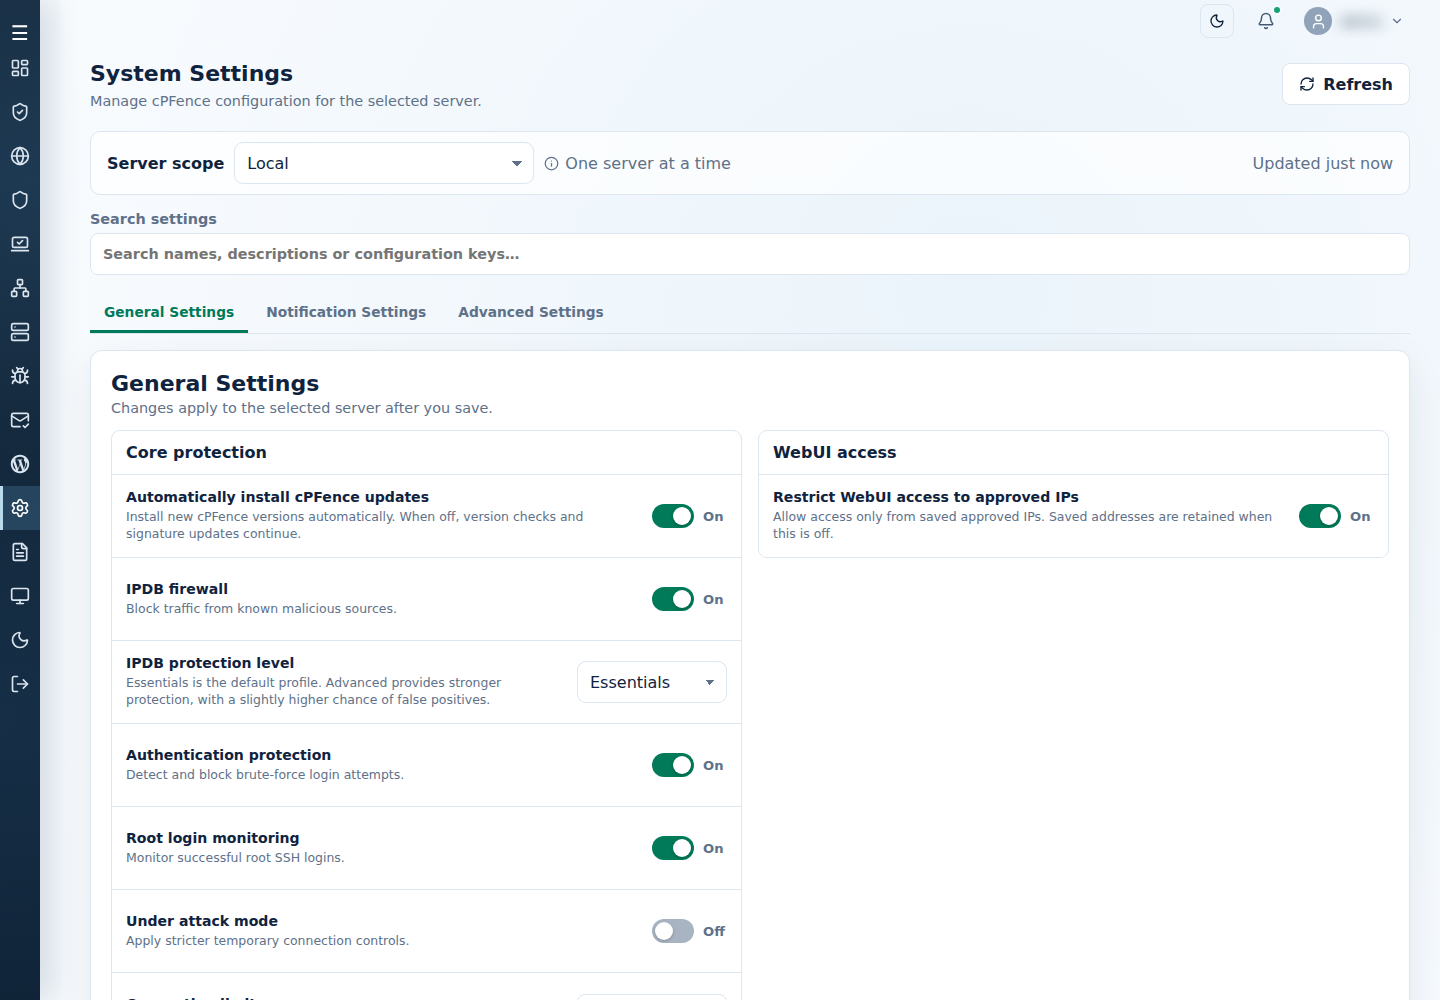
1. Save settings on one server
Section titled “1. Save settings on one server”- Open System Settings and choose one Server scope. For selection defaults, see server scope.
- Choose General Settings or Notification Settings. Use Search settings to find a control; clear the search to review the whole tab.
- Change the required fields and read their help. Select Show WordPress options for the AutoShield child controls.
- Select Save changes and read the result. Refresh and check the values and the relevant module’s status afterward.
Settings shown on an existing server are its saved values, not fresh-install defaults. Saving a module switch can enable or stop its scheduled protection. Child options can be unavailable while their master is off. Turn off Authentication protection before disabling IPDB firewall if the dependency warning requires it.
2. Apply reviewed changes to several servers
Section titled “2. Apply reviewed changes to several servers”- Stage the changes on the appropriate tab, then select Apply to servers…. This does not require first saving them on the displayed server.
- In Review server changes, choose Target servers: All Servers, All Servers (No Local), or Selected servers. Review every selected target; switching to Selected servers initially checks the available listed targets.
- Under Changed fields, leave checked only the settings or delivery connections you intend to copy. Review exclusions and unavailable secondary servers.
- Select Apply to servers once and monitor the per-server results.
Updated, No change, Conflict, and Failed are separate outcomes. A finished bulk job can still contain failed targets. Close during a running job closes its view; it does not cancel the changes. Check the affected servers before trying again.
For a concurrent-edit conflict, refresh the affected server and compare its current values before making a fresh change. If recovery needs administrator attention, resolve that message before another save. Do not repeatedly submit an uncertain change.
3. Choose notification events and delivery
Section titled “3. Choose notification events and delivery”- Select one server and open Notification Settings.
- Choose the event notifications you want, such as root login, load, resources, or successful scans.
- Follow email and SMTP setup or Slack setup to configure and test delivery.
- Select Save changes, then check the selected server’s saved values.
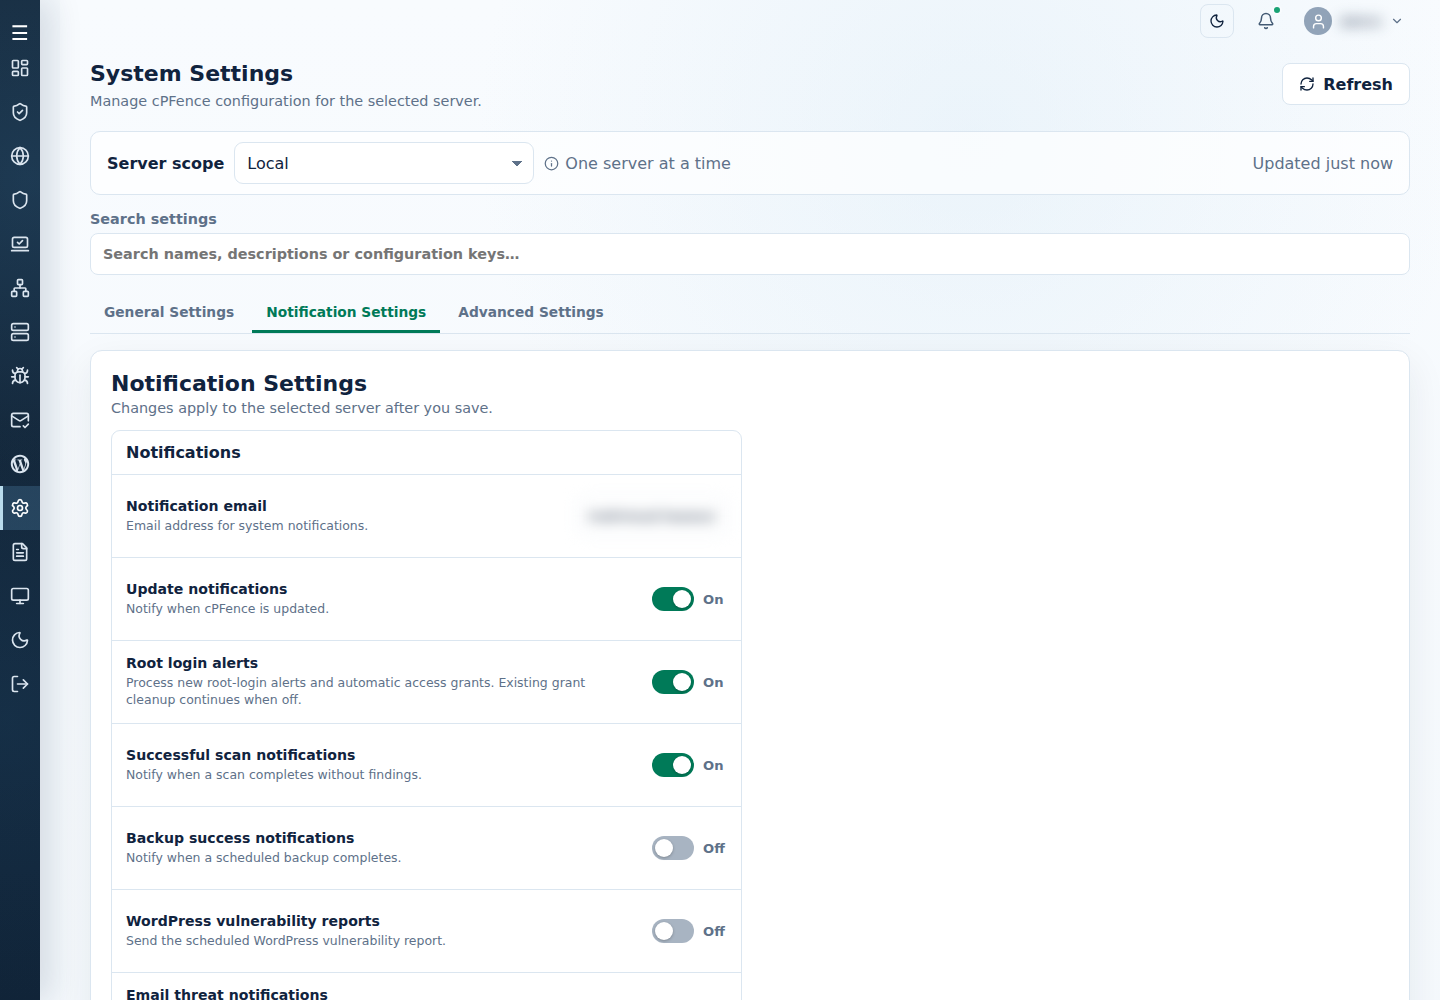
Reset and advanced tools
Section titled “Reset and advanced tools”Advanced Settings provides Owl module, Owl history logging, Owl AutoMySQL, SSL monitoring, Manage LogSpot v2 Module, and the link to Edit Configuration Files. These tools have their own confirmations and output. Restart cPFence (Selected) and Restart cPFence (All Servers) can interrupt services; inspect their target preview and result rather than treating them as a routine save step. See Owl and LogSpot and server tools for those workflows.
Reset settings on a feature page
Section titled “Reset settings on a feature page”Some feature pages have their own Settings → Reset control.
- Select the intended server and open that page’s Settings.
- Select Reset and read the named-server confirmation. It restores packaged defaults for that page’s settings, not every General or Notification setting.
- Choose Cancel to keep your values, or Confirm reset to replace them. Reload the settings and check the affected protection afterward.
Reset can start or stop protection according to those defaults. Back up settings before resetting a policy you may need to restore.
Monitor certificate expiry
Section titled “Monitor certificate expiry”- Choose the intended targets and open Advanced Settings → SSL monitoring.
- Set Days before expiry to alert, then choose Enable SSL Monitoring and review the target confirmation. The starting period is 30 days.
- Read each server’s result and check SSL monitoring and SSL warning period in General Settings.
- Configure email or Slack delivery, then inspect any expiry alert. The affected server’s issue report is
/var/log/cpfenceav/ssl/ssl_certs_issues.log.
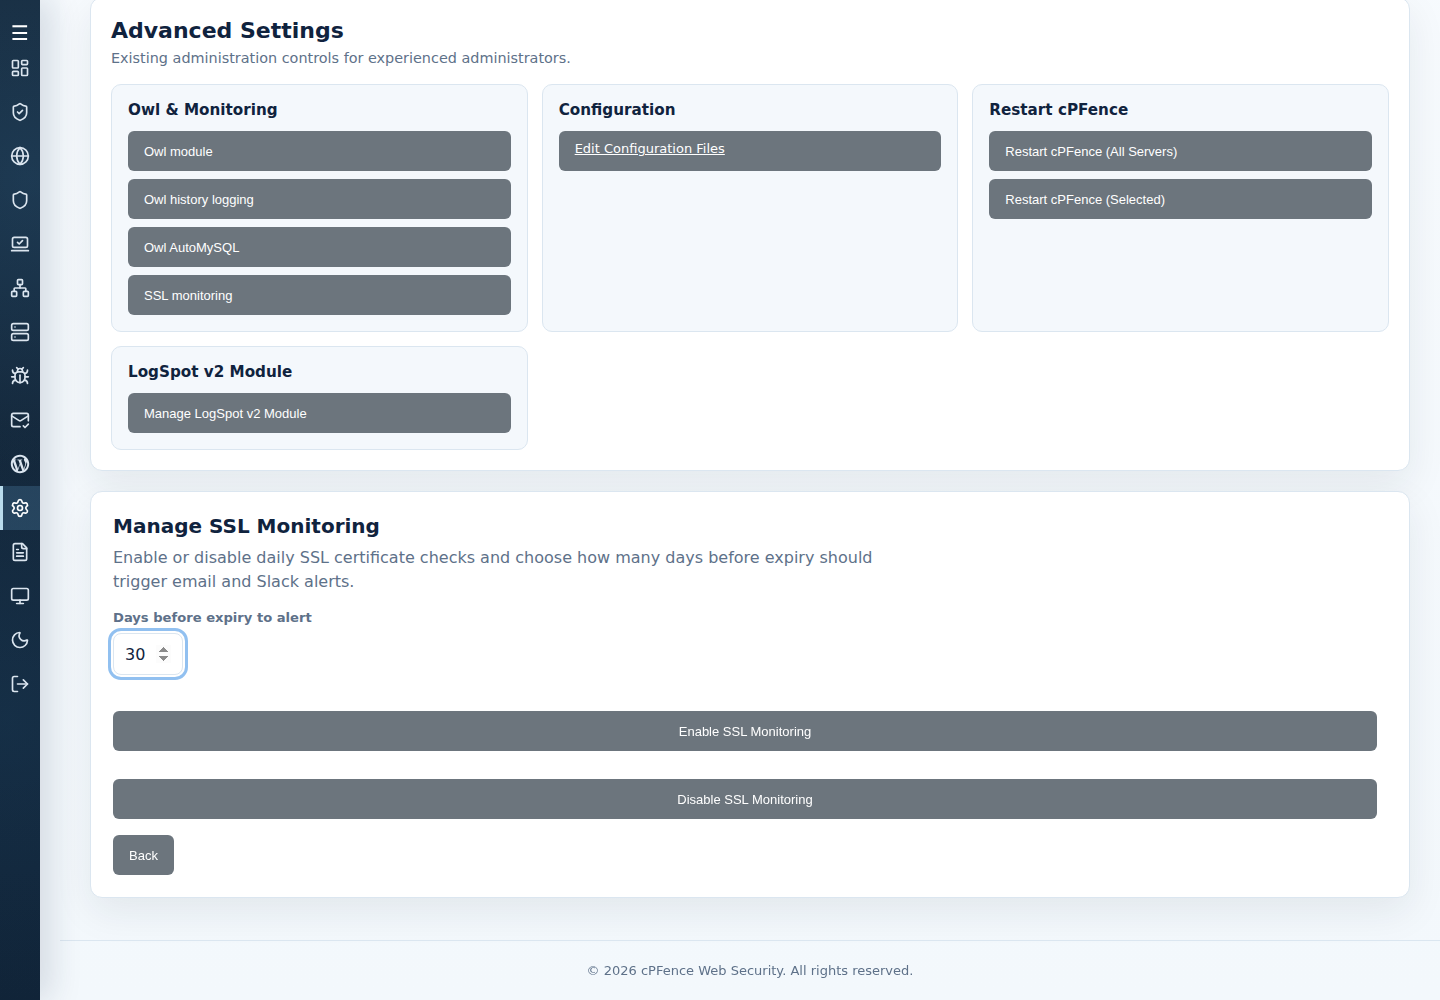
Use Disable SSL Monitoring to stop the scheduled checks. Monitoring reports certificate issues; it does not renew certificates or certify that a website is healthy. For renewal, use the website SSL task.
Restart selected servers or the cluster
Section titled “Restart selected servers or the cluster”- Review the sidebar server targets before opening Advanced Settings.
- Choose Restart cPFence (Selected) for that selection. Restart cPFence (All Servers) requests the whole authorized cluster, regardless of a narrower selection.
- Read the confirmation and cancel if its targets are wrong. Confirm only when you are ready for service interruption.
- Read each server’s final output, reconnect if the WebUI was interrupted, and check the actual protection status.
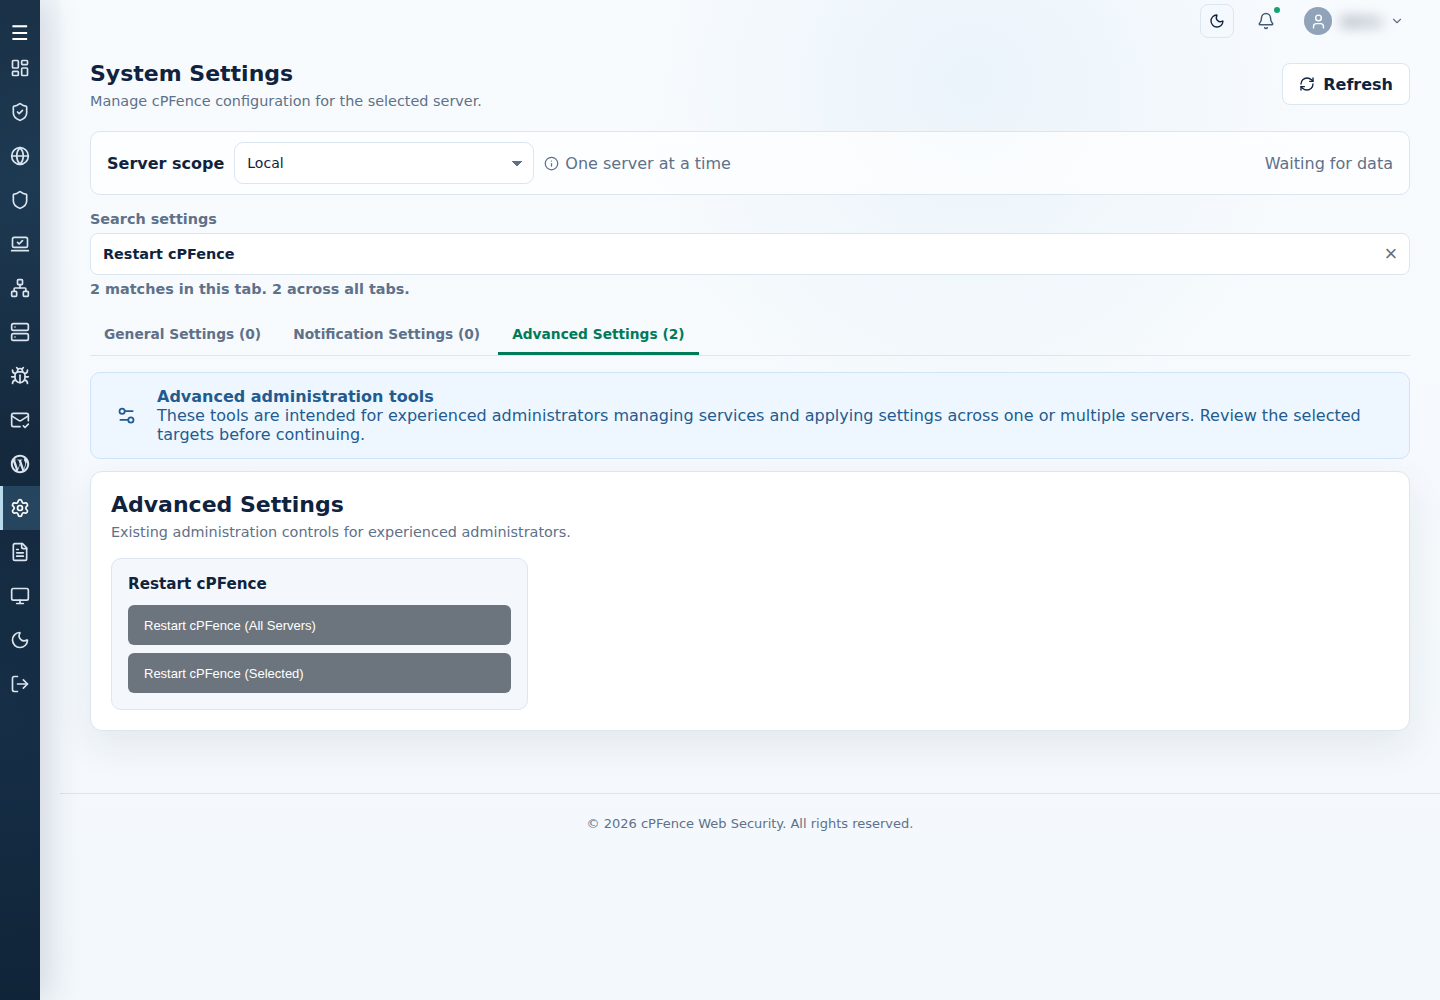
A restart reapplies the saved protection settings; it does not turn every module On. An unavailable server or lost stream does not establish success. Check its state before repeating the request.
Settings groups and fresh-install defaults
Section titled “Settings groups and fresh-install defaults”General and Notification tabs contain the settings below; Advanced Settings contains additional actions. These are packaged defaults; your imported or saved values can differ. A child option set to On has no effect when its owning master is Off.
| Group | Packaged defaults and controls |
|---|---|
| Core protection | On: automatic cPFence updates, IPDB firewall, Authentication protection, Root login monitoring, Daily rootkit scan, Web application firewall. Off: Under attack mode. IPDB protection level Essentials; Connection limit 100. Disabling automatic version installation keeps version checks and signature updates available. |
| WebUI access | Restrict WebUI access to approved IPs Off. |
| Malware & quarantine | Real-time malware protection and Proactive scanning On. Auto quarantine, Email scanning, and Email quarantine Off. Quarantine retention 60 days. Website and mailbox quarantine are independent; reducing retention can remove older retained payloads. |
| WordPress protection | Integrity monitoring On, Automatic file action Off, Integrity schedule Daily. WordPress AutoShield On. Its 24 child options are grouped below. |
| Email & Spam AutoShield | Email spam protection and Spam AutoShield Off. Outbound rate limits On, SMTP hourly limit 200 per mailbox, Website hourly limit 200 per website, when their masters are enabled. |
| Backup | WordPress backups and Remote backups Off. Remote SSH port 22; Retention 12 copies per site; Schedule 1,4 (Monday and Thursday). Scheduling also accepts daily or weekdays 0–6, where 0 is Sunday. |
| Monitoring | Owl monitoring, Owl history, Owl AutoMySQL, and IP reputation monitoring On. MonitorPro, LogSpot, Website ID login, and SSL monitoring Off. Blacklisted database users and AutoMySQL excluded users empty; Maximum query duration 30 seconds; LogSpot file limit 10 MB; SSL warning period 30 days. |
| Notifications | Notification email empty. Update notifications, Root login alerts, Email threat notifications, Load alerts, and Resource alerts On. Successful scan notifications, Backup success notifications, WordPress vulnerability reports, and Slack notifications Off. |
| Resource thresholds | CPU load threshold 3; Memory, Disk usage, Disk I/O, and Inode thresholds 80%; Alert delay 300 seconds; Repeat notification interval 21600 seconds; Watchdog restart interval 3600 seconds. |
WordPress options: these belong to the AutoShield master, not the separate Integrity controls.
| Default | Child options |
|---|---|
| On | Update WordPress site list; Vulnerability report; Disable WordPress cron; Initialize secure keys; Disable pingbacks; Enforce secure permissions; WordPress hardening; Disable XML-RPC; Limit login attempts; Idle logout; Remove blacklisted plugins; Database malware scan; Security headers; Exclude login page from LiteSpeed cache. |
| Off | Automatic WordPress updates; Disable dashboard file editing; Login CAPTCHA; Rename admin user; Restrict risky post content; Deploy custom MU plugin; Remove cache plugins; Database optimization; Required plugin bundle; Clear LiteSpeed cache. |
Review WordPress security before enabling removal, permission, or login policies. Turning off Automatic WordPress updates does not disable existing site auto-update settings. Disabling request-triggered WordPress cron requires a separately configured scheduler. Initialize secure keys retains existing keys; Restrict risky post content does not clean old content. Security headers apply to WordPress responses.
Resource thresholds describe different measurements: CPU load is one-minute load average, not CPU utilization percent; disk/inode checks concern the root filesystem, and disk I/O concerns root-device busy time. The notification repeat interval and watchdog recovery interval are independent. Setting either interval to zero removes that delay, so review the consequence before saving.
Troubleshooting
Section titled “Troubleshooting”- Disabled control: enable its owning master only if you want that protection, or check your section permission.
- Save conflict: refresh, compare current values, and reapply only the changes still needed.
- Notification missing: check the recipient, event switch, module state, SMTP/Slack connection, cooldown, and provider result. Saved settings alone do not prove delivery.
- One server failed in bulk apply: inspect that server’s connection and result; successful targets do not need an automatic repeat.