
Use a login protection plugin with AutoShield
Choose one login protection system for the site: its WordPress plugin or cPFence’s built-in controls.
Keep your plugin’s protection
Section titled “Keep your plugin’s protection”- Exclude the site from AutoShield so daily policy will not reapply the conflicting controls.
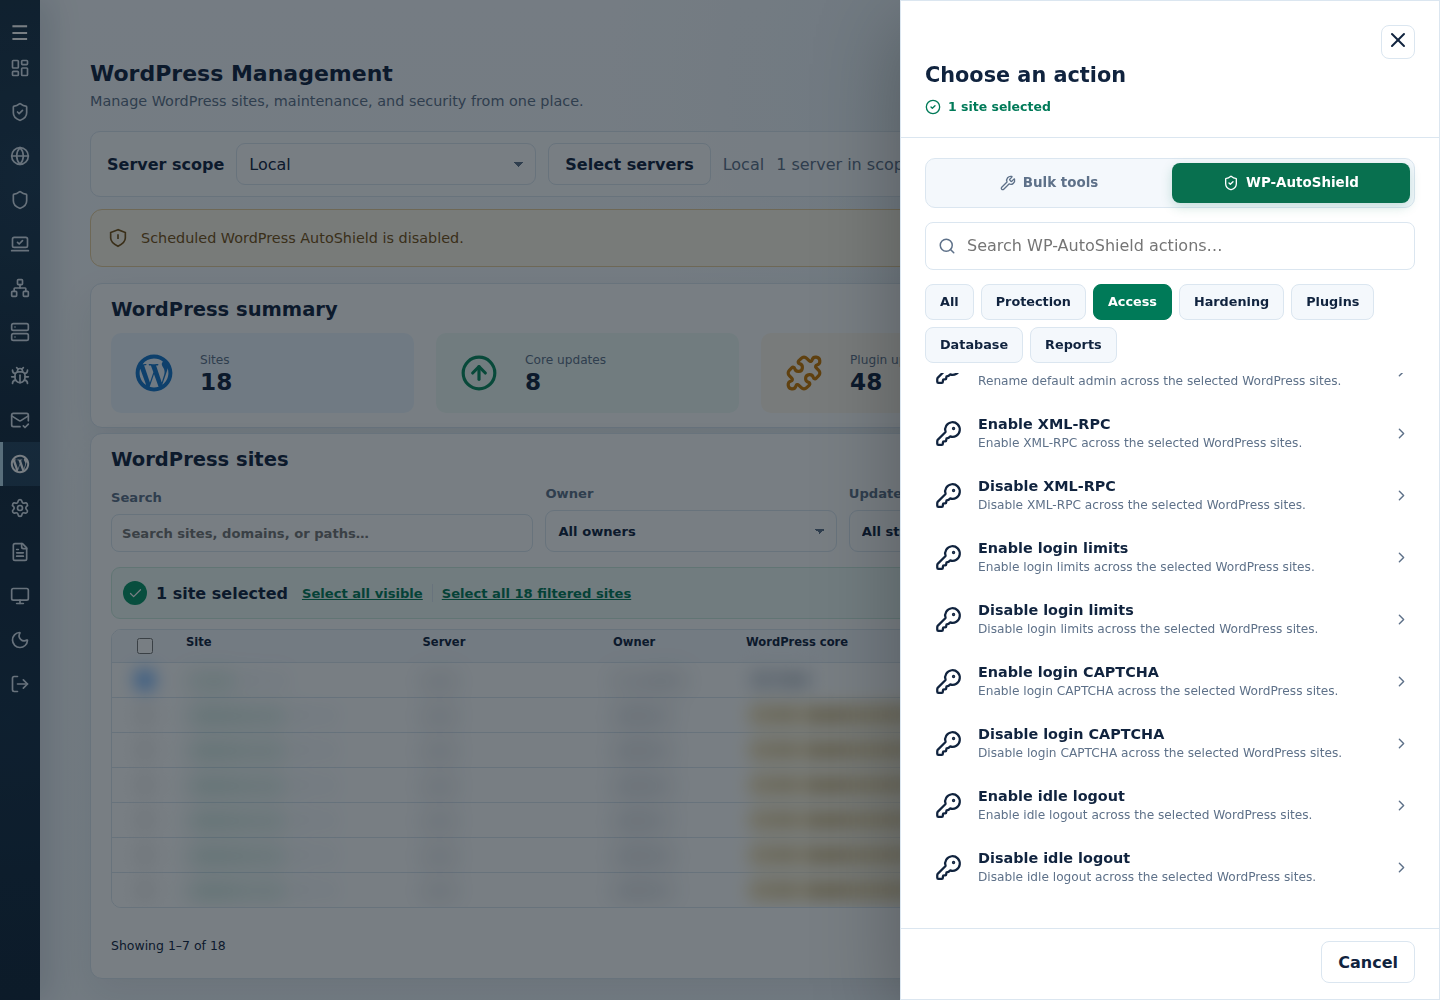
- Select the site in WordPress Management.
- Under Choose action → WP-AutoShield → Access, run Disable login CAPTCHA and Disable login limits separately.
- Check the site’s sign-in and password-recovery forms.
For all sites on one server, also turn Login CAPTCHA and Limit login attempts off in that server’s WordPress Settings. Saving policy does not remove controls already applied; run the selected-site disable actions too.
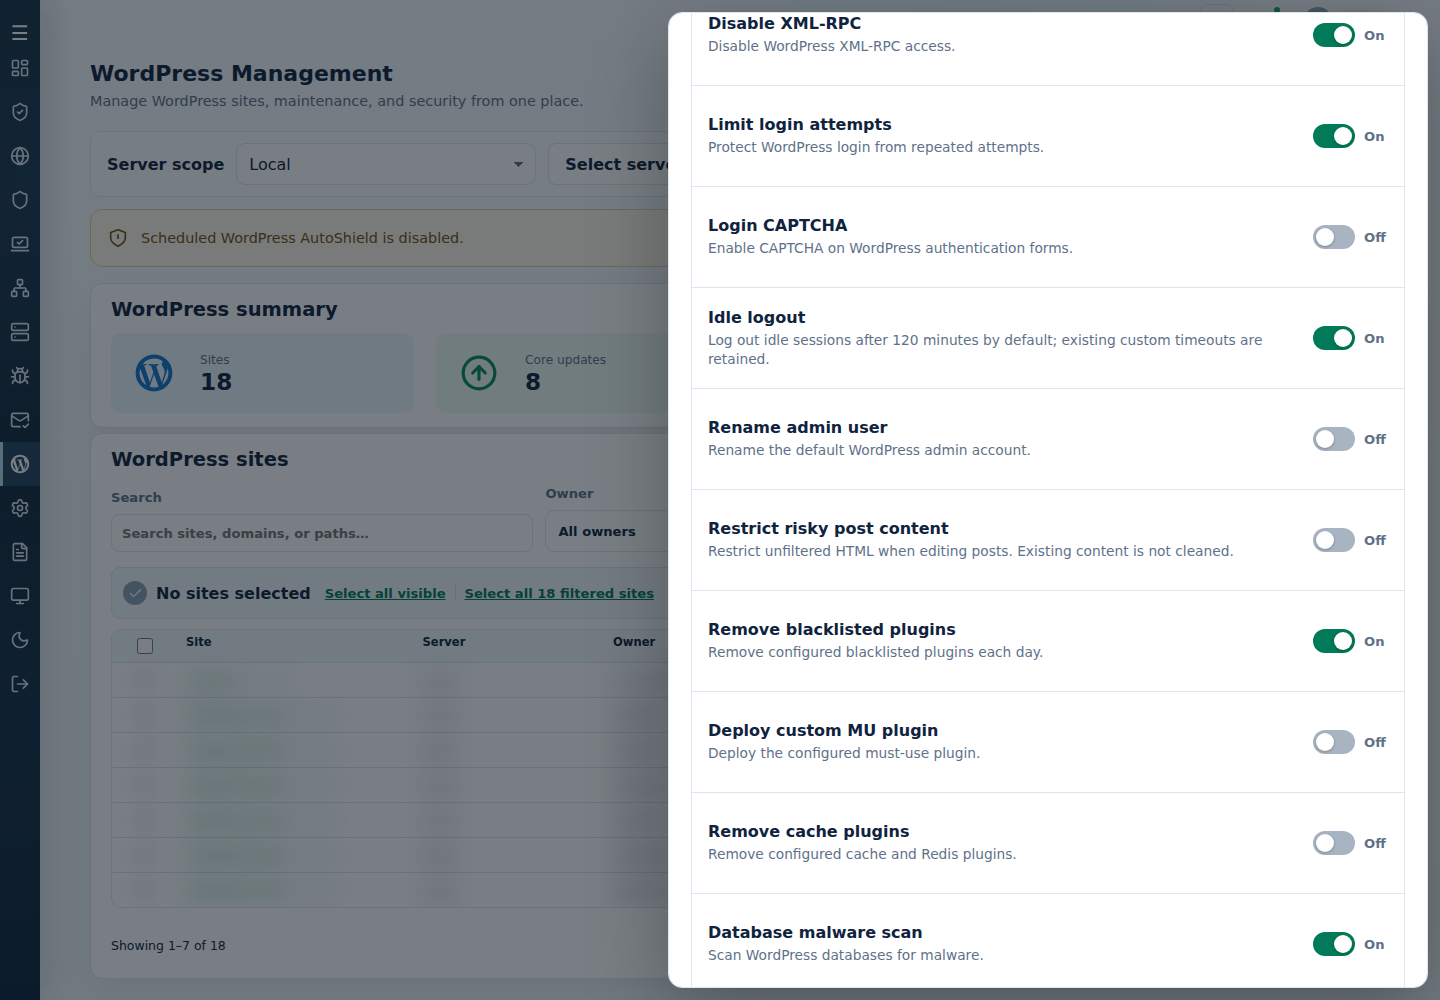
To keep cPFence login protection instead, disable the overlapping plugin’s controls and review the AutoShield policy.
Command-line method
Section titled “Command-line method”To keep your plugin’s login protection across the intended sites on one server, use a root terminal on that server:
cpfence --bulk-disable-wp-captchacpfence --bulk-disable-wp-limit-loginReview /var/log/cpfenceav/wp-sites-list.txt and each inventory confirmation before continuing. These commands use that server’s listed installations, not the checked WebUI rows. Run both matching actions and inspect each site’s final result.
Then turn Login CAPTCHA and Limit login attempts off in that server’s WordPress Settings, or use the site exclusion described above for a narrow exception. The commands remove applied controls; the saved policy prevents daily protection from reapplying them. Keep the plugin’s protection active and test sign-in and password recovery before applying this to more sites.