
Activate a WordPress theme
- Choose the intended servers and sites. Start with one installation.
- Open Choose action → Bulk tools → Themes → Activate theme by slug.
- Enter Installed theme slug for the theme you want to activate.
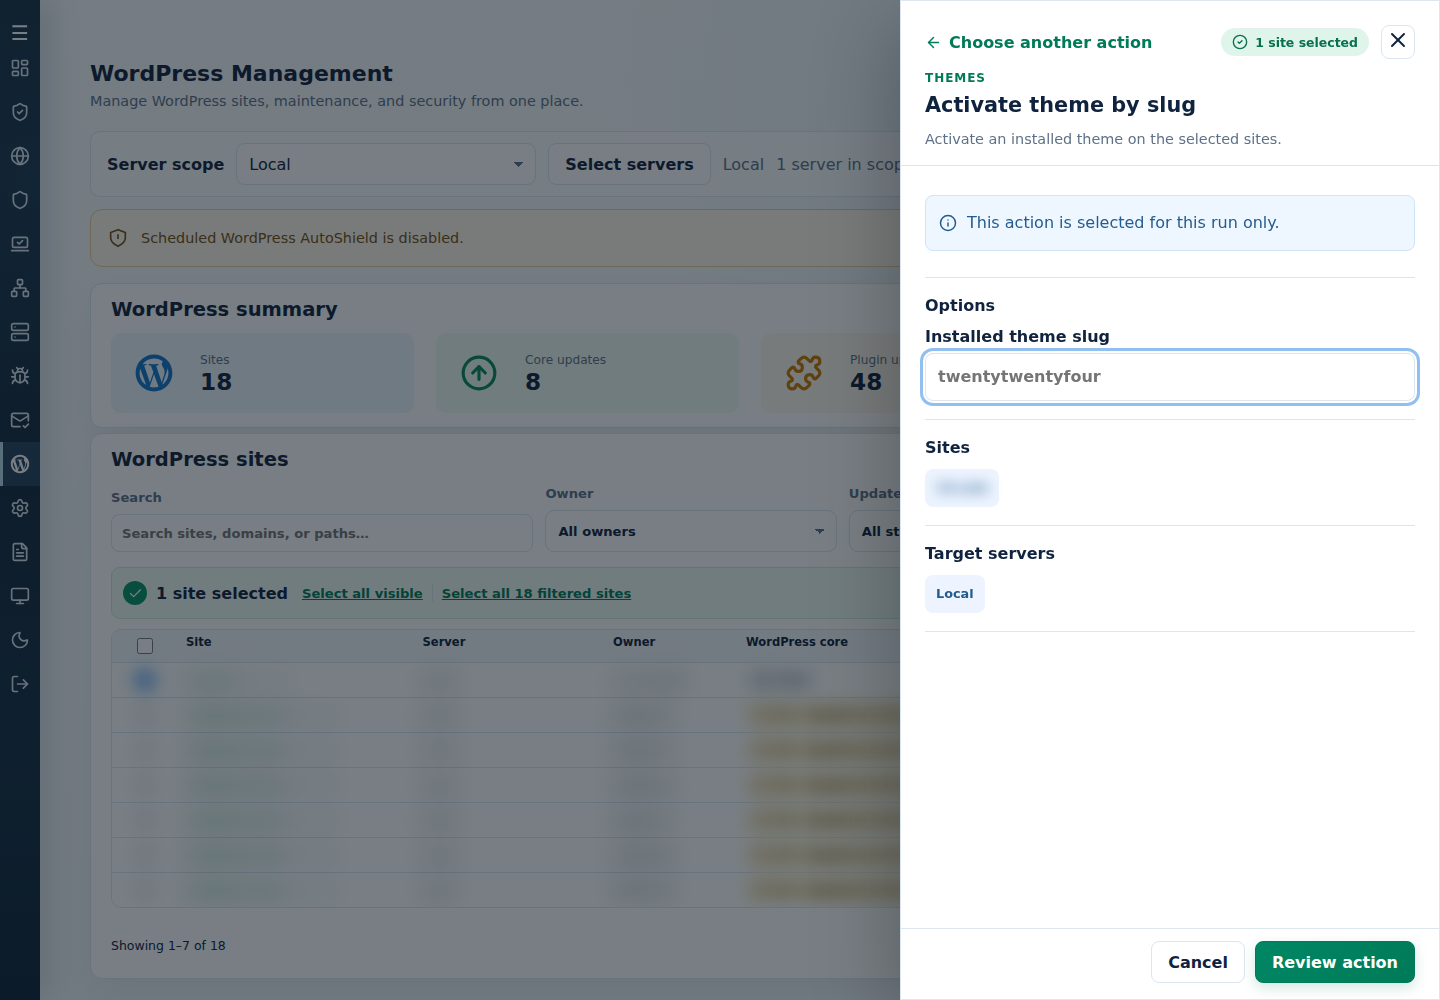
- Review the action and targets, then confirm. Read every site’s final result, including skips. Finished can include failed sites; see Read the outcome.
Activation changes the site’s presentation. Install a missing theme first, try one site, then check public templates and clear relevant caches. Switch back to the previous installed theme if the new presentation fails.
Command-line method
Section titled “Command-line method”If you prefer the terminal, log in as root on the server hosting the sites. Review /var/log/cpfenceav/wp-sites-list.txt first: CLI bulk commands use that server’s list, not the sites currently checked in the WebUI.
Activate an installed theme by its slug:
cpfence --bulk-activate-wp-theme twentytwentyfourReplace twentytwentyfour with your installed theme slug, review the inventory prompt and confirm only the intended scope. Read the output for installations where the theme is missing; install it there before retrying. Clear relevant caches and check the public site afterward.
For a reviewed automation job, the non-interactive form is:
cpfence --bulk-activate-wp-theme-auto twentytwentyfourThis skips the interactive confirmations. Prepare the exact site list first and keep the previous theme installed so you can activate it again if needed. For a small test group, the WebUI’s selected-site action is usually easier.