
Export WordPress vulnerability findings
Use the vulnerability report to find affected components and plan their updates. You can export selected WordPress sites from the WebUI or generate a server report from a root terminal.
Step 1: Generate the report
Section titled “Step 1: Generate the report”- Choose the intended sites in WordPress Management.
- Open Choose action → WP-AutoShield → Reports → Export vulnerability report.
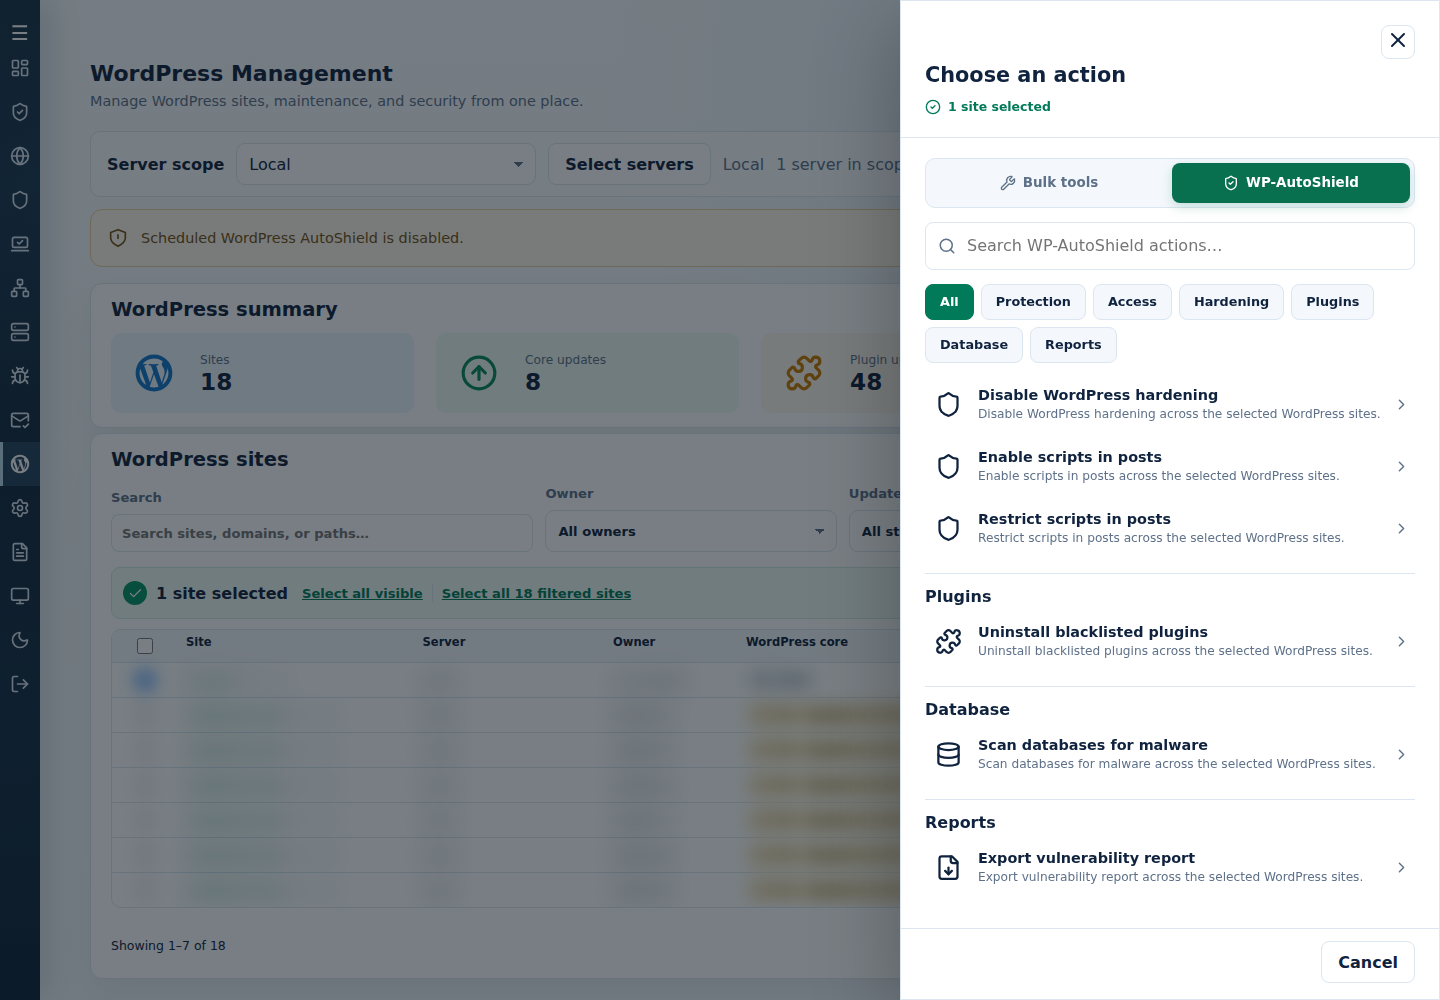
- Review, confirm and wait for each server’s final result.
- Note the resulting CSV location for the completed export.
For a full-server report, use Vulnerability Manager → Check now, then Download CSV. Its server scope is separate from a WordPress selected-site export.
Alternatively, run the scan from a root terminal on the server hosting the installations:
cpfence --vuln-scanTo generate a CSV report, run:
cpfence --vuln-exportThe terminal export covers discovered WordPress sites on that server; it does not inherit your WebUI selection. Current report names include the server hostname, such as vulnerabilities_SERVER_HOSTNAME.csv. Selected-site exports use selected-vulnerabilities_SERVER_HOSTNAME.csv. Use the actual output path rather than the old fixed vulnerabilities.csv filename.
Step 2: Download the CSV
Section titled “Step 2: Download the CSV”Use Download CSV in Vulnerability Manager for its server report. For a terminal-generated report, copy the file from the reported location using an account permitted to read it. From your own Linux computer or Windows PowerShell with OpenSSH installed:
scp ADMIN_USER@SERVER_HOST:/var/log/cpfenceav/vulnerabilities_SERVER_HOSTNAME.csv ./Replace ADMIN_USER, SERVER_HOST and the example filename with your account, server and actual report path. If your SSH service uses another port, add -P PORT after scp. This file transfer can use your ordinary SSH authentication; it does not require passwordless access between cluster servers.
On Windows, you can also use WinSCP: connect to the report’s server using SFTP, open the reported directory and download the CSV to your computer. Keep the report private; it can contain installation paths and site-owner details. If permission is denied, use an authorized administrator account rather than making the report world-readable.
Step 3: Analyze the findings
Section titled “Step 3: Analyze the findings”Open the CSV in Excel, LibreOffice or your preferred spreadsheet tool. Review software type, slug, version, advisory/CVE, CVSS rating, remediation and scanned path. Filter the results to plan updates, then verify site behavior after applying them. The report identifies known vulnerabilities; it does not apply fixes or certify that a site is malware-free.
Keep owner/path information private and verify site behavior after any remediation.