
Remove conflicting cache plugins
- Choose the intended servers and sites. Start with one installation.
- Check which caching plugins the customers use and preserve their settings before opening the removal.
- Open Choose action → Bulk tools → Plugins → Uninstall cache plugins.
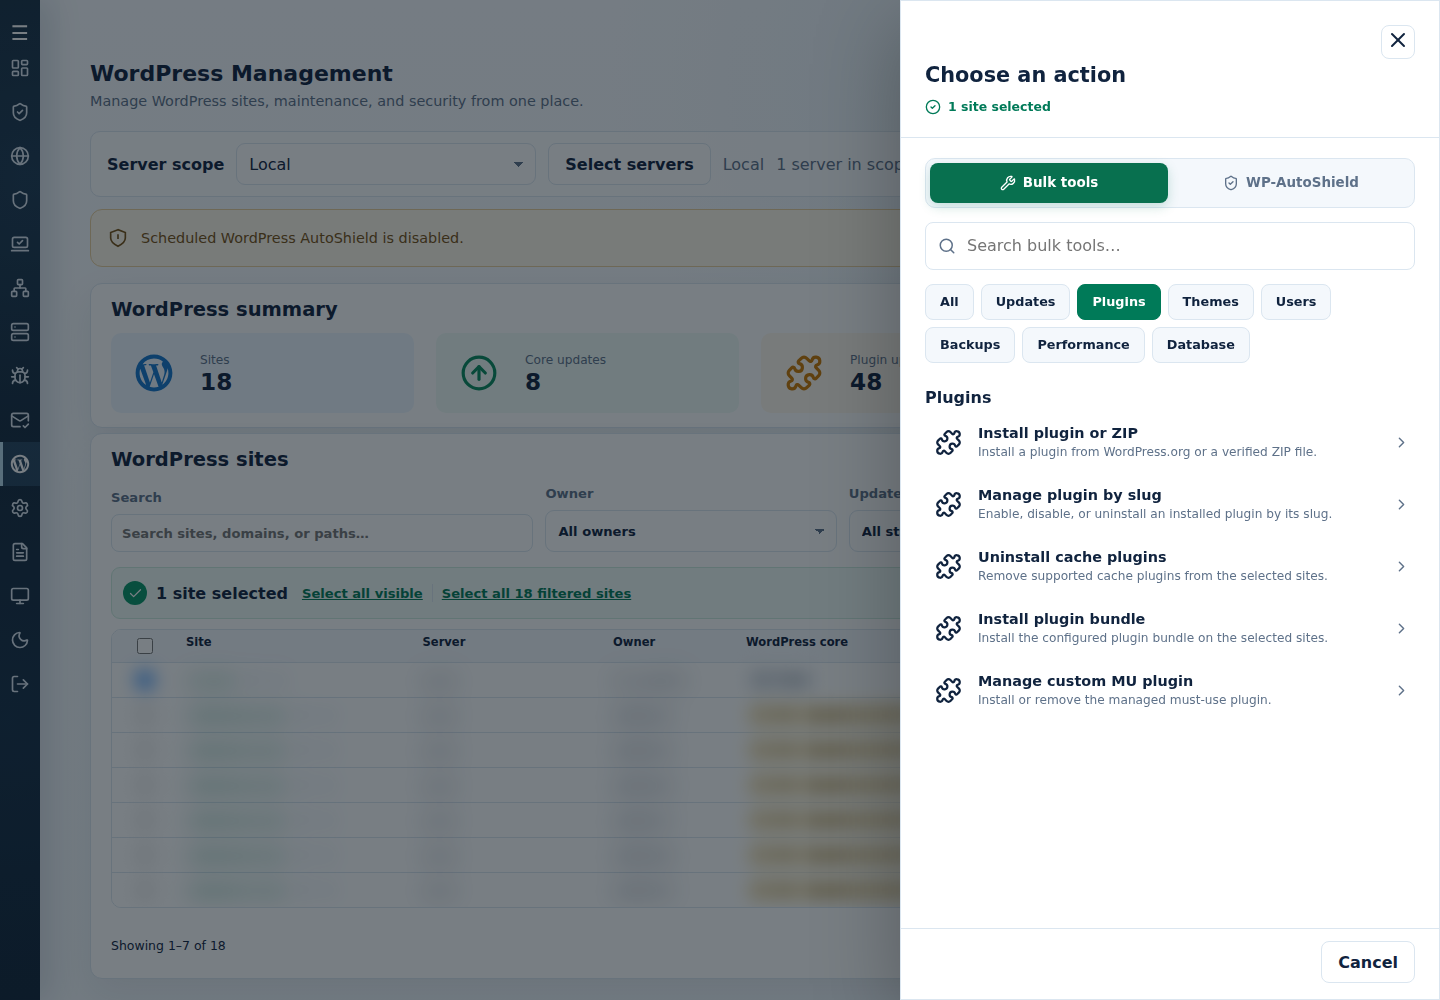
- Review the action and targets, then confirm. Read every site’s final result, including skips. Finished can include failed sites; see Read the outcome.
Supported cache/Redis plugins are removed, with LiteSpeed Cache excluded. Back up their settings and check site behavior. Reinstall needed components deliberately after resolving the conflict.
Command-line method
Section titled “Command-line method”From a root terminal on the server hosting the sites, run:
cpfence --bulk-uninstall-cache-pluginsReview /var/log/cpfenceav/wp-sites-list.txt and the inventory and removal confirmations. This uses the server’s listed installations, not checked WebUI rows. Preserve plugin settings, packages and data before uninstalling.
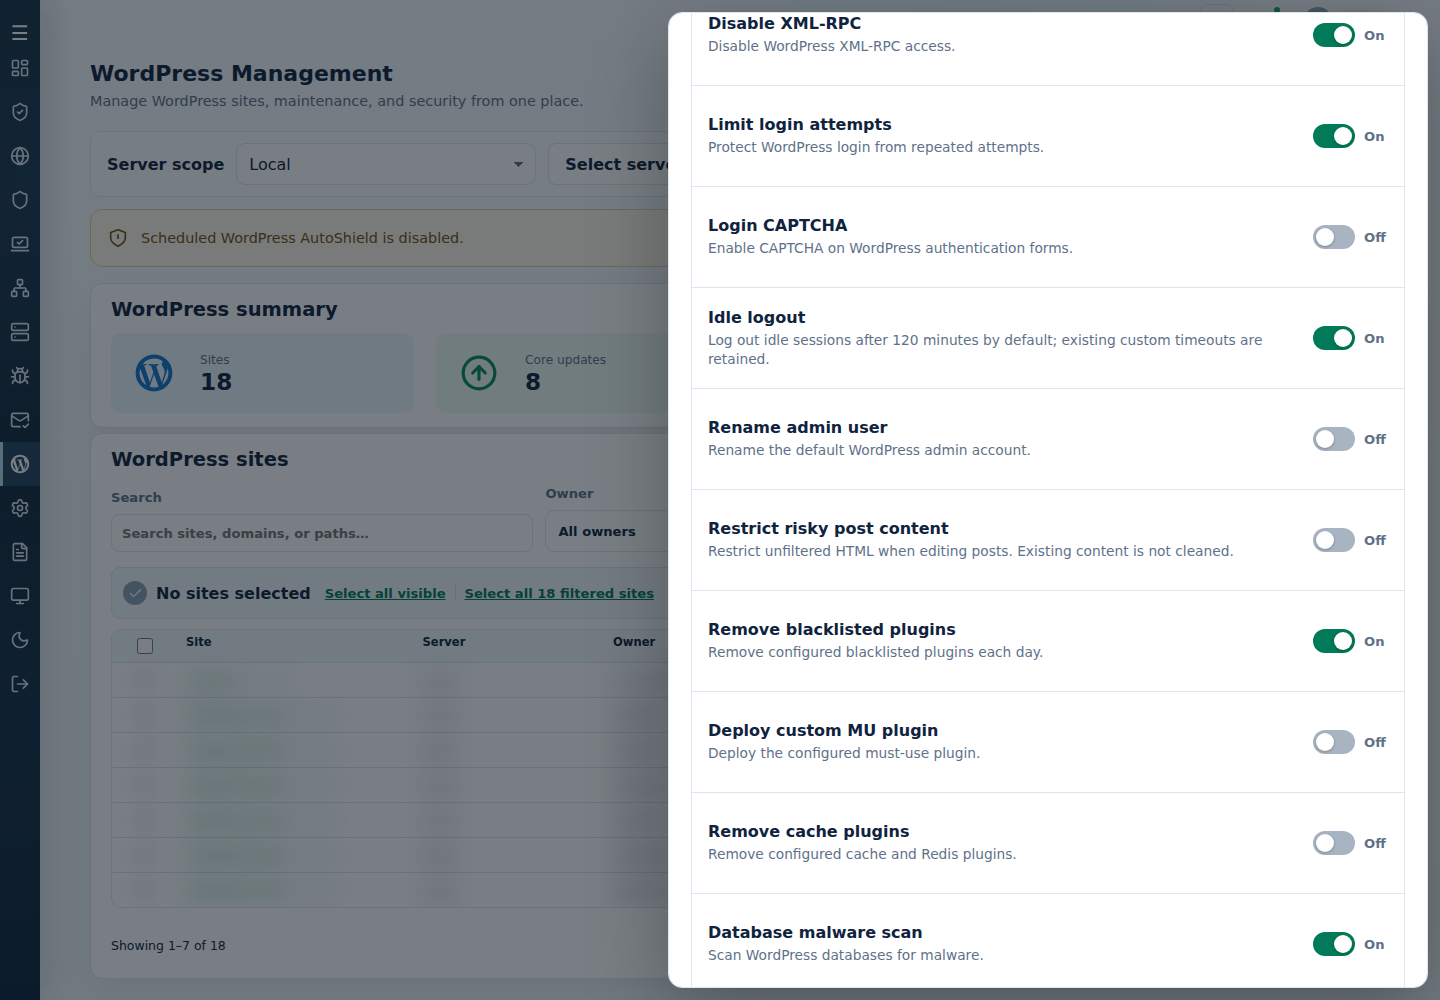
The command deactivates and removes the supported cache/Redis plugins, leaving LiteSpeed Cache out of its removal list. Read every site’s final result and test pages afterward. If you are standardizing on LiteSpeed and it is not installed, install it separately. For another caching setup, keep the daily removal policy above off and restore any needed components from their backups.