
Set auto updates for one theme
- Choose the intended servers and sites. Start with one installation.
- Open Choose action → Bulk tools → Updates → Manage theme auto updates.
- Choose Enable or Disable in Operation, enter Theme slug and click Verify slug.
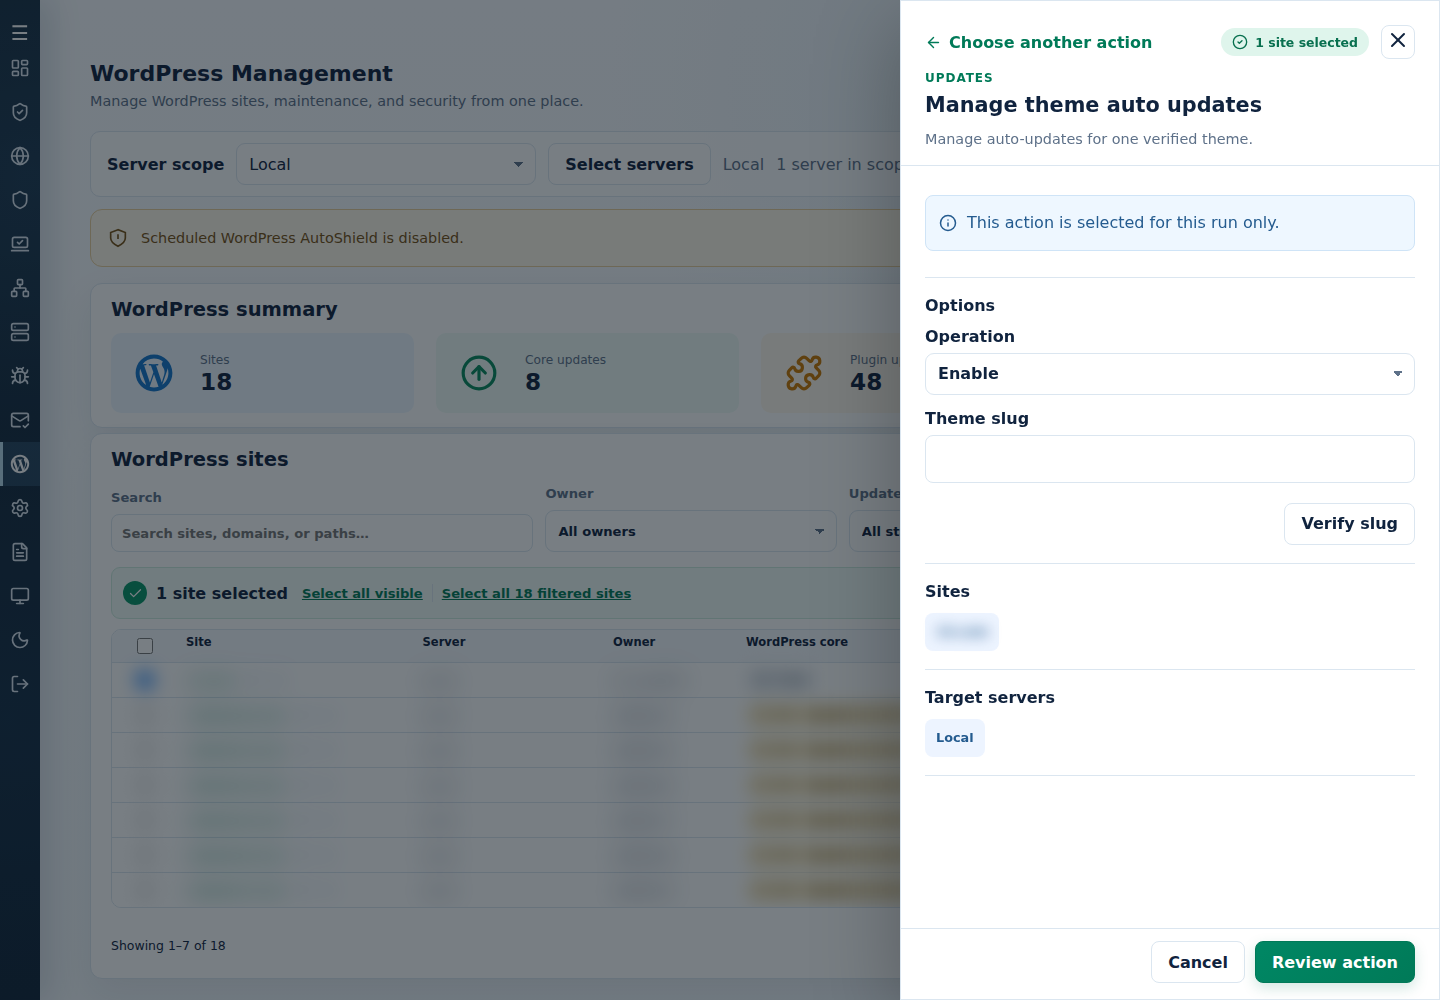
- Review the action and targets, then confirm. Read every site’s final result, including skips. Finished can include failed sites; see Read the outcome.
This changes the selected extension’s future update policy. It does not update the extension immediately. Check the saved choice per site, including sites where the extension is absent.
Command-line method
Section titled “Command-line method”From a root terminal on the server hosting the sites, enable automatic updates for a theme slug:
cpfence --enable-auto-updates-theme twentytwentythreeOr disable them for that theme:
cpfence --disable-auto-updates-theme twentytwentythreeChoose the intended command and replace twentytwentythree with your theme’s slug. Generate and review the sites list first if it is not ready. Check /var/log/cpfenceav/wp-sites-list.txt and the inventory confirmation; this uses the server’s listed installations, not checked WebUI rows.
Read each site’s final result and check the saved auto-update choice, including sites without the theme. This changes future policy rather than updating the theme immediately. Keep the broader WordPress auto-update policy consistent if daily AutoShield reapplies it.