
Rootkit and IP reputation checks
cPFence v4+ rootkit checks look for suspicious system activity. IP reputation checks ask AbuseIPDB about the server’s public IP. Both are advisory: they do not automatically remove a rootkit or block the server IP.
Administrators can change these settings. Support users need target-server access and the relevant Detection or General Settings permissions. Root commands require root access and the applicable license.
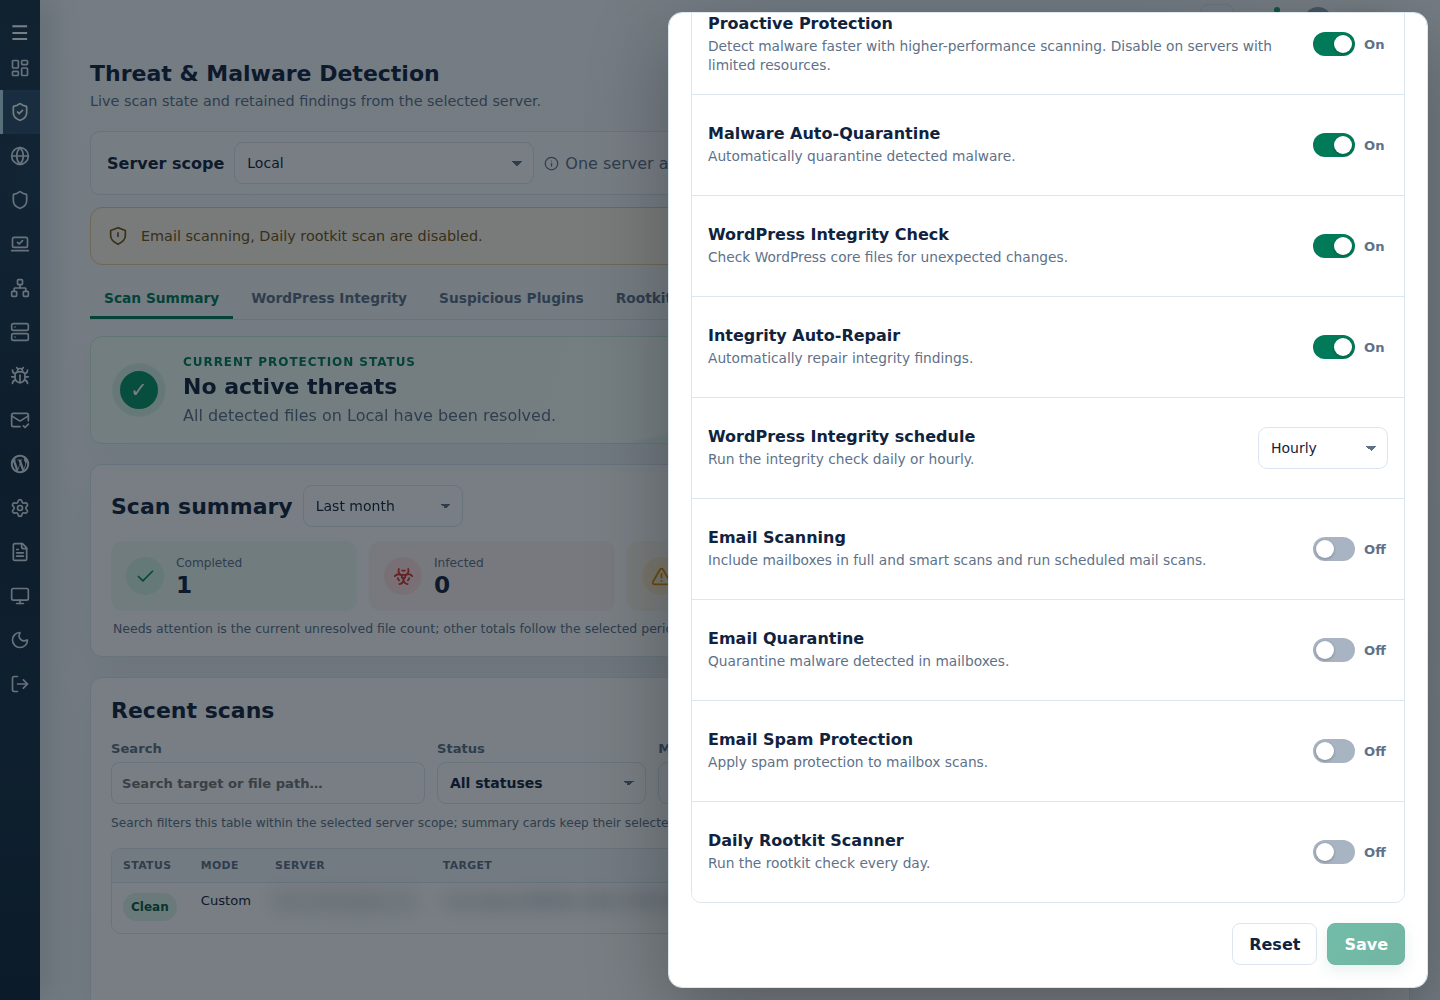
Set daily rootkit checks
Section titled “Set daily rootkit checks”- Open Threat & Malware Detection and choose the server scope.
- Click Settings and set Daily Rootkit Scanner.
- Click Save and confirm the saved value.
You can also search for Daily rootkit scan in System Settings. For several servers, use Advanced Tools → Manage Rootkit Scanner, check the sidebar bulk targets, and choose Enable Rootkit Scanner or Disable Rootkit Scanner. Read each target’s result.
The fresh default is on. Enabling scheduled checks does not mean a new check has completed. Disabling them does not remove suspicious software or old findings.
For the Detection page’s defaults, follow reset feature-page settings.
Set daily IP reputation checks
Section titled “Set daily IP reputation checks”- Open System Settings → General Settings and select the server.
- Search for IP reputation monitoring and set the switch.
- Click Save changes and confirm the saved value.
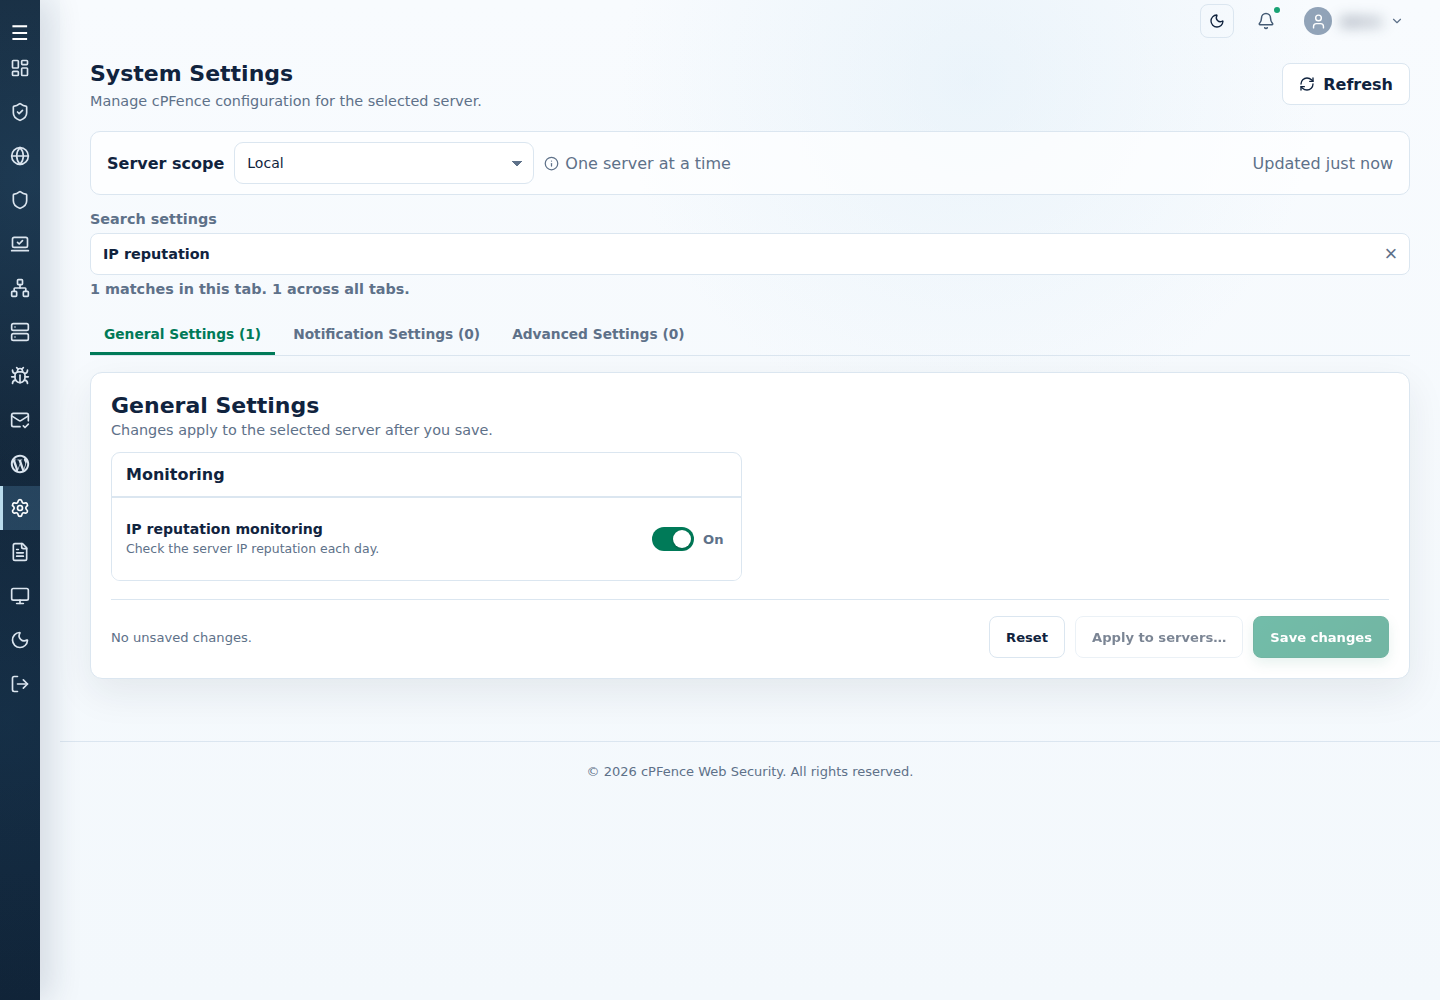
The fresh default is on. A positive AbuseIPDB score produces an advisory. A valid zero score means the provider did not flag that IP at that observation; it is not a delivery or security guarantee. Provider limits, timeouts, and interrupted checks are unknown results, not clean scores.
Investigate an alert
Section titled “Investigate an alert”For recorded rootkit checks, findings and manual runs, follow Rootkit Scans. Its results are separate from the IP reputation observations below.
On System Dashboard, open alerts and filter by Rootkit or IP reputation. Check the server, observation time, and finding. Email/Slack destinations are under Notification Settings.
A root administrator can read recent service output:
journalctl -u cpfcli-rootkit.service -n 100 --no-pagerjournalctl -u cpfcli-ip-reputation.service -n 100 --no-pagerPrivate reports are under /var/lib/cpfcli/rootkit/ and /var/lib/cpfcli/ip-reputation/. An incomplete check can retain partial findings; it is not an all-clear. Investigate the named software, website activity, or outbound mail before deleting anything.
If a report is missing, confirm the saved switch and inspect the service error. Provider backoff can postpone reputation checks. Use malware scans or Vulnerability Manager for further investigation; use firewall policy only when you intend an actual access change.