
Add or remove Nginx cache exclusions
Use the Enhance main control panel server with a valid cPFence license and a Super admin API key. WebUI users need access to the selected websites and permission for this action.
From the WebUI
Section titled “From the WebUI”- Open Tools & Utilities → ApiMachine Bulk Tools.
- Choose Cluster scope or Select servers, apply your filters, then check the intended website rows. Review the selection rules; filtering alone does not select websites.
- Open Choose action → Nginx → Add cache exclusion or Remove cache exclusion. Enter the intended path, for example
/checkout/, in Path to exclude or Path to remove from exclusion, then Review action.
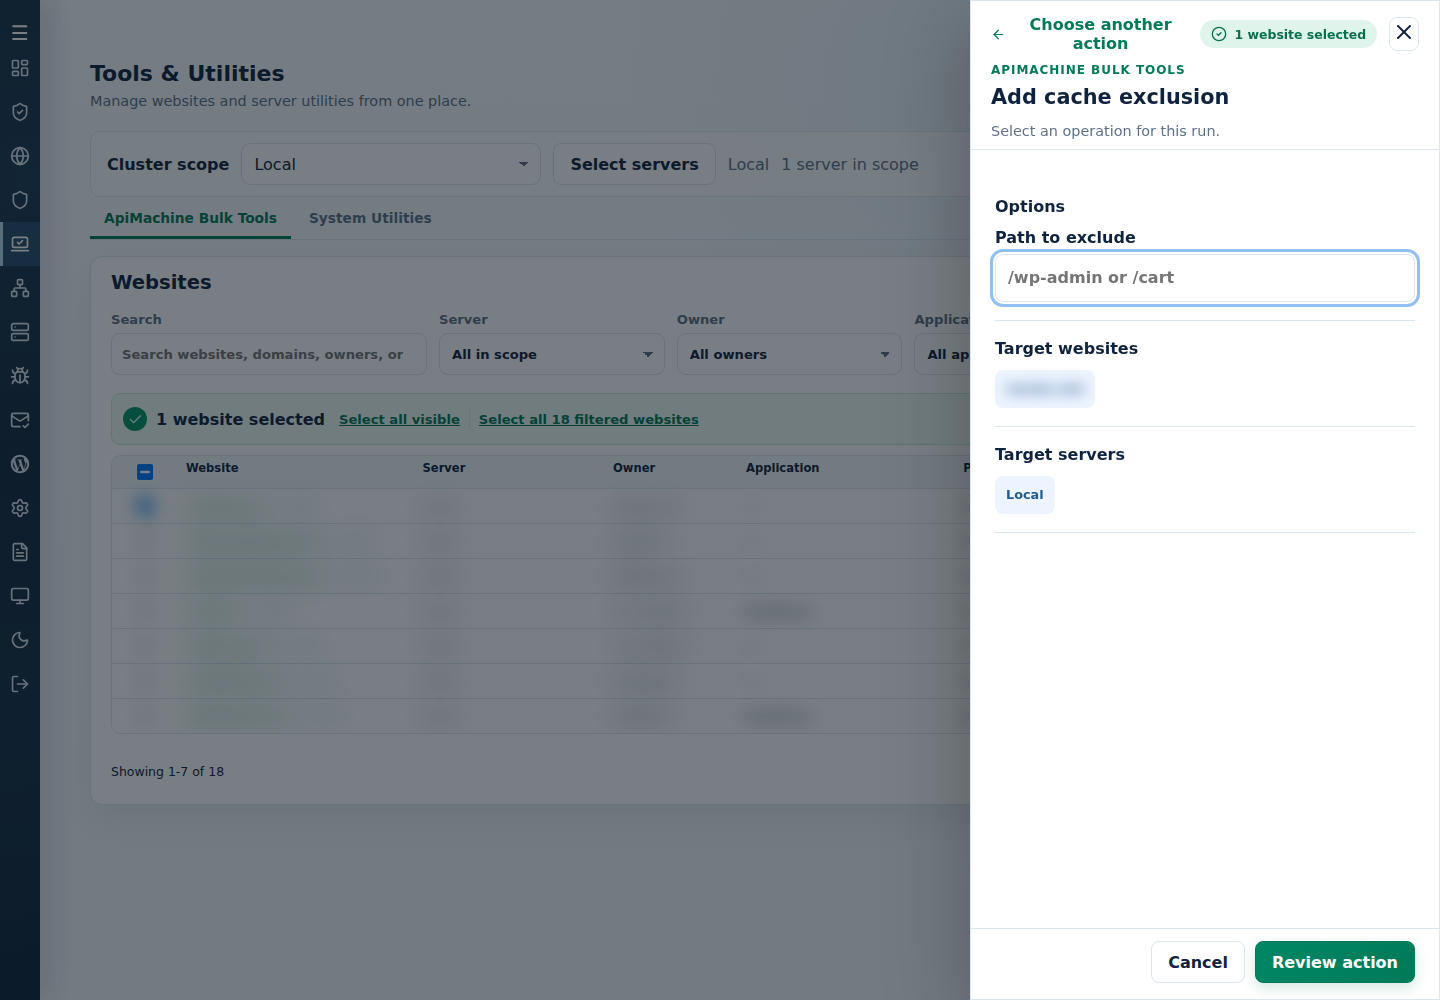
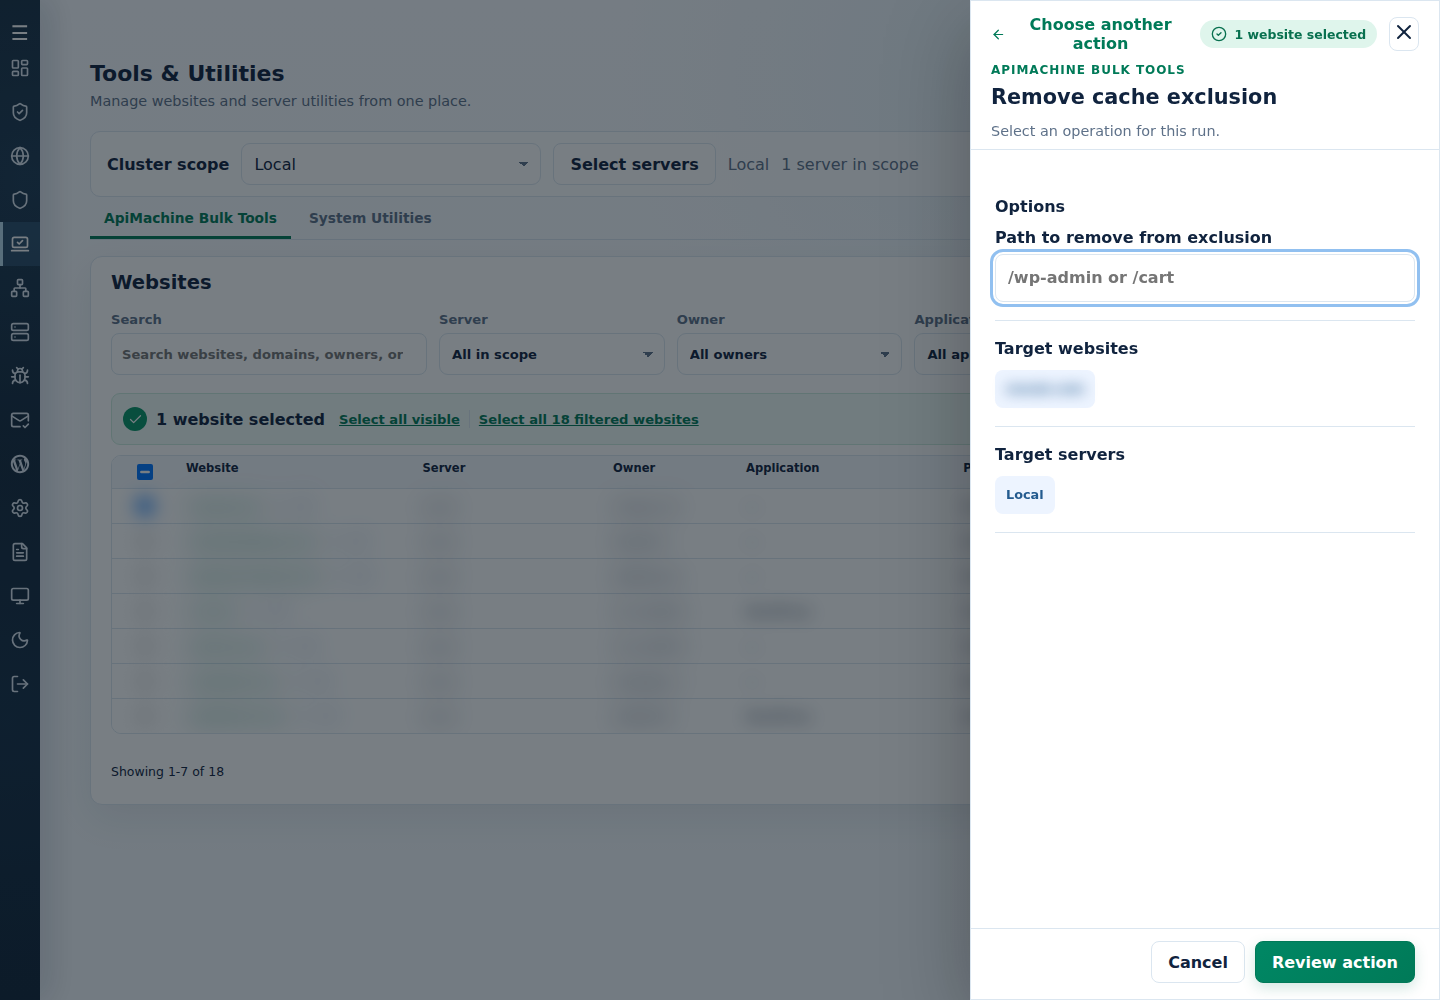
- Review the selected websites and Confirm and run. Read Finished or Needs attention and the per-target output.
Use exclusions for dynamic login, cart, checkout, or dashboard paths. Enter the path with a leading slash and review it against the actual URLs.
Adding an exclusion keeps the selected path uncached; removing it permits caching again. Check the affected URL and per-domain result.
From the terminal
Section titled “From the terminal”Use root on the main control panel server. Generate and edit the CLI site list first so that /var/log/cpfenceav/cluster-sites-list.txt contains only your intended targets.
| Action | Command |
|---|---|
| Add an exclusion | cpfence --bulk-add-nginx-cache-exclude /checkout/ |
| Remove an exclusion | cpfence --bulk-remove-nginx-cache-exclude /checkout/ |
Run the command for your intended choice and confirm its target list.
Replace /checkout/ with the intended URL path; use the same path when removing an exclusion.
For failures, read each target’s error and check its actual state before retrying. Keep the retry selection limited to the intended websites.