
Update one WordPress plugin
- Choose the intended servers and sites. Start with one installation.
- Open Choose action → Bulk tools → Updates → Update one plugin.
- Choose Source and fill Slug, URL or path, Stored upload or ZIP file for that source. For a repository slug, click Verify slug; verify again after editing it.
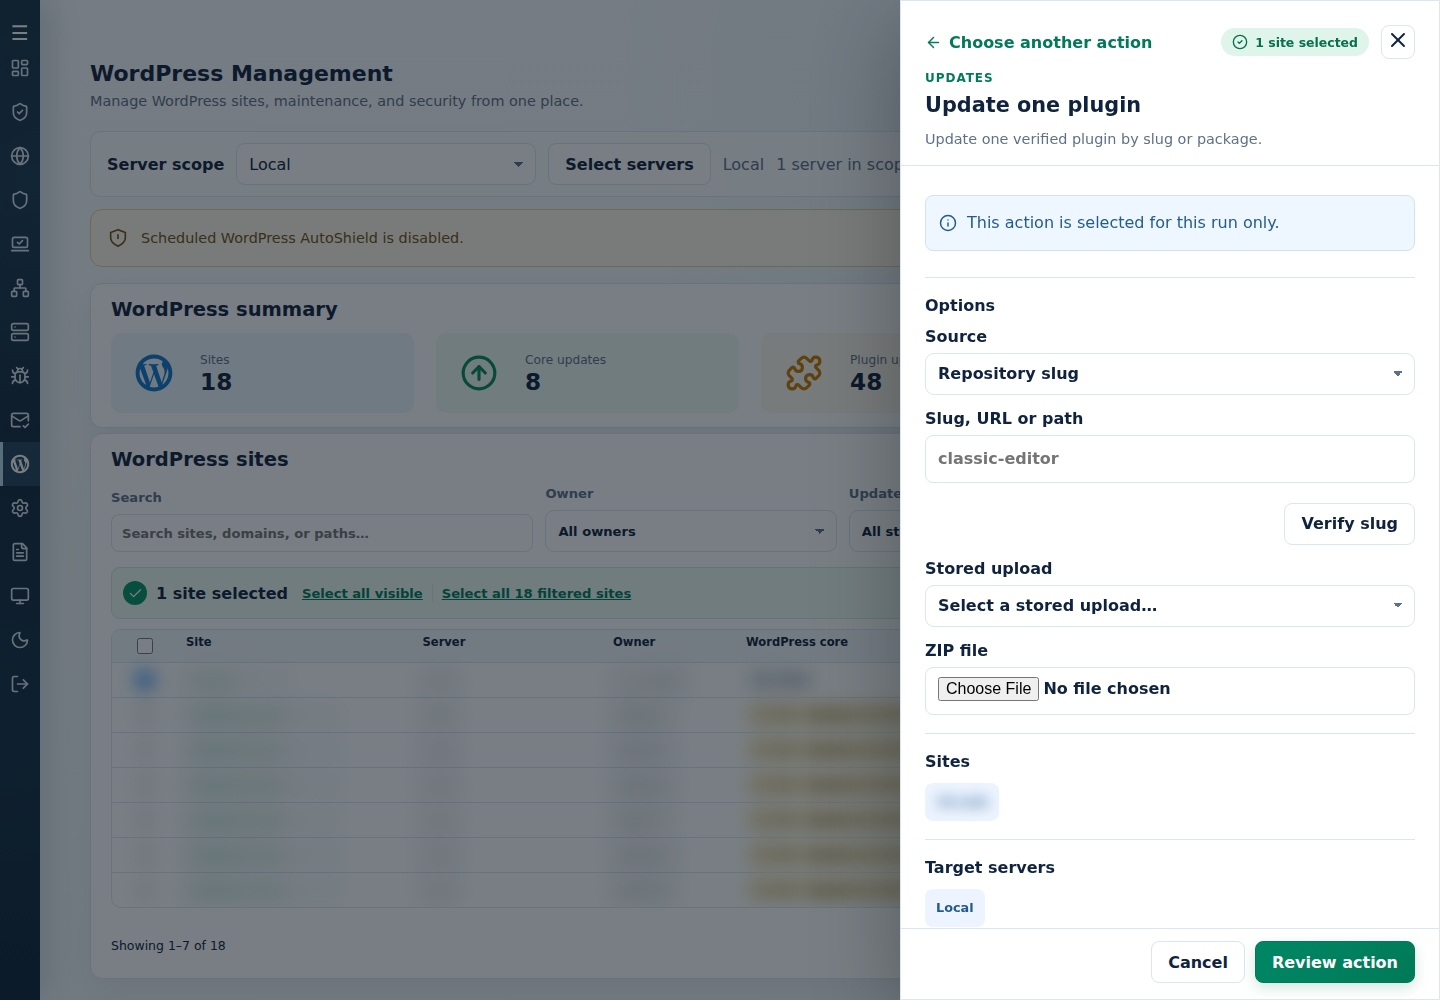
- Review the action and targets, then confirm. Read every site’s final result, including skips. Finished can include failed sites; see Read the outcome.
The plugin is updated where already installed. Inspect missing-component skips and check the new version and site behavior. Preserve customized files before updates; test premium ZIPs on one site first.
For package sources and installation, see Install a plugin.
Command-line method
Section titled “Command-line method”From a root terminal on the server hosting the sites, update by slug:
cpfence --bulk-update-wp-plugin wordpress-seoOr use a trusted direct HTTPS ZIP package:
cpfence --bulk-update-wp-plugin https://example.com/pro-plugin.zipChoose the intended source and review /var/log/cpfenceav/wp-sites-list.txt and the inventory/update prompts first. This uses the server’s listed installations, not checked WebUI rows. Preserve customized files and a usable backup; test premium packages on one staging site first.
For automation, v4+ also supports:
cpfence --bulk-update-wp-plugin-auto wordpress-seoThe automatic method skips confirmation and also accepts a trusted ZIP path or URL. Read every site’s final output, including missing-plugin results, then check the installed version and normal pages. Restore the previous package and backup if the update is incompatible.