
Scan WordPress databases for malware
- Choose the intended servers and sites. Start with one installation.
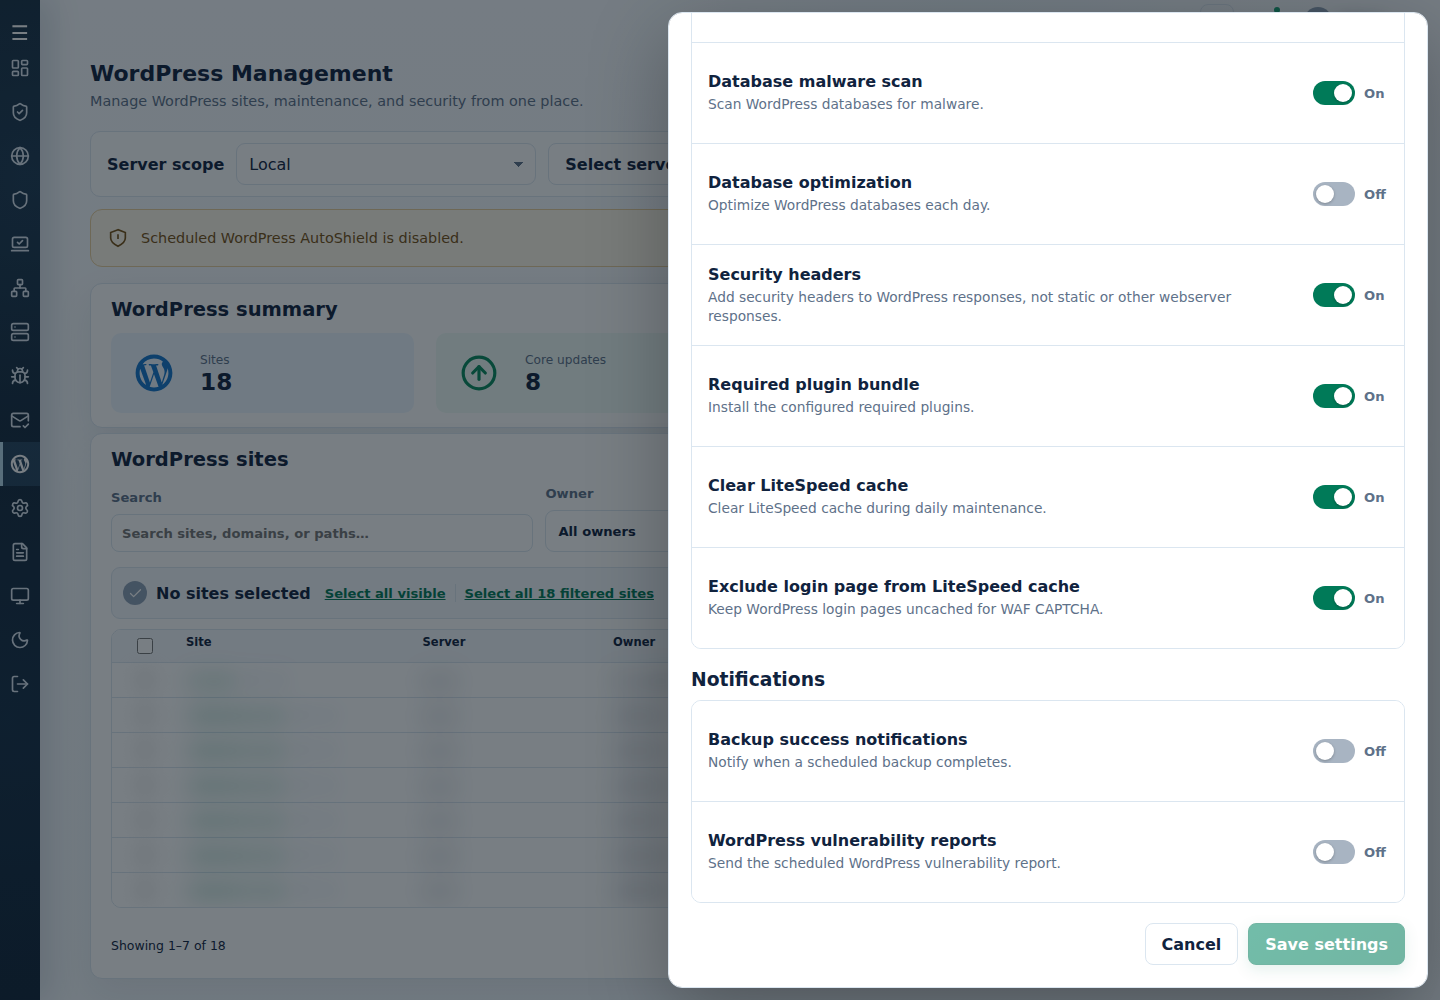
- Check the separate database-scan exceptions and intended site selection before opening the scan action.
- Open Choose action → WP-AutoShield → Database → Scan databases for malware.
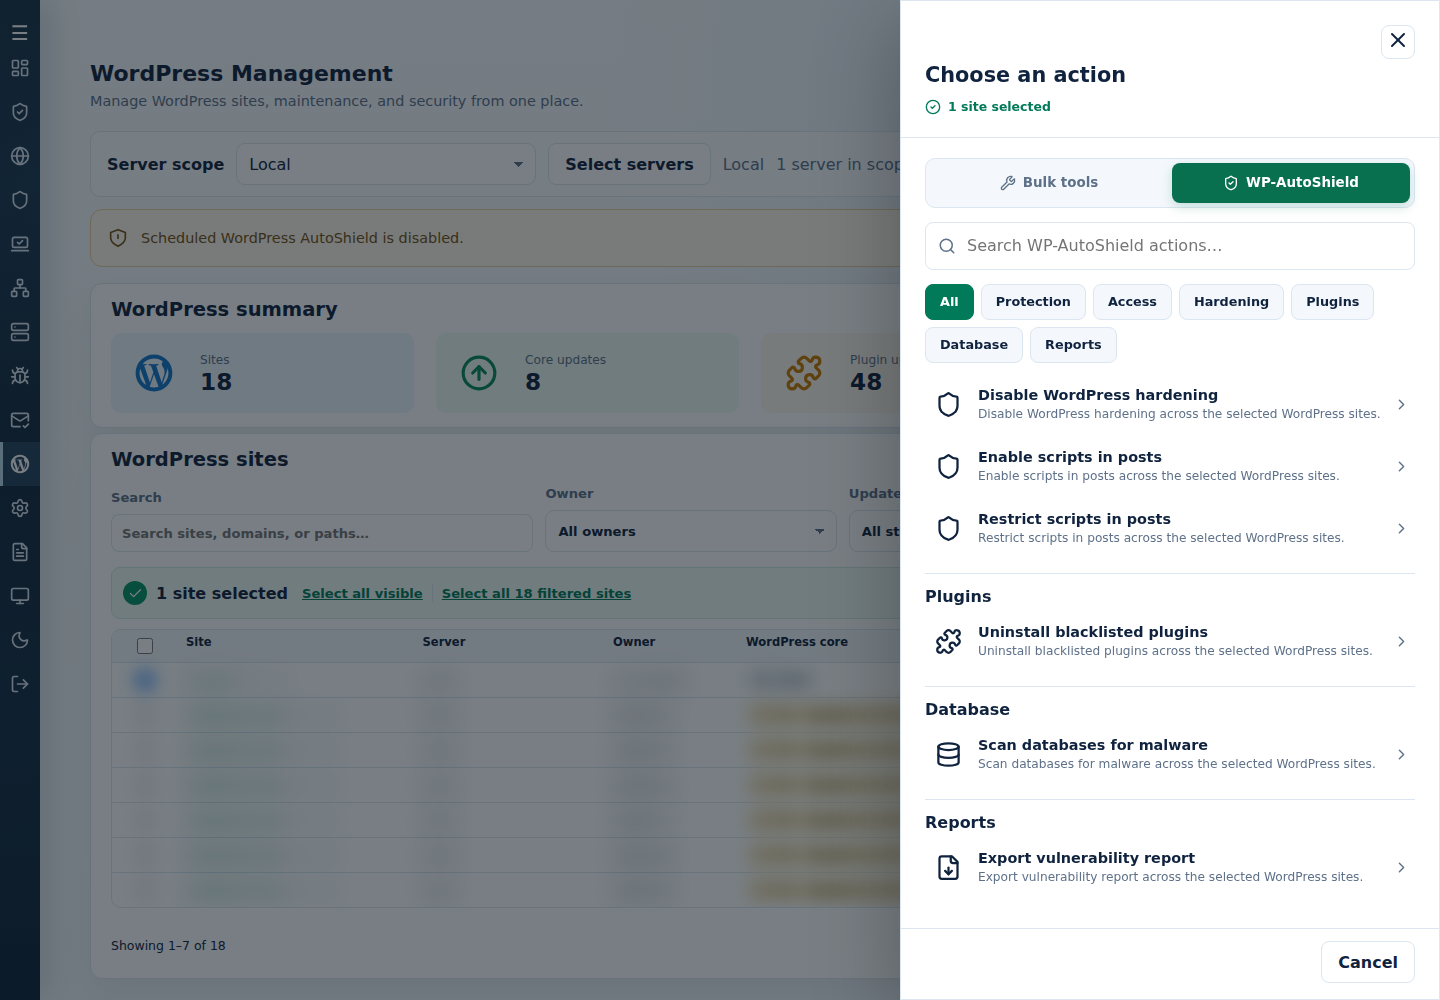
- Review the action and targets, then confirm. Read every site’s final result, including skips. Finished can include failed sites; see Read the outcome.
Inspect the actual findings and review the stored report before remediation. A database finding is separate from filesystem malware. Use database-scan exceptions only for verified false positives.
For a failed connection, follow database connection troubleshooting; a failed scan is not a clean result.
Command-line method
Section titled “Command-line method”From a root terminal on the server hosting the sites, run:
cpfence --bulk-scan-wp-databasesReview /var/log/cpfenceav/wp-sites-list.txt and the inventory and scan confirmations first. This uses the server’s listed installations, not checked WebUI rows, and applies the configured database-scan exceptions.
Wait for the final per-site output. Review /var/log/cpfenceav/wordpress_db_scan_temp_run.log for the current report and /var/log/cpfenceav/wordpress_db_scan_error.log for failures. Preserve a private copy of a report you need before another run.
Investigate positive findings promptly and back up the database before editing records. Restore core files or remove an affected plugin only when the wider investigation calls for it; these actions do not remove malicious database content themselves. Follow the infected-site cleanup guide for the complete recovery flow. Use the daily scanning policy above when recurring checks are intended.