
Deploy or remove a custom MU plugin
- Choose the intended servers and sites. Start with one installation.
- Open Choose action → Bulk tools → Plugins → Manage custom MU plugin.
- Choose Install or Uninstall in Operation, then select Stored upload or New MU plugin file for the intended PHP source.
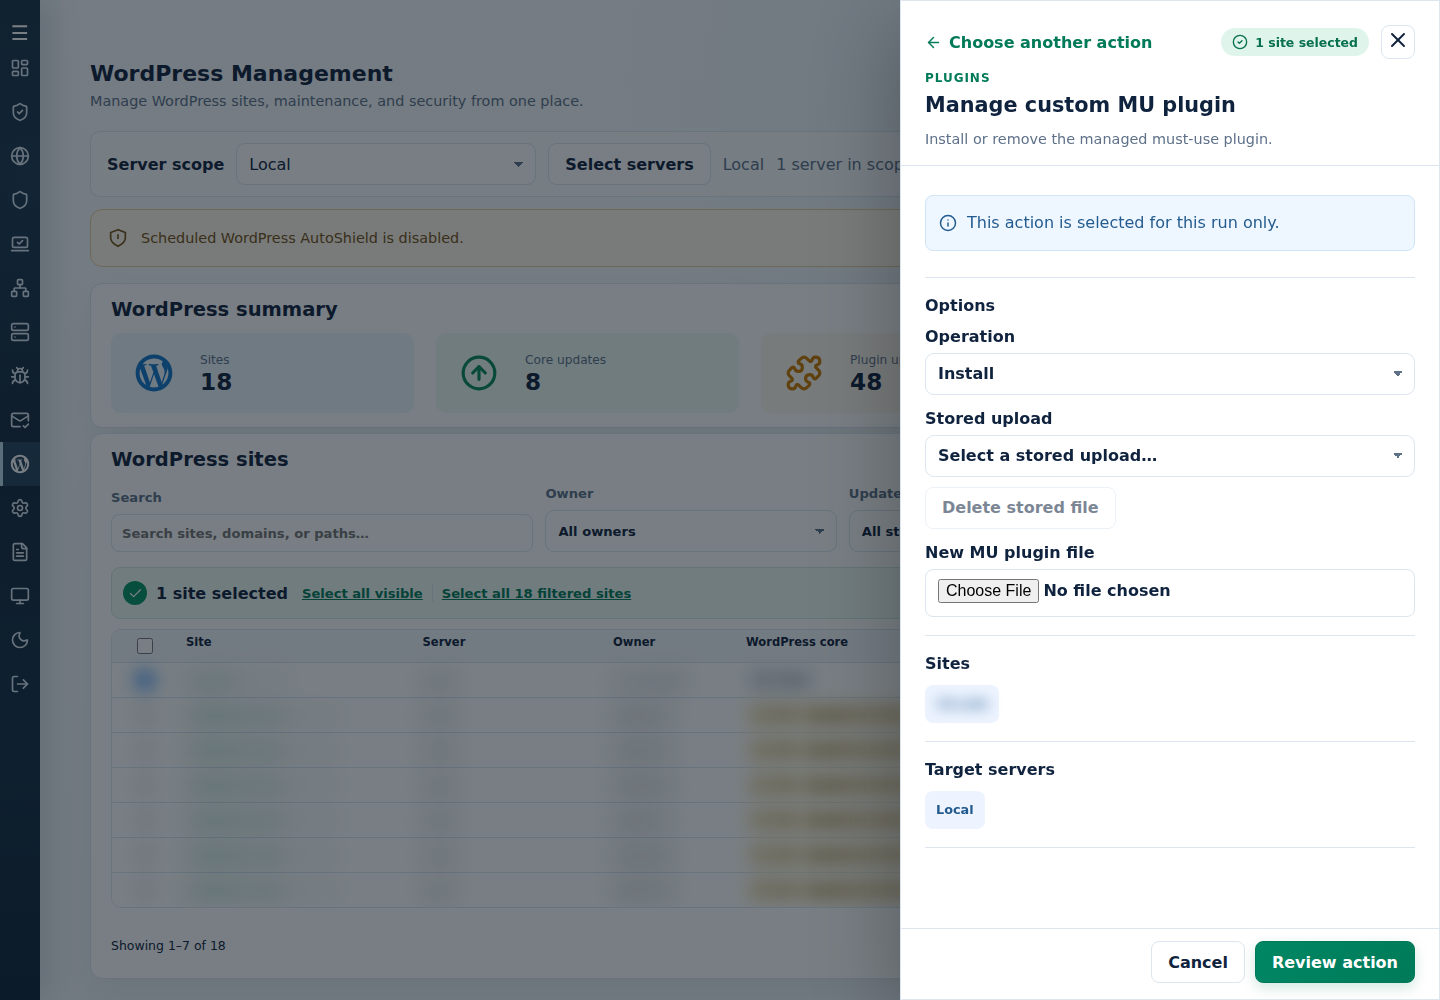
- Review the action and targets, then confirm. Read every site’s final result, including skips. Finished can include failed sites; see Read the outcome.
MU plugins load automatically. Inspect each site’s result and behavior. To reverse a deployment, choose Uninstall for the same intended file/sites.
Command-line method
Section titled “Command-line method”For terminal deployment, place exactly one reviewed PHP MU plugin file in /var/log/cpfenceav/mu-plugin on the server hosting the sites. Keep this staging directory and file root-owned and protected from other users’ writes. The CLI staging directory is separate from the WebUI’s uploaded-file chooser.
As root, review /var/log/cpfenceav/wp-sites-list.txt, then run:
cpfence --bulk-install-custom-mu-pluginReview the inventory and installation prompts before confirming. This copies the staged plugin into wp-content/mu-plugins/ on the listed installations, not just the sites checked in the WebUI. Read each result and check the sites for errors: MU plugins load automatically.
If the plugin was only needed temporarily, uninstall it from the intended site list with:
cpfence --bulk-uninstall-custom-mu-pluginKeep the original single staged file available until removal is finished. Its filename identifies the deployed plugin to remove; replacing it with a differently named file first can target the wrong deployment. Check each site’s removal result, and review the daily Deploy custom MU plugin policy if the file returns later.