
Identify and restore quarantined files
Use the cPFence v4+ quarantine list to recover stored files. Support users need target access plus preview/restore permissions.
Where to find the detection details
Section titled “Where to find the detection details”When a file is flagged, start with its detection notification or Threat & Malware Detection → Scan Summary → Recent scans → Details. Match the server, detection time, original file path and signature. A notification about an infection does not by itself prove that quarantine succeeded: check the finding’s Action and the stored-file list.
For a website file, the original path helps identify the affected account or plugin. For email, keep the mailbox path with the detection details so you do not return a message to the wrong mailbox. If the path contains a website ID, look it up in Enhance’s Manage Websites search to find its owner.
If you prefer the terminal, review the current malware scan history as root on the affected server:
less /var/lib/cpfcli/scan/infections.historyUse / to search in less and q to leave. Match the path and time to the WebUI record, then confirm its final action there. WordPress integrity also has its own history; follow WordPress integrity checks when that check raised the finding.
Current quarantine payloads are managed under /var/lib/cpfcli/quarantine/. Their stored names can differ from the original filename; use the recorded original path rather than guessing from a payload name.
Identify the file
Section titled “Identify the file”- Open Threat & Malware Detection and choose one server in Server scope.
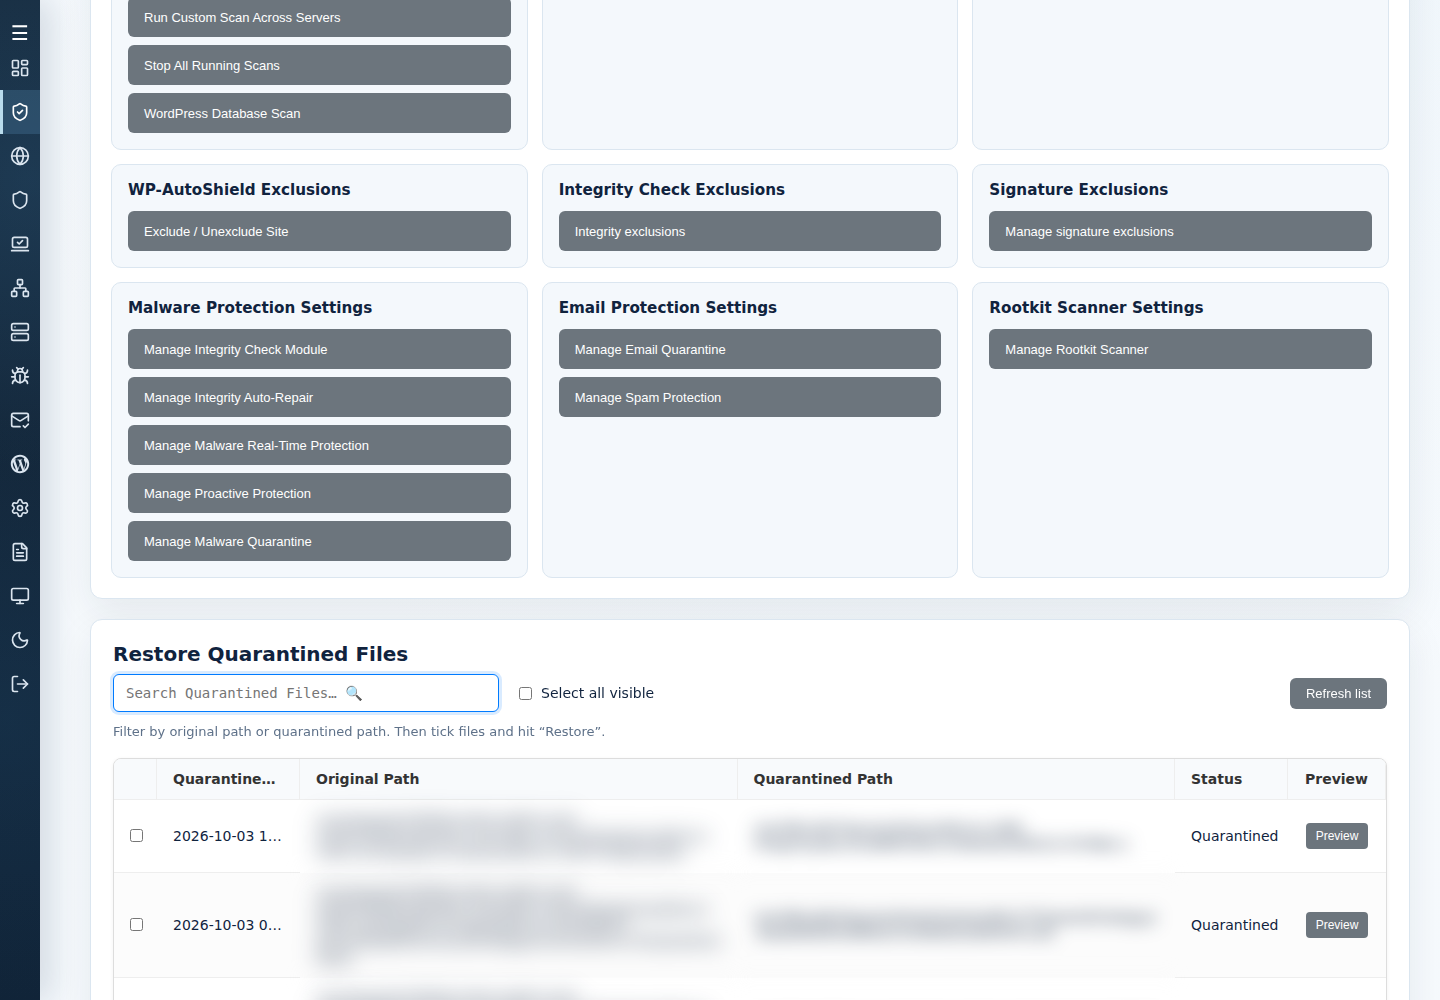
- Open Advanced Tools → Restore Quarantined Files and Refresh list.
- Search for the file or original path. Compare the detection notification or scan details with the list.
- Use Preview to inspect the stored content. If the original path contains a website ID, search that ID in Enhance’s website list to identify its owner.
Restore selected files
Section titled “Restore selected files”- Select the verified files. Select all visible selects visible rows; review selections retained across pages.
- Click Restore, then check the server and count in Restore selected files.
- Confirm Restore, or choose Cancel.
- Refresh and check each result. Restore returns the stored bytes to the original path; an existing destination or missing payload prevents recovery.
For a false positive, use Report False Positive with the flagged file and detection log. Submission requests review; it does not create an exception. See retention before delaying recovery.