
Enable or disable proactive scanning
Proactive protection in cPFence v4+ changes scanning behavior for faster detection. It depends on malware real-time protection and an eligible license.
Using the WebUI
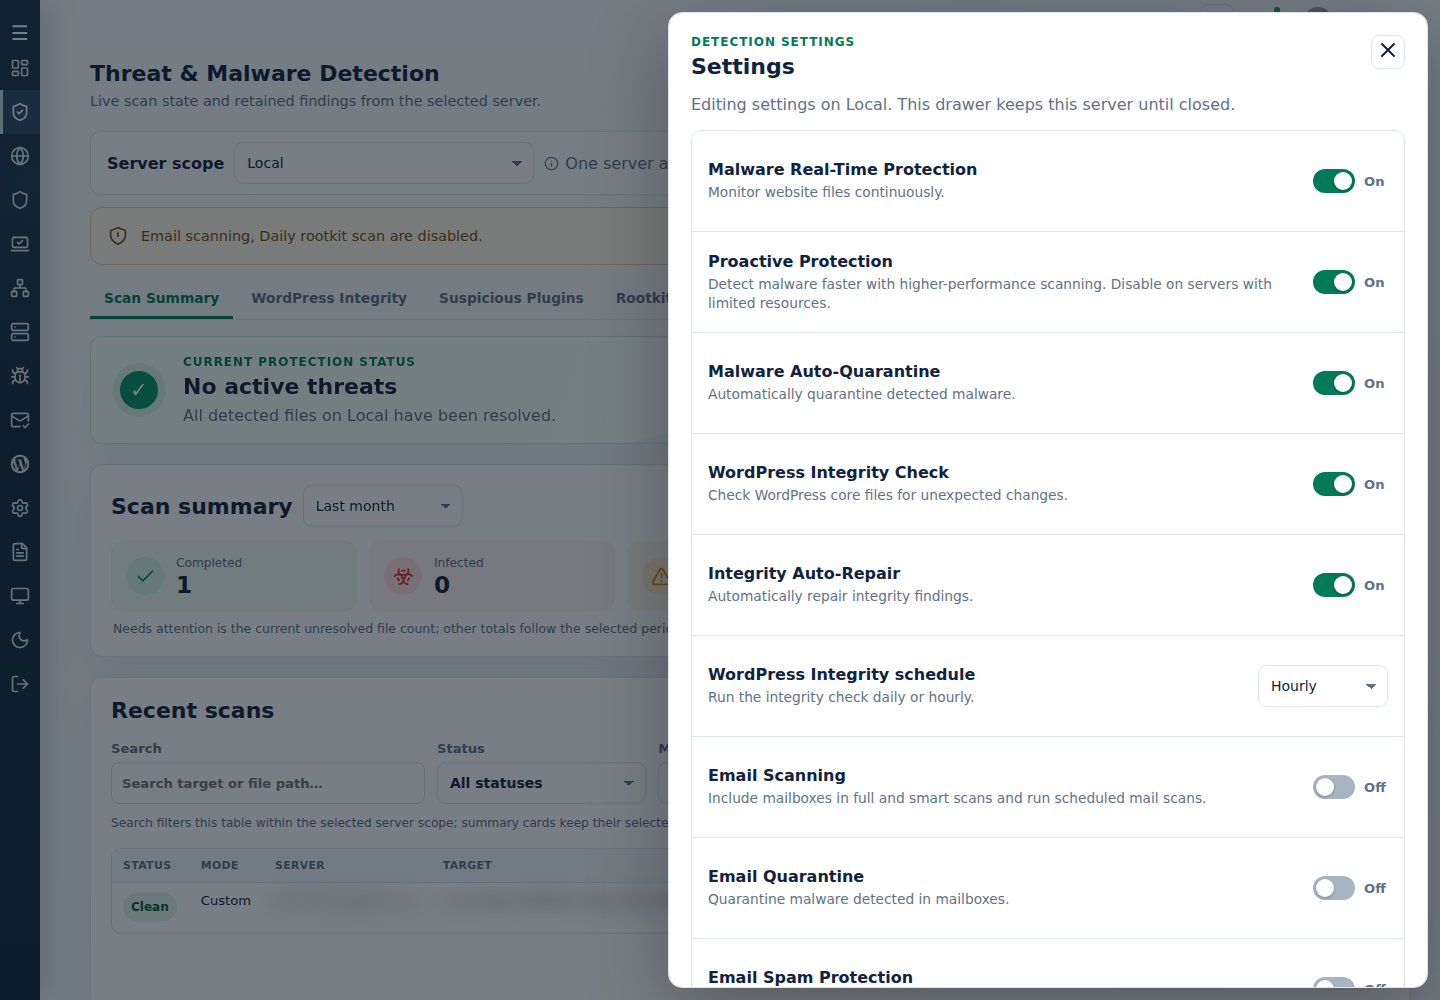
Section titled “Using the WebUI”- Open Threat & Malware Detection, choose the server and open Settings.
- Set Proactive Protection, then Save.
- Confirm the saved switch and review the protection card.
For several servers, use Advanced Tools → Manage Proactive Protection, checking the sidebar targets and each result. Support users need protection-setting permission.
To restore this page’s defaults, follow reset feature-page settings.
Using the CLI
Section titled “Using the CLI”Run as root on the target server:
| Action | Command |
|---|---|
| Enable proactive scanning | cpfence --enable-proactive |
| Disable proactive scanning | cpfence --disable-proactive |
The fresh default is on, but license and resource checks still apply. Disabling proactive protection leaves the two-minute MRTP timer available. Review scan health before starting additional work.