
Install a WordPress plugin
-
Choose the intended servers and sites. Start with one installation.
-
Open Choose action → Bulk tools → Plugins → Install plugin or ZIP.
-
Choose Source and fill its package field:
Source What to supply Repository slug Enter a slug such as classic-editorin Slug, URL or path, then click Verify slug. Verify again if you edit it.HTTPS URL Enter a trusted direct ZIP URL in Slug, URL or path. Server path Enter the ZIP’s path in Slug, URL or path. It must exist on the server running the installation. Stored upload Choose the intended package in Stored upload. Upload ZIP Choose your plugin ZIP using ZIP file.
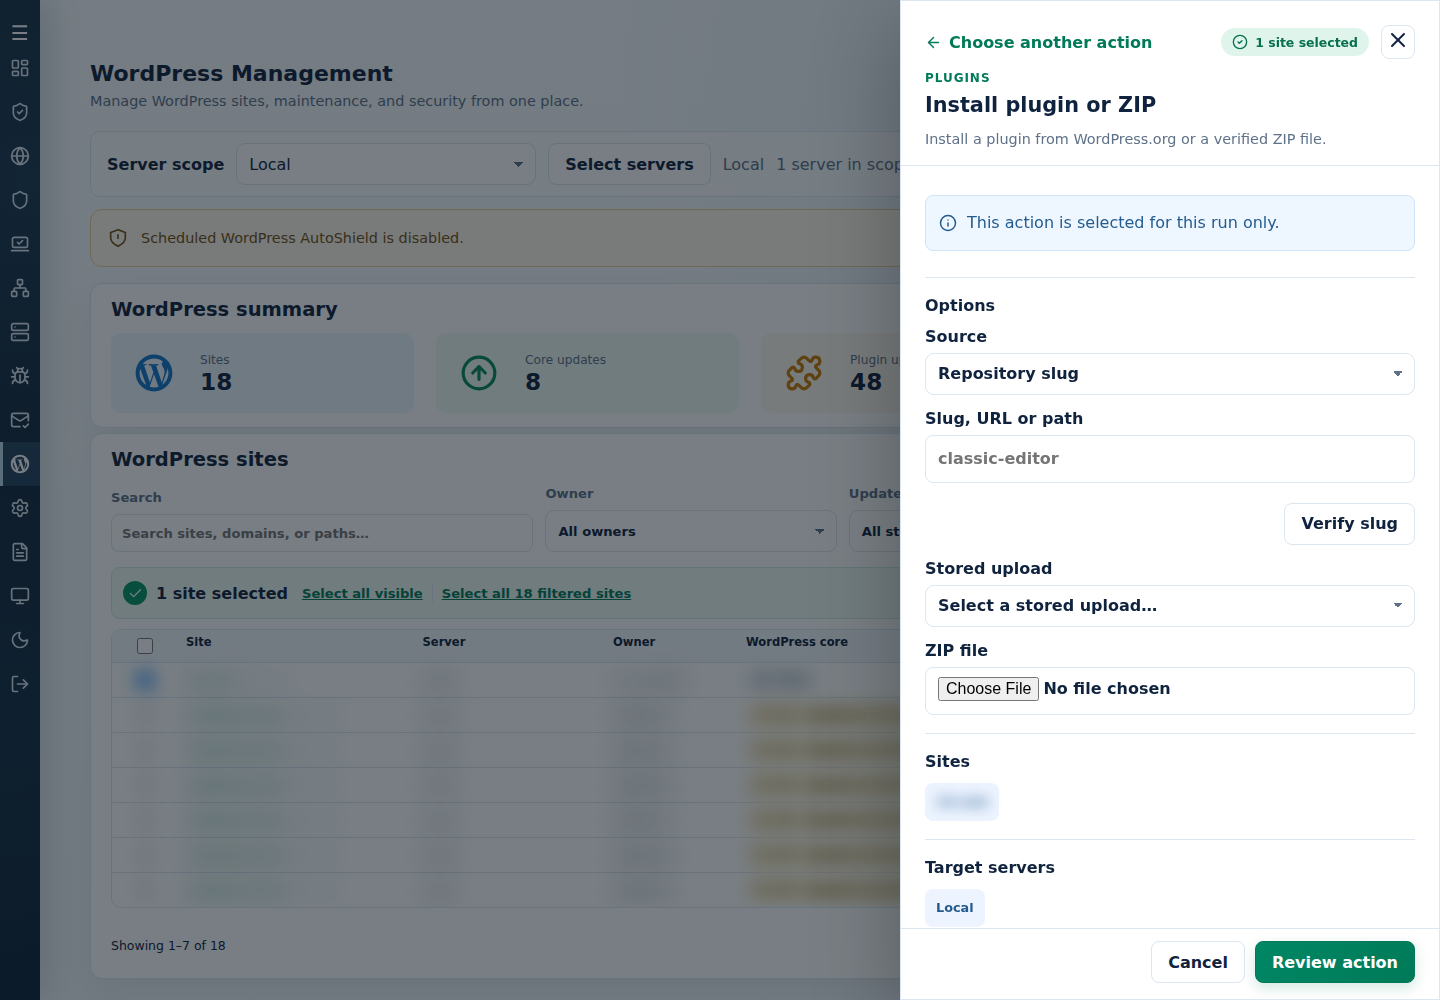
- Click Review action, check the selected sites and target servers, then confirm.
- Read every site’s final result, including skips. Finished can include failed sites; see Read the outcome. Check the installed version and site health.
Uploading a ZIP alone does not install it; wait for the successful installation result.
Command-line method
Section titled “Command-line method”From a root terminal on the server hosting the sites, install a repository plugin by its slug:
cpfence --bulk-install-wp-plugin classic-editorReview /var/log/cpfenceav/wp-sites-list.txt and the inventory prompt first. The CLI uses that server’s listed installations, not the checked WebUI rows.
For automation, use the slug or a trusted direct HTTPS ZIP URL:
cpfence --bulk-install-plugin-auto classic-editorcpfence --bulk-install-plugin-auto https://example.com/custom-plugin.zipThe automatic method skips confirmation, so check the package and site list beforehand. Both methods can replace existing plugin files; keep your customizations and a usable backup. Read each site’s final output, then enable the plugin separately. Installation does not activate it.