
Set WordPress permissions and hardening
- Select only the intended sites and preserve custom permission requirements.
- Open Choose action → WP-AutoShield → Hardening → Set secure permissions and inspect each result.
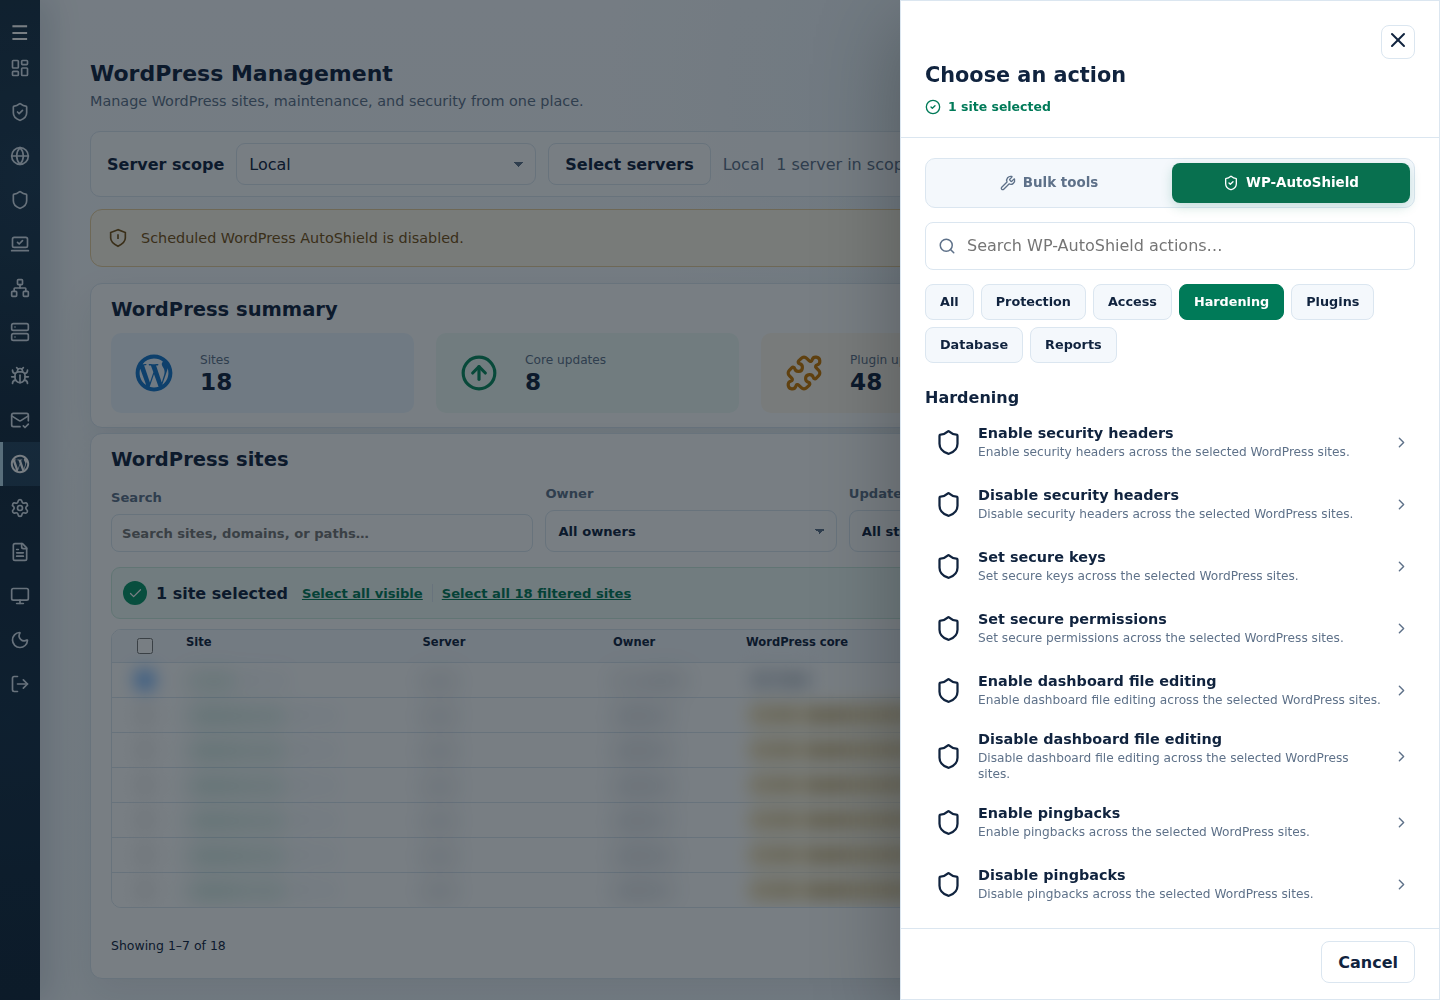
- For supported restriction rules, choose Enable WordPress hardening separately.
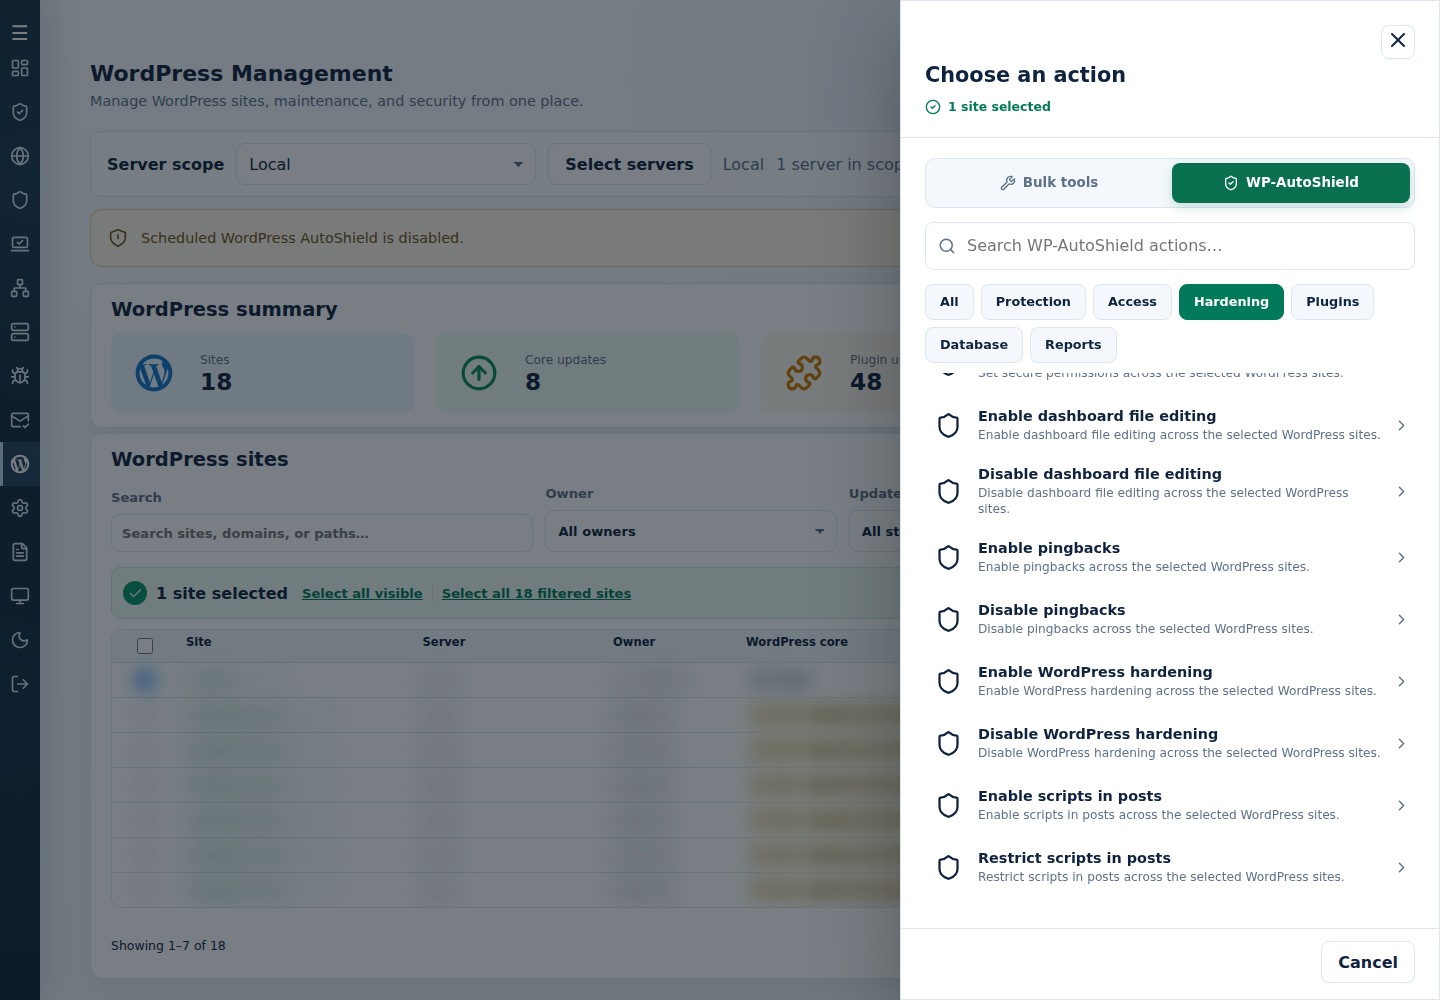
- Check uploads, public pages and administrator functions afterward.
The permission action checks selected directories for 755, accepts an eligible www-data root at 750/755, sets wp-config.php to 600, and relevant .htaccess/administrator entry files to 644. It does not promise a universal recursive ownership repair; use the separate account-permission tool when that is needed.
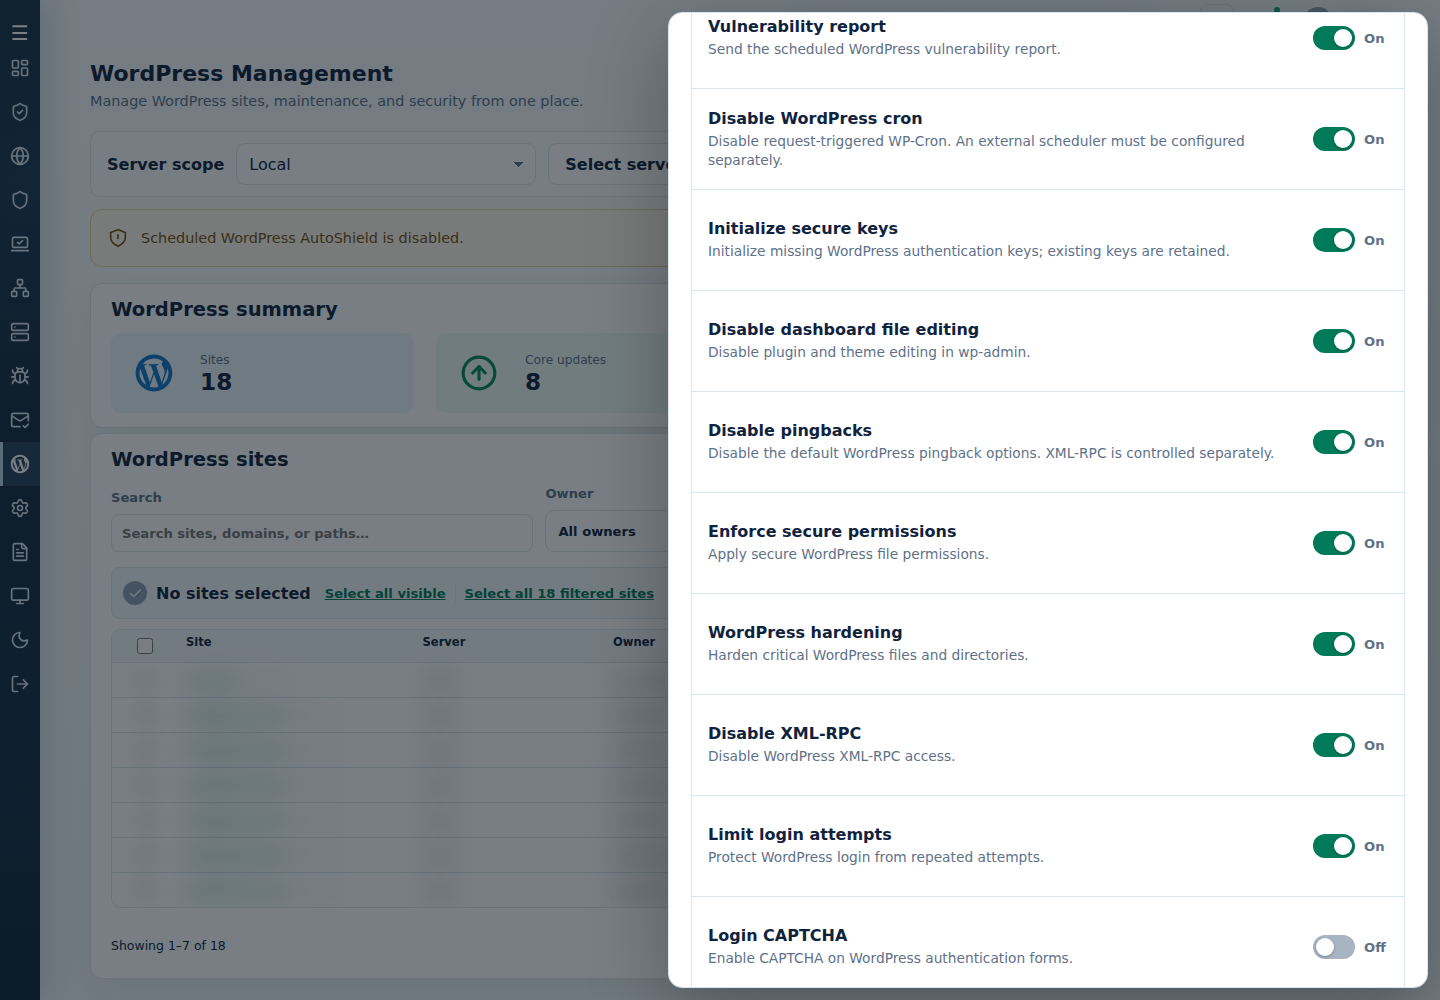
Hardening protects configured upload, includes and configuration paths through supported rules. nginx does not enforce .htaccess; do not infer PHP-upload blocking from those files there.
Command-line method
Section titled “Command-line method”From a root terminal on the server hosting the sites, run the permission fixer:
cpfence --bulk-set-wp-permissionsReview /var/log/cpfenceav/wp-sites-list.txt, custom permissions and the inventory/confirmation prompts first. This uses that server’s listed installations, not checked WebUI rows. Check the final per-site output and site behavior afterward.
If a staging synchronization also changed account ownership, use the separate account permission tools, with their own preview and scope. The WordPress permission command does not replace that ownership repair.
Apply the supported hardening rules:
cpfence --bulk-enable-wp-hardeningReverse those rules for an intended troubleshooting exception:
cpfence --bulk-disable-wp-hardeningMatch the daily WordPress hardening policy to the temporary exception, then re-enable protection when diagnostics are finished. Preserve custom rules before changing them and test uploads, public pages and administrator functions. Reversing hardening does not restore previous file permissions; use your saved requirements for that recovery.