
Trust or stop trusting a sender domain
Open Spam AutoShield and choose the mail server whose policy you want to inspect. The master must be on for stored entries to take effect; see the illustrated Spam AutoShield guide.
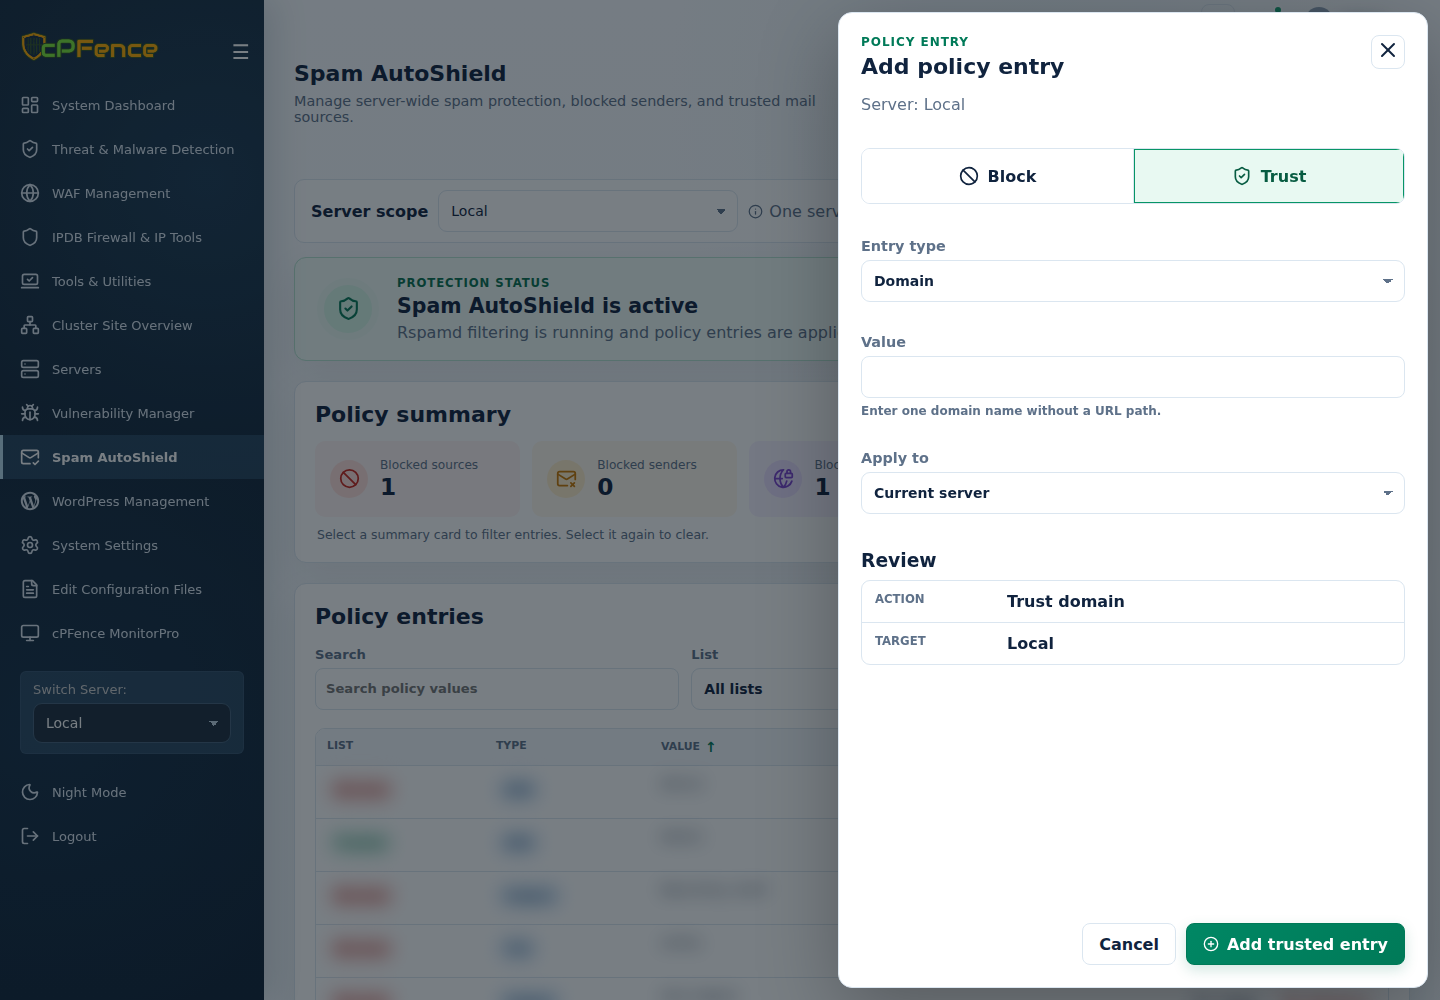
- Click Add entry and choose Trust.
- Set Entry type to Domain and enter a domain such as
trustedpartner.com, without a URL path. - Choose Apply to, review the servers, then click Add trusted entry.
- Read every server’s result and refresh the intended list.
To remove the trust exception, filter List and Type, find the exact value, and use Remove on the displayed server. Review its confirmation and result.
Keep domain exceptions limited to intended partners; remove the exception when it is no longer needed.
Command-line method
Section titled “Command-line method”From a root terminal on the intended mail server, trust a sender domain:
cpfence --add-spam-autoshield-wl-domain trustedpartner.comRemove that same trust exception:
cpfence --del-spam-autoshield-wl-domain trustedpartner.comReplace the example with the actual partner’s sending domain, without a URL or path. These commands update this mail server’s policy, not the WebUI’s Apply to selection. Read the result and refresh its domain trust list.
This can help with legitimate mail from partner SMTP relays or monitoring services. Audit the list periodically so only necessary partners remain. The current trust rule requires passing SPF or DKIM; trust does not guarantee delivery or remove separate blocks. Prefer a single-address exception when the whole domain does not need trust.