
IPDB and firewall policies
In cPFence v4+, open IPDB Firewall & IP Tools to manage access policies. Keep a working root terminal or provider console before changing rules that could affect SSH or the WebUI. Record your previous policy so you can reverse it.
Administrators can use all controls. Support users need access to the server and separate overview/check, permanent-list, temporary-policy, country, UFW, or protection grants.
Check the scope and current block
Section titled “Check the scope and current block”Choose the Server scope. Cluster policy views are read-only; choose one server to add/edit a policy or manage UFW. An aggregate row’s Show available actions can open its originating server.
In IPDB summary, filter by search, reason, country, date, or server, then Apply filters. Open Details to compare historical blocks with Current policy, whitelist, and expiry. Old incidents can remain after a block expires. Refresh reloads current policy; check any error before treating it as current.
Review dashboard IPDB history
Section titled “Review dashboard IPDB history”- On System Dashboard, choose the intended server scope and select IPDB Protection Attacks Blocked.
- In IPDB attacker history, check Source is IPDB, use the IP/country/server filters, then Apply filters.
- Compare recorded counts and LAST SEEN, then return to IPDB summary → Details to check current policy before acting.
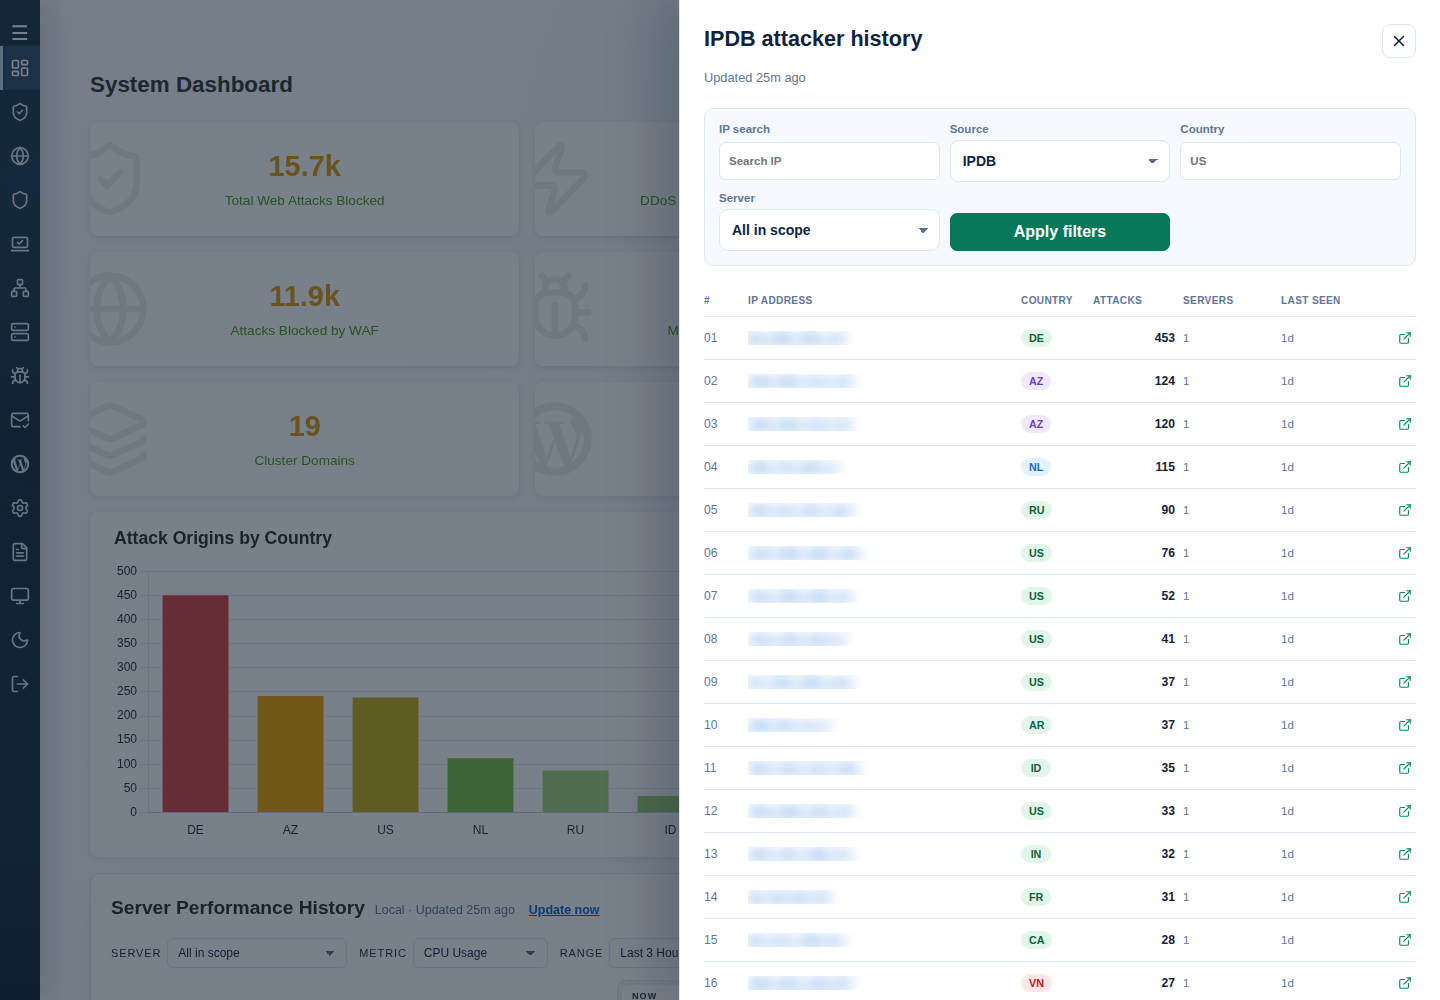
See dashboard history filters and data meanings for scope, freshness, external IP links and Load more.
Add or remove an IP policy
Section titled “Add or remove an IP policy”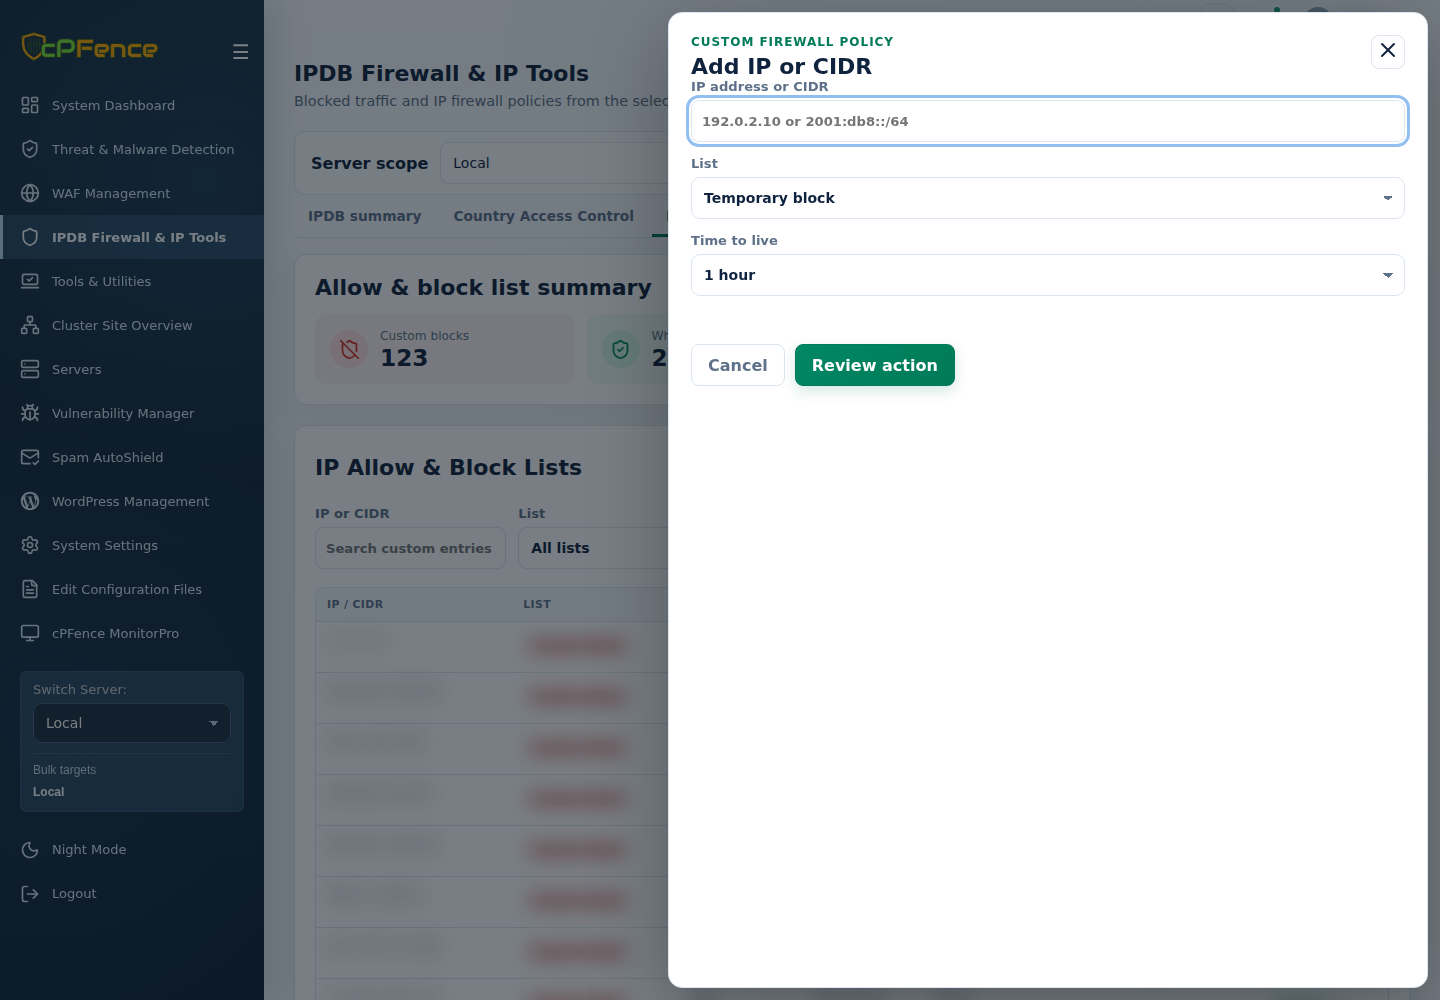
- Choose one server and open IP Allow & Block Lists → Add IP or CIDR.
- Enter an IPv4/IPv6 address or CIDR.
- Choose Custom block, Whitelist, Temporary block, or Temporary allow under List. Set Time to live for temporary entries.
- Click Review action, check the server/address/duration, and confirm. Cancel makes no change.
- Refresh, inspect the entry’s Actions, and verify intended access.
A whitelist can override an IPDB block. Removing one block does not guarantee access if another policy applies. Use the row’s removal action for the specific entry; preserve policies owned by another administrator or feature. See temporary policy expiry and recovery to extend, cancel or make an entry permanent.
Root administrators can use the same actions for either IPv4 or IPv6:
| Action | Command |
|---|---|
| Check current IP status | cpfence --check-ip 192.0.2.10 |
| Add to whitelist | cpfence --add-whitelist-ip 192.0.2.10 |
| Remove from whitelist | cpfence --del-whitelist-ip 192.0.2.10 |
| Add to blacklist | cpfence --add-blacklist-ip 192.0.2.10 |
| Remove from blacklist | cpfence --del-blacklist-ip 192.0.2.10 |
Replace the documentation address with the intended IP or CIDR. For manual list editing, select the appropriate IPv4/IPv6 list in Edit Configuration Files, preserve its original text, then deliberately apply with cpfence --restart-ipdb while IPDB is enabled. Commands are preferable for individual changes.
Use IP or CIDR, List, IP version, and Server to find a policy; Clear and Previous/Next help navigate.
Set country access
Section titled “Set country access”Use whitelist or blacklist a country for all four add/remove actions, country codes, CLI equivalents and access warnings.
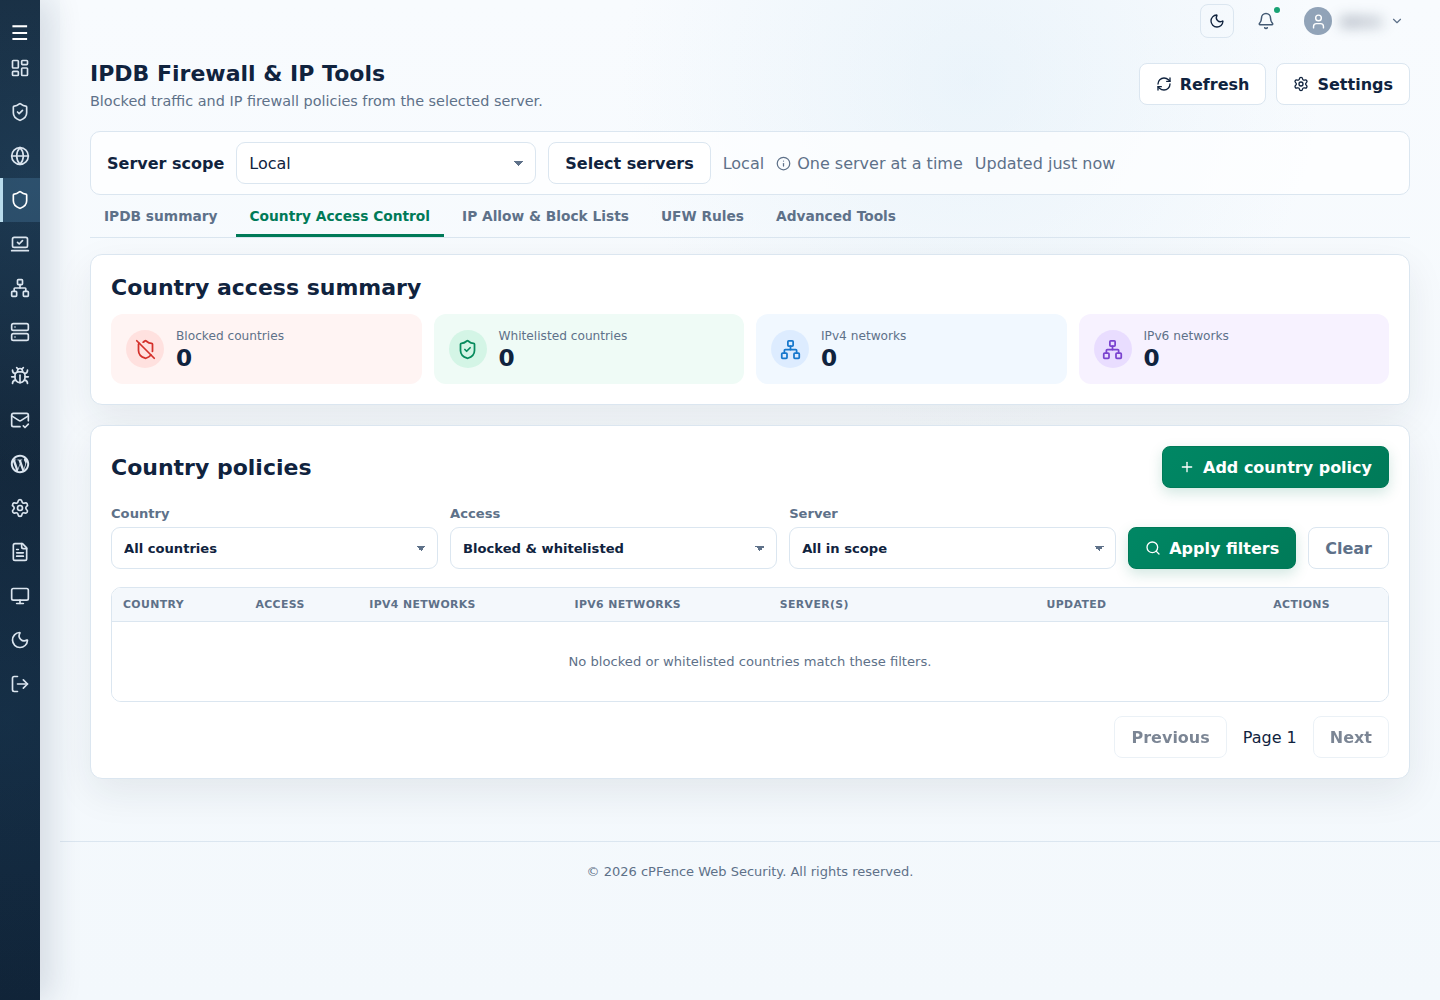
Country classification may differ from a visitor’s physical location. Broad country whitelists bypass IPDB protection; a failed dataset refresh retains existing data.
Use bulk and status tools
Section titled “Use bulk and status tools”Advanced Tools uses sidebar bulk targets. Follow Check IP status for its single/list checking modes; checking does not blacklist an address.
For temporary policies, use Add IP or CIDR, choose Temporary block or Temporary allow, and set Time to live. Temporary entries expire; remove them explicitly if needed sooner.
Read each target’s output. Some can succeed while others fail. Inspect current policy on each server before repeating an uncertain bulk action; do not assume cluster-wide rollback.
Use the focused tasks for custom feeds, bulk import errors, ASN blocks, Tor lists and DDNS whitelisting.
Set protection options
Section titled “Set protection options”Click Settings for IPDB Protection, IPDB protection level, DDoS Protection, Under-Attack Mode, SSH/Dovecot Authentication Protection, and Root Login Monitor. Choose the server and Save.
Reset → Confirm reset restores this group to packaged defaults. Review the server and access consequences before confirming.
Essentials is the fresh profile; Advanced can produce more false positives. Connection limit in System Settings defaults to 100 concurrent connections per source; raising it weakens that limit. Turn emergency Under attack mode off after the attack.
Use authentication protection for repeated failed sign-ins and Root Login Monitor for successful sessions, alerts and separately owned access allowances. Use IPDB/DDoS controls for master/restart/emergency steps. Disabling IPDB does not remove unrelated UFW policy.
See IPDB/DDoS CLI controls, request-volume diagnosis, proxy limitations, IPv6 checks, missing logs and policy reset.
Add or delete a UFW rule
Section titled “Add or delete a UFW rule”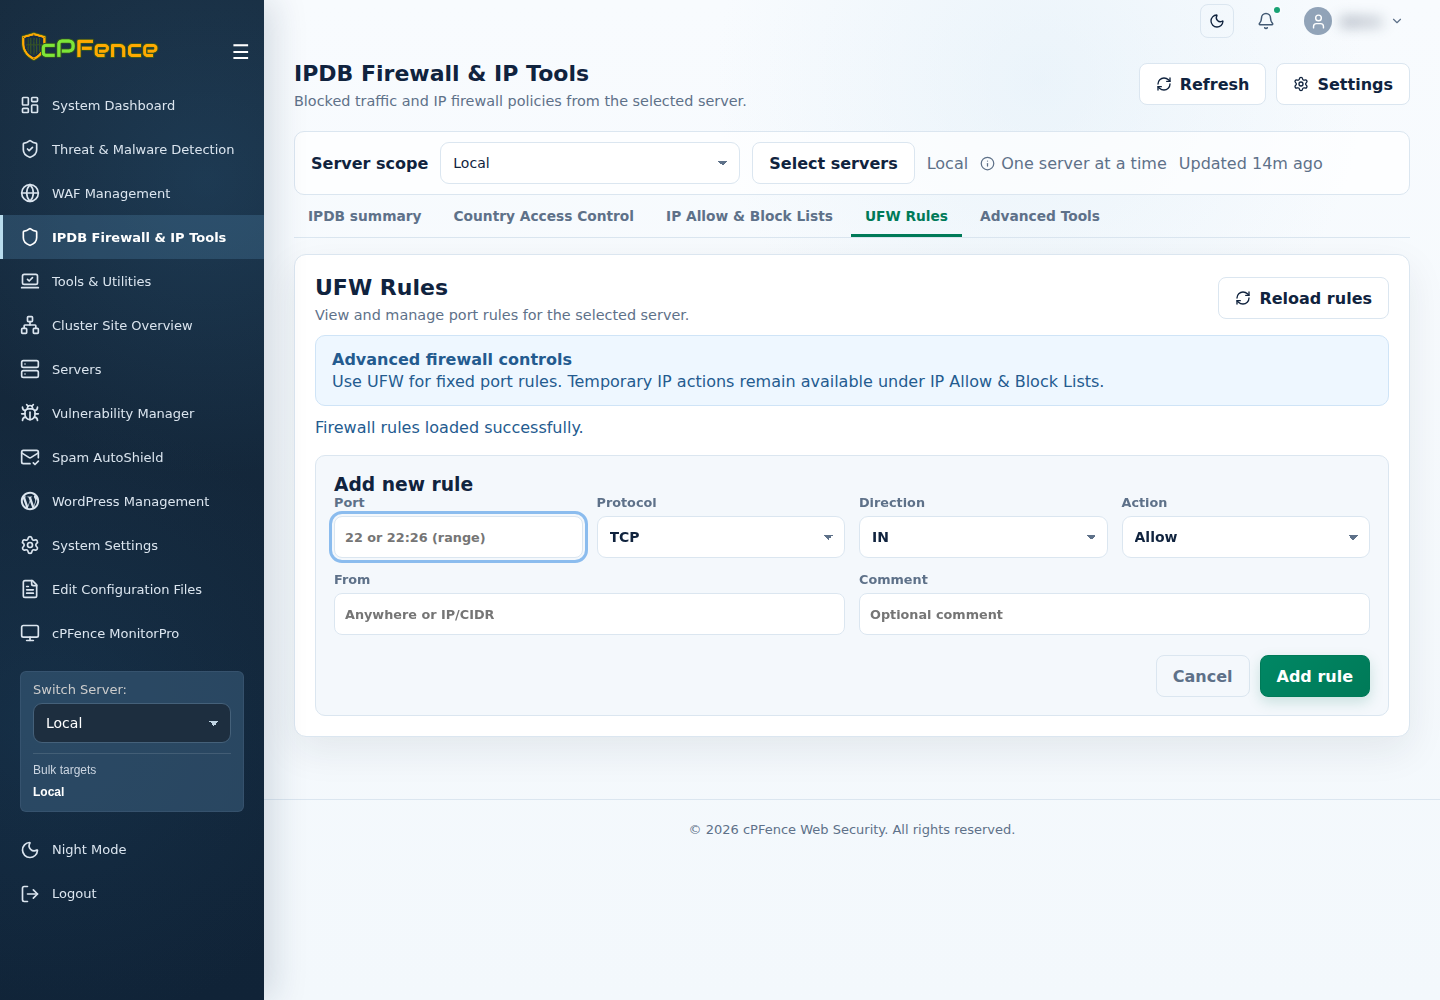
- Choose one server, open UFW Rules, and Reload rules. An inactive/unavailable notice means enforcement needs checking.
- Click Add new rule and fill Port or range, Protocol (TCP/UDP), Direction (IN/OUT), Action (Allow/Deny), From, and optional Comment. Blank From means Anywhere.
- Click Add rule and confirm, or Cancel. Reload and inspect the result.
Use Search rules and Delete to remove the exact current row after confirmation. Reload after scope/concurrent changes: rule numbers can change. Removing an allow can disconnect you; removing a deny can expose a service.
If access is lost, use your retained root session/provider console to reverse only your changed policy and test the connection. Do not flush the firewall or remove protection-owned access rules as a shortcut.