
Identify WordPress sites that need investigation
- Configure and test notifications if alerts are needed.
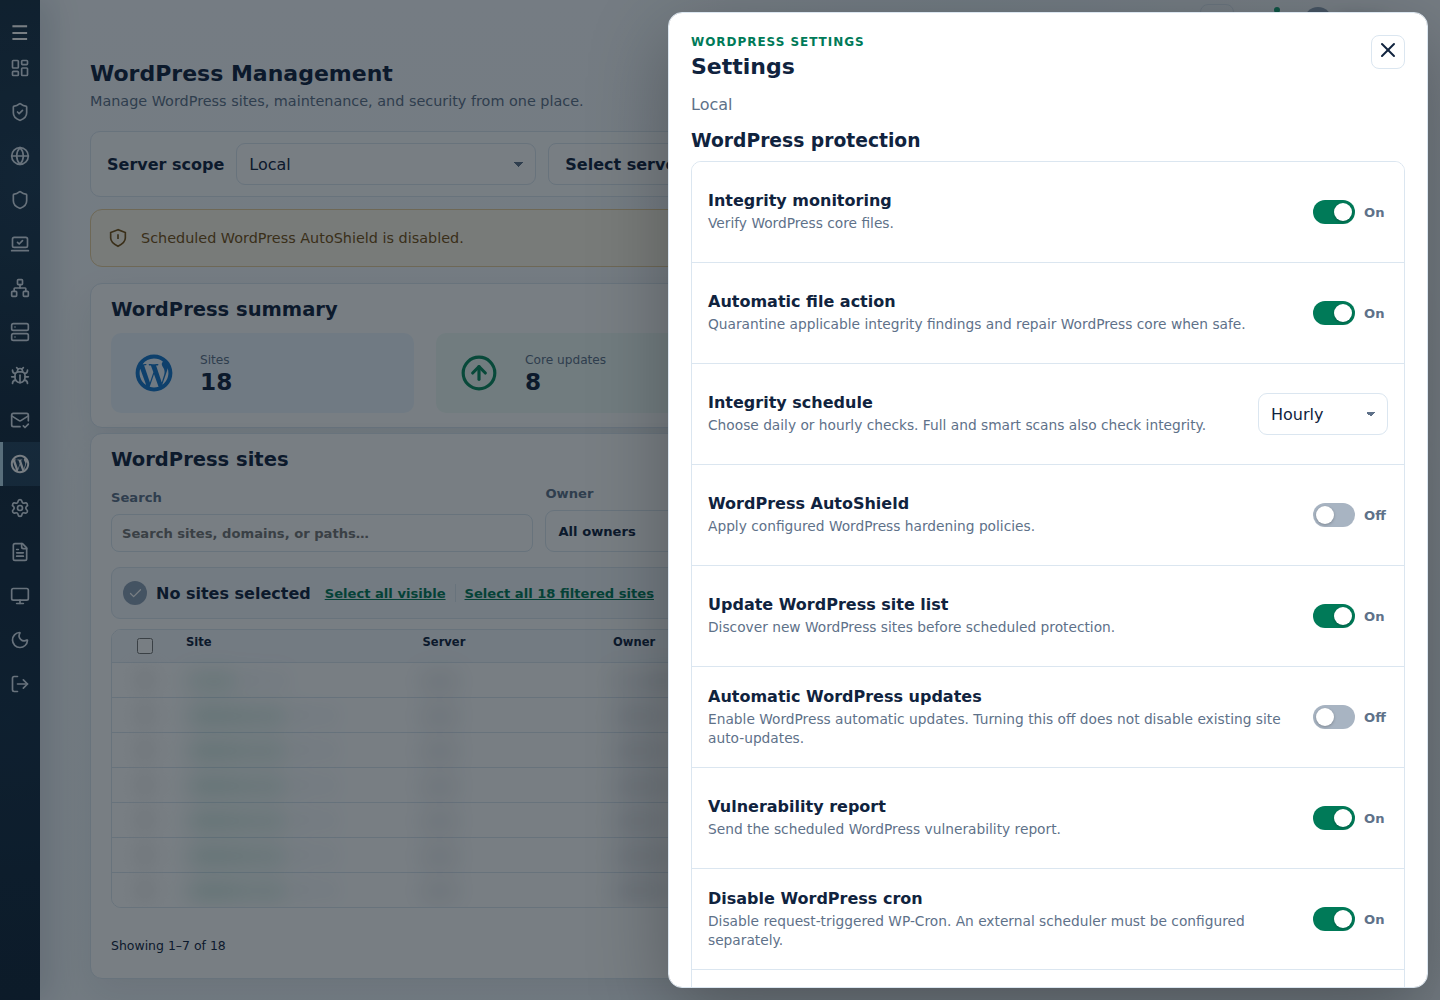
- Review integrity monitoring, including Daily or Hourly frequency and trusted site/basename exceptions.
- Run an appropriate manual smart/full scan in Threat & Malware Detection to include enabled attached integrity checks. Follow progress and inspect recorded findings; scans can take time.
- Review vulnerability findings separately. A vulnerability is not proof of an infection.
- Investigate the affected installation and follow Clean an infected site.
For dedicated check history, use WordPress Integrity and Suspicious Plugins. Plugin actions are retained records, not verification of the file’s current state.
Review verified false positives separately in malware and integrity policy. Enable automatic file action only after understanding its quarantine/repair effect and preserving backups. An unavailable alert or clean core checksum does not establish the entire site is clean.
Command-line method
Section titled “Command-line method”From a root terminal on the server hosting the sites, you can change the recurring integrity frequency to Hourly:
cpfence --set-check-frequency hourlyThis changes the configured frequency; it does not start an immediate check or enable monitoring by itself. Use cpfence --set-check-frequency daily to return to Daily. Keep the notification and integrity settings from steps 1–2 in place.
For an immediate check of one actual WordPress installation, cPFence v4+ provides:
cpfence --wp-integrity-scan /var/www/ACCOUNT_ID/public_htmlReplace the example path with the intended WordPress root. You can provide more than one installation path, separated by spaces. Review Automatic file action and preserve backups first: enabled automatic action can quarantine unexpected files and repair affected core files. Wait for the final output, then inspect the recorded integrity results; a started check is not a completed result.
For the broader malware check from step 3, use:
cpfence --full-scanFollow progress with cpfence --scan-status and inspect each finding’s recorded action. Scan time depends on files and available resources. For the separate CSV vulnerability report, use cpfence --vuln-export and the export guide, then continue with the cleaning and false-positive steps above.