
Restore WordPress core files
- Choose the intended servers and sites. Start with one installation.
- Preserve a usable backup and check any intentional core customizations.
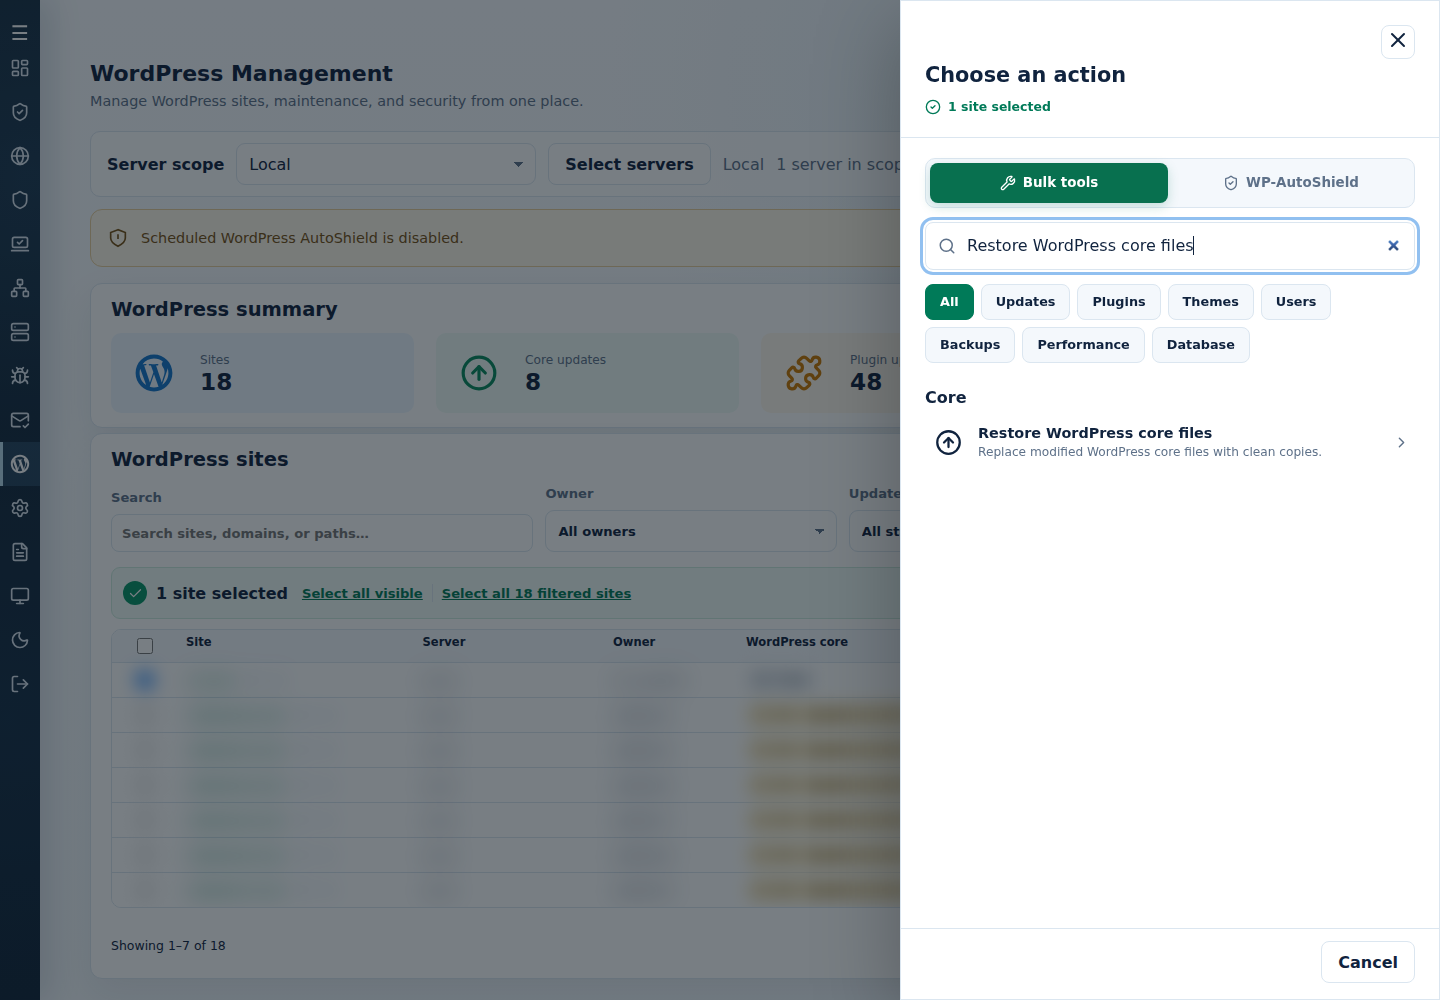
- Open Choose action → Bulk tools, search for Restore WordPress core files, then choose that entry.
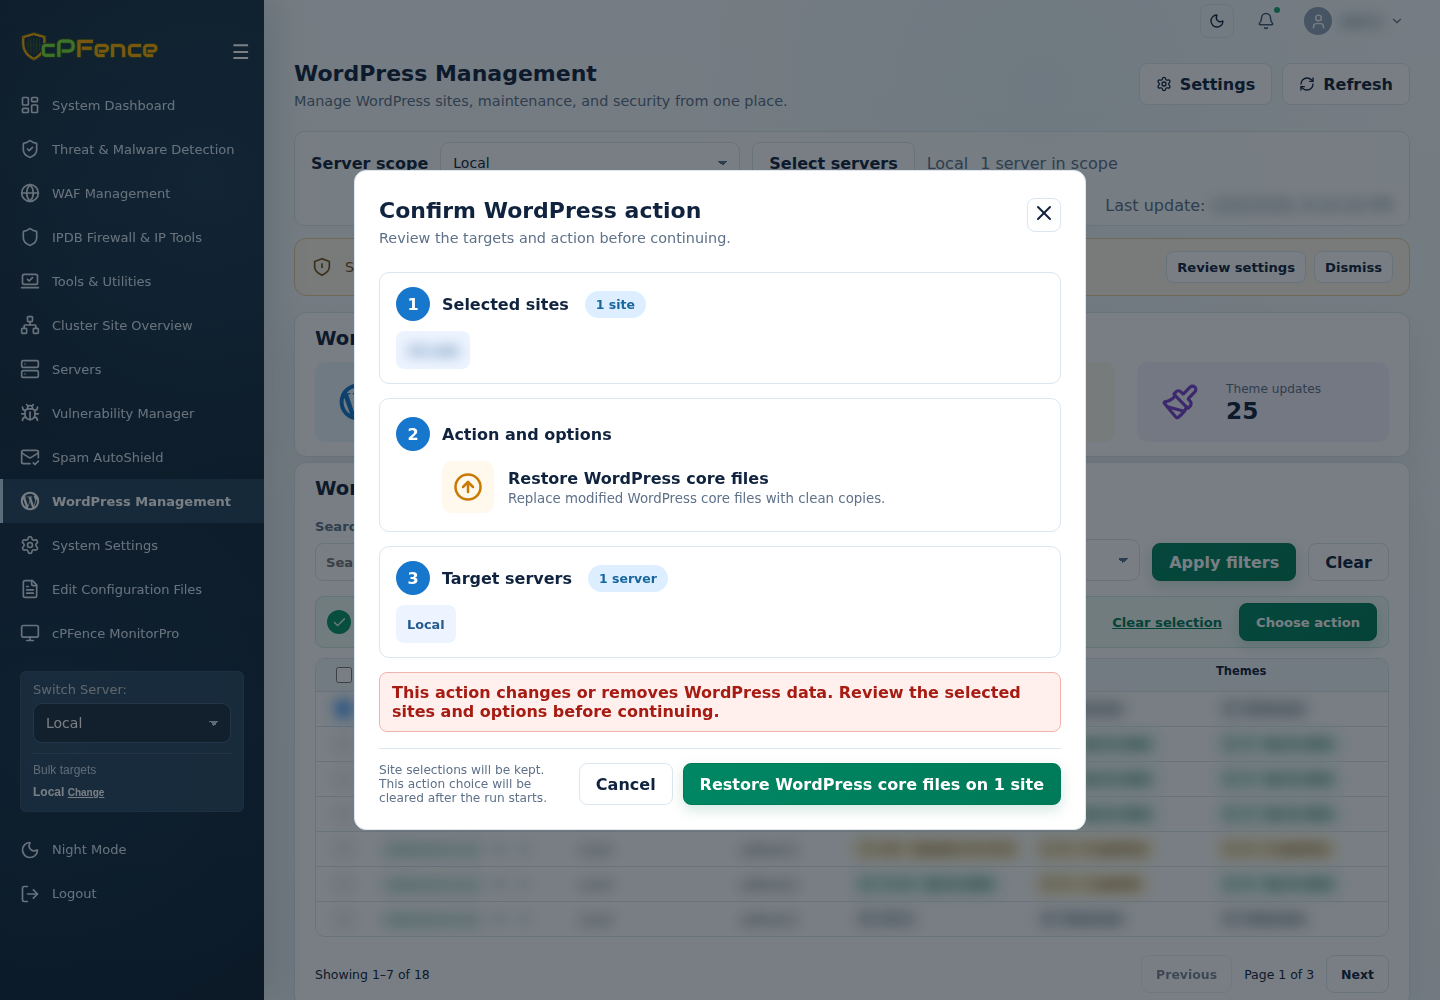
- In Confirm WordPress action, check Selected sites, Action and options and Target servers. Continue only when the replacement is intended, or use Cancel.
- Read every site’s final result, including skips. Finished can include failed sites; see Read the outcome.
This replaces modified core with clean copies; it does not restore the database or clean themes/plugins/accounts. Check public pages and sign-in afterwards.
Command-line method
Section titled “Command-line method”Experienced administrators can use a root terminal on the server hosting the sites:
cpfence --bulk-force-wp-core-filesReview /var/log/cpfenceav/wp-sites-list.txt and the inventory and replacement confirmations first. This uses the server’s listed installations, not checked WebUI rows. Keep a usable backup and preserve intentional core changes before overwriting files.
Read each site’s final output and check its WordPress version, public pages and sign-in. This downloads fresh core files while skipping wp-content; it does not restore the database or clean plugins, themes, accounts or unrelated malicious files. For an infected site, continue the cleanup procedure rather than treating this step as complete recovery.