
Add LogSpot reports to WHMCS
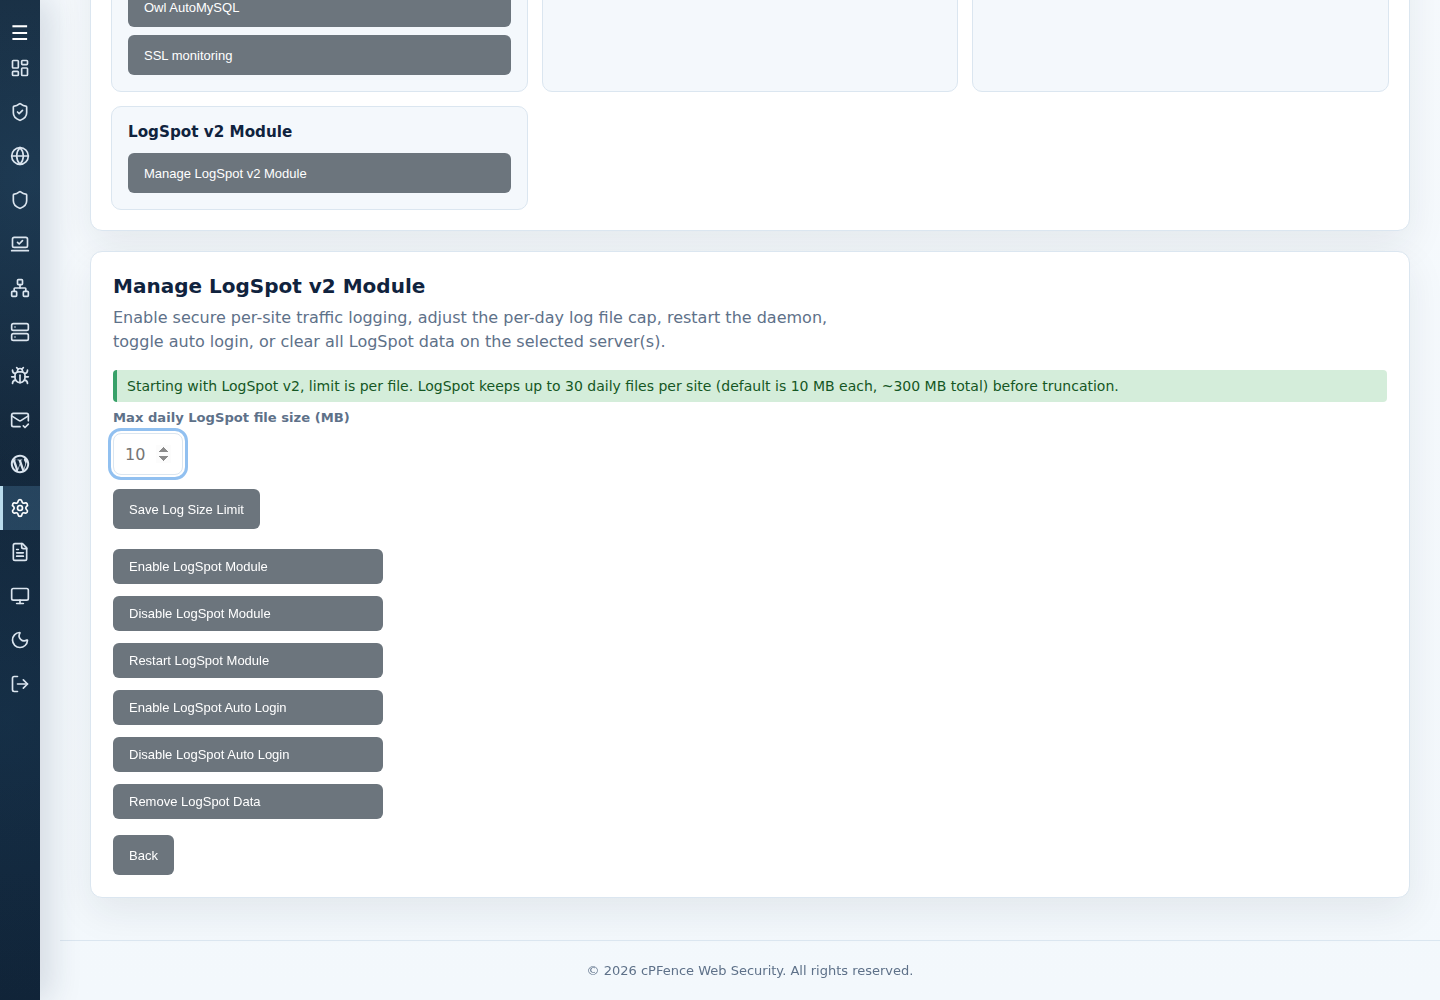
Enable the LogSpot module on the application servers first. Check a site’s report at https://example.com/traffic-reports/ using its generated credentials.
- Back up your WHMCS Enhance module and preserve local customizations.
- Open
modules/servers/enhance/enhance.phpunder your WHMCS installation. - Review its
enhance_ClientAreafunction and adapt the published cPFence example: password-protected report button or Website ID auto-login button. - Set your own webmail/help links. For the auto-login example, enable LogSpot Auto Login only on intended servers.
- Check one customer’s button, correct domain and authentication before rollout. Restore the backed-up function if the customization fails.
The published examples require adaptation to your installed WHMCS module and local changes; they do not verify every module version.
Find or change a site’s report password
Section titled “Find or change a site’s report password”The generated password is in that site’s cpf_logs/yourpassword.txt, for example /var/www/SITE_ID/cpf_logs/yourpassword.txt. Use the actual site ID and keep the value private.
The site’s owner or administrator can change the file. Preserve its ownership and use any non-empty password; an empty file gets a new generated password. Log out of the report and check a fresh login with the new password. This does not revoke an already authenticated report session.