
Optimize WordPress databases
- Choose the intended servers and sites. Start with one installation.
- Keep a usable database backup and choose a period with spare host capacity before opening the action.
- Open Choose action → Bulk tools → Database → Optimize databases.
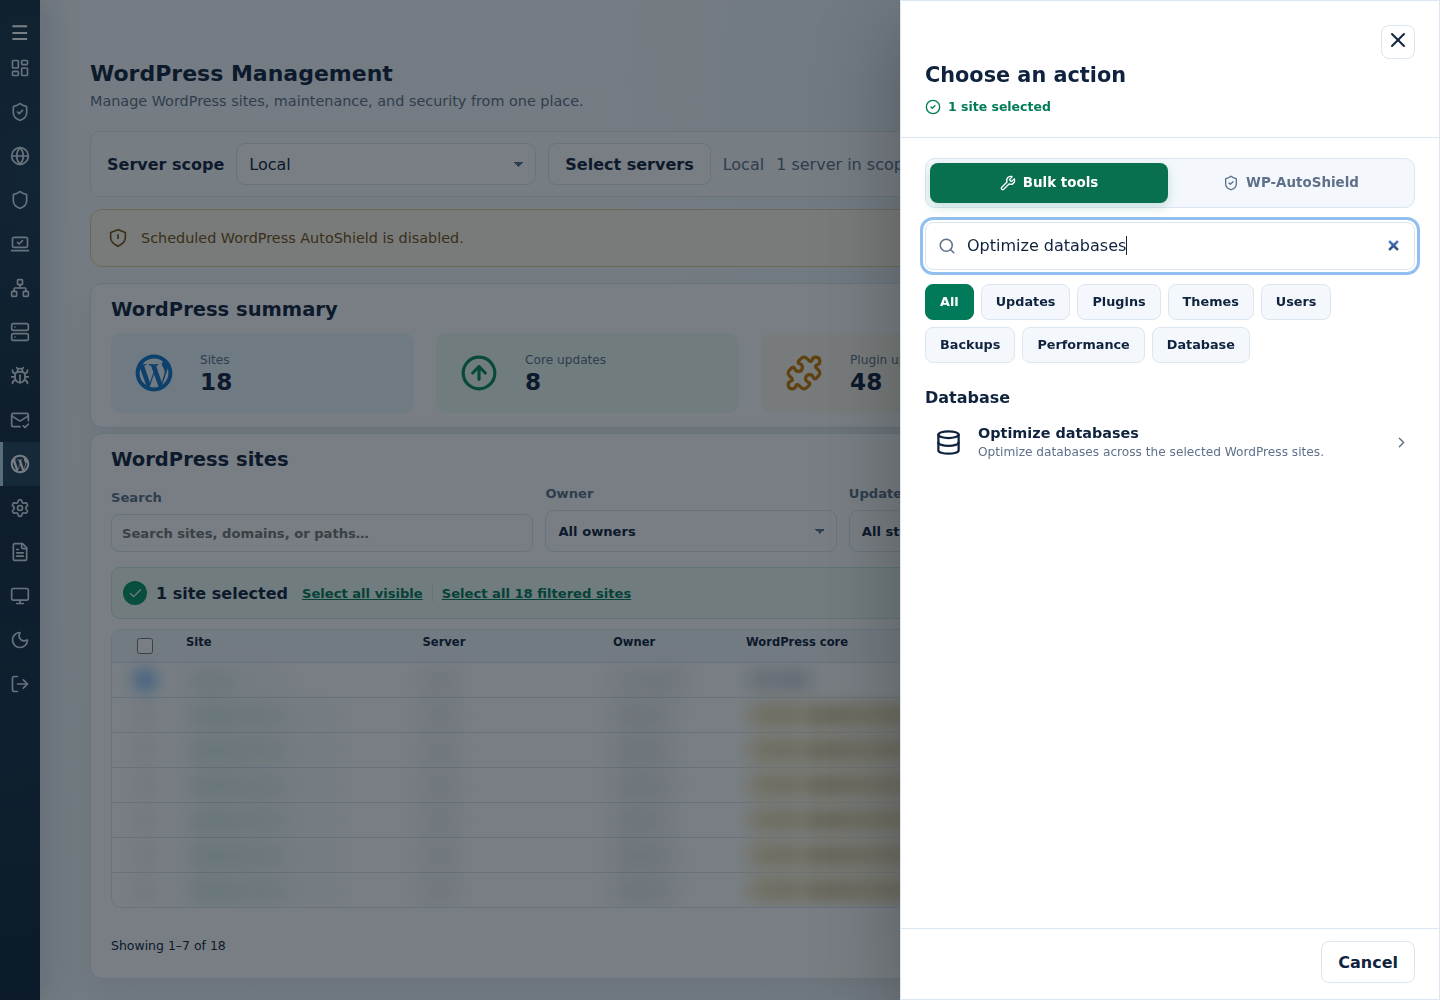
- Review the action and targets, then confirm. Read every site’s final result, including skips. Finished can include failed sites; see Read the outcome.
Inspect each table/site result and resolve reported failures separately. Optimization does not scan for malware or prove faster application performance.
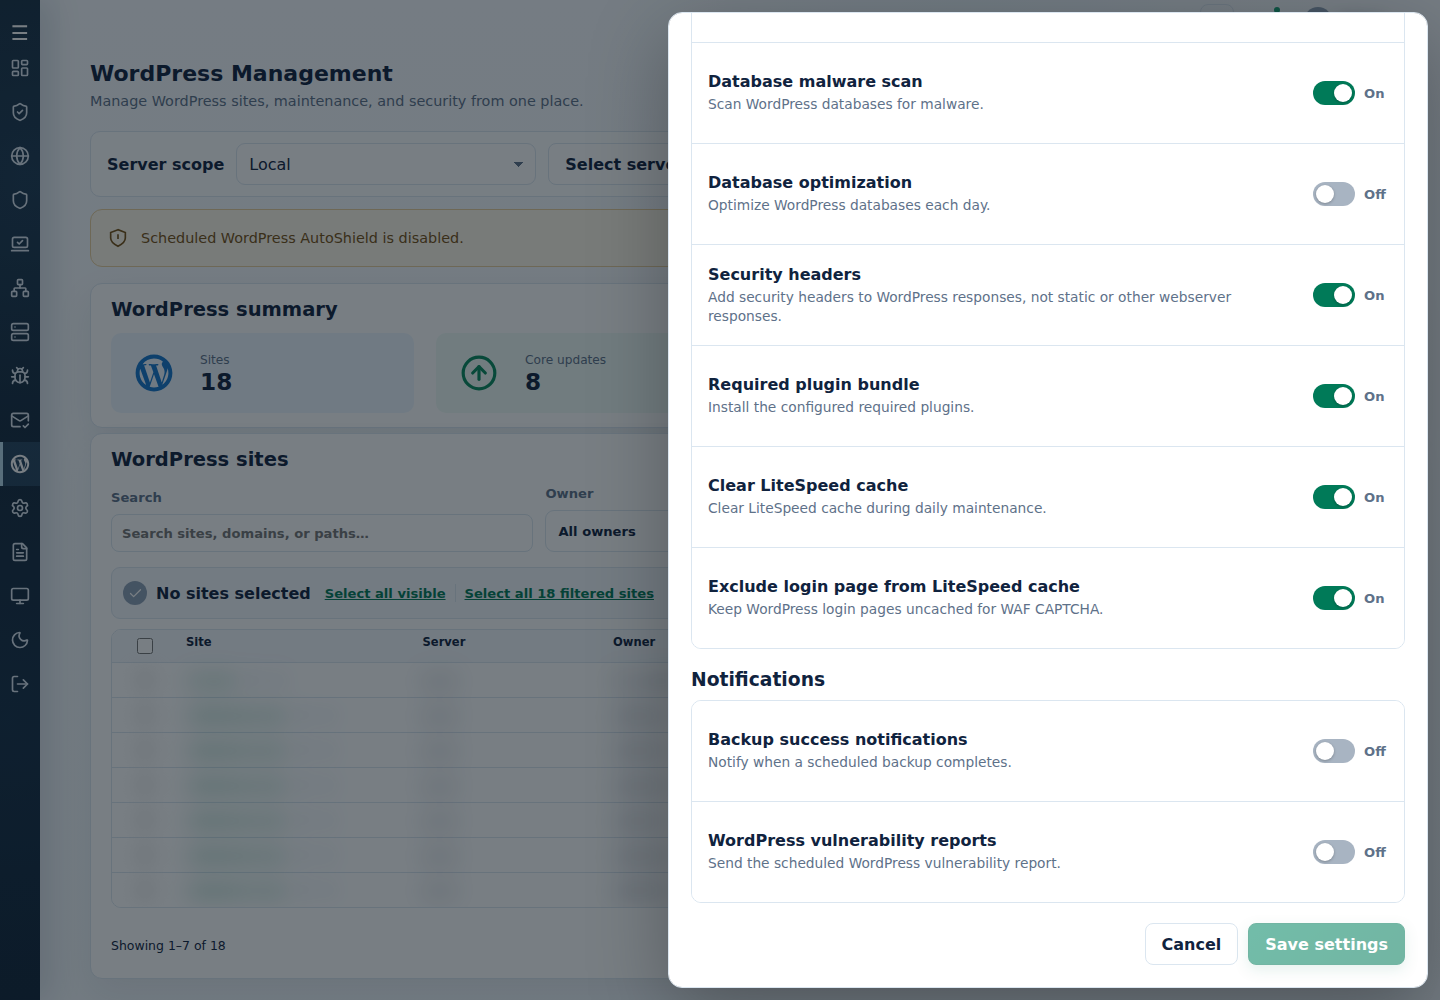
For recurring optimization, review Database optimization in this server’s WordPress Settings. It runs during eligible AutoShield work; choose it only when that database work is intended.
Command-line method
Section titled “Command-line method”From a root terminal on the server hosting the sites, run:
cpfence --bulk-optimize-wp-databasesReview /var/log/cpfenceav/wp-sites-list.txt and the inventory confirmation first. This uses the server’s listed installations, not checked WebUI rows. Keep a usable database backup and choose a quiet period with spare capacity.
Inspect each site’s table results and any errors before retrying only the affected sites. If cached pages need refreshing afterward, clear LiteSpeed Cache separately. For a daily check, use the Database optimization policy above; immediate optimization does not enable that schedule.