
Use website bulk tools and server utilities
Use Tools & Utilities for website changes and server administration. These cPFence v4+ instructions require the relevant action permission and access to the selected servers/sites.
ApiMachine runs from the Enhance main control panel server and needs an Enhance Super Admin API key. Follow Generate and save an Enhance API key. Configure it privately with API key on the ApiMachine Bulk Tools tab, or cpfence --set-enhance-api-key from root on the main control panel server.
Run a website action
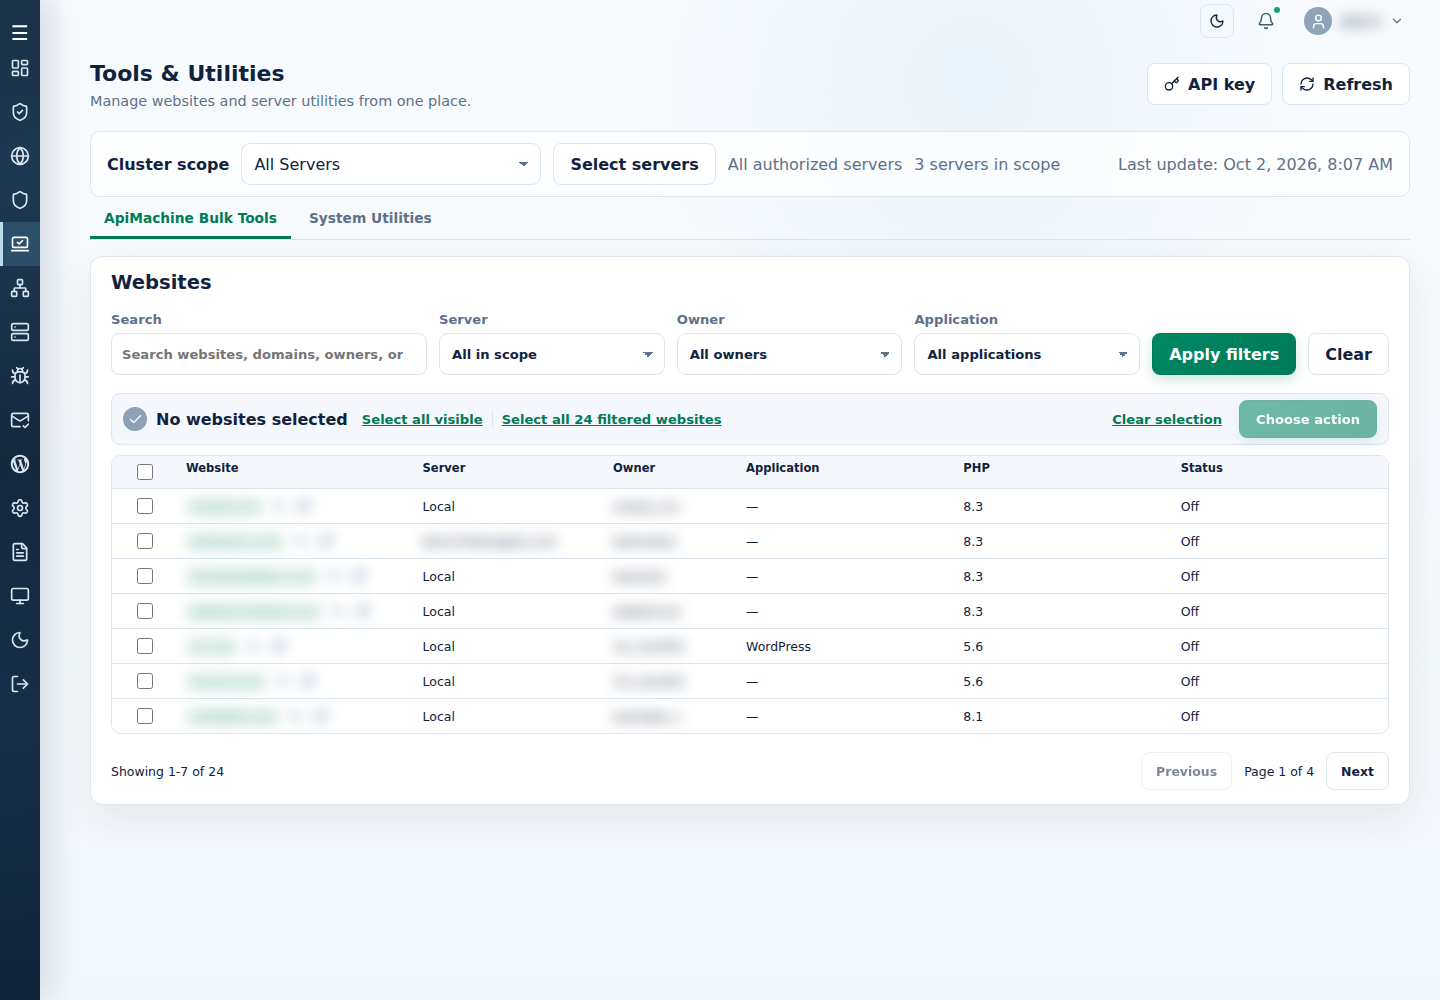
Section titled “Run a website action”- Open ApiMachine Bulk Tools, choose Cluster scope, or use Select servers for a subset.
- Filter with Search, Server, Owner, and Application, then Apply filters.
- Check the intended rows. Select all visible selects the current page; Select all … filtered websites includes other pages. Filtering alone does not select websites. Use Clear selection to start over.
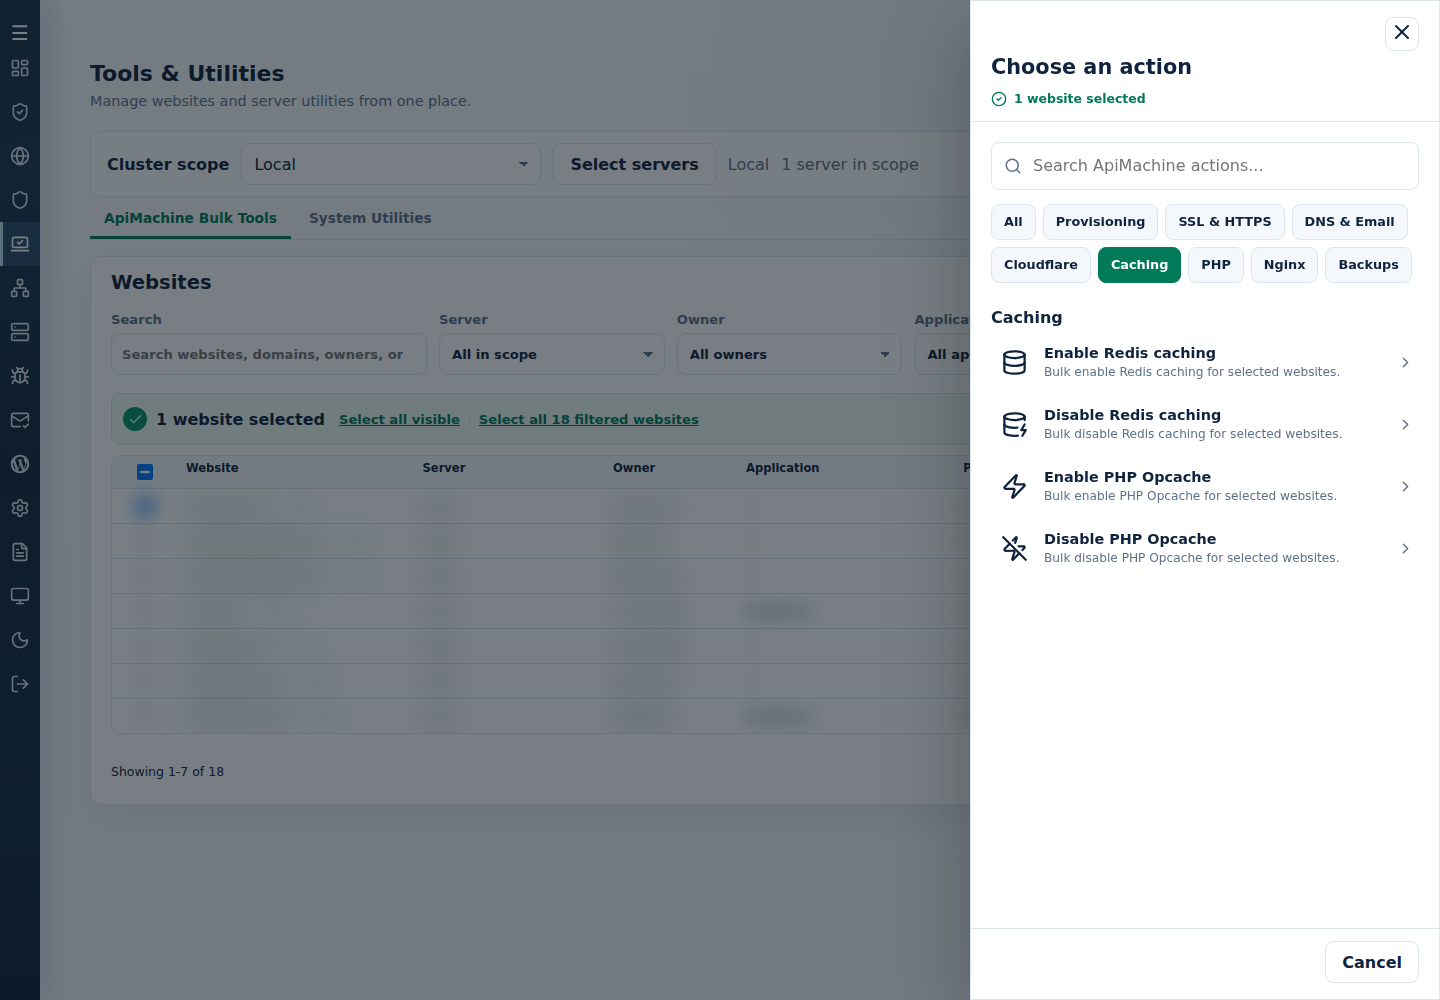
- Select Choose action, choose the category/action, and fill any parameters. Select Review action when a form appears.
- Review Selected websites and parameters in Confirm ApiMachine action, then Confirm and run. Read each target’s output and check its resulting panel/application state.
Back up affected websites before disruptive changes. A stale scope or changed selection requires a fresh deliberate selection. Cancel closes confirmation without dispatch.
Prepare the CLI site list
Section titled “Prepare the CLI site list”Use root on the Enhance main control panel server, with a valid cPFence license and a configured Enhance API key.
-
Generate the current selection:
Terminal window cpfence --generate-cluster-sites-list -
Edit
/var/log/cpfenceav/cluster-sites-list.txtto remove rows you want excluded. Preserve the remaining CSV fields and keep a copy of your edited selection. -
Run the task’s CLI command, read the listed targets, and answer
yesonly for the intended action.
Website action groups
Section titled “Website action groups”| Group | Actions and what to check |
|---|---|
| Provisioning | Install WordPress apps on selected websites with empty application inventories. Review version, path and private administrator details. |
| SSL & HTTPS | Enable Force SSL, Disable Force SSL, Generate website SSL, Generate mail SSL: verify hostname/DNS eligibility and the resulting redirect/certificate. A submitted certificate request is not proof of issuance. |
| DNS & Email | Enable DNSSEC, Disable DNSSEC, Enable DKIM, Disable DKIM: coordinate with authoritative DNS and check the resulting settings. |
| Cloudflare | Manage Cloudflare tokens: add/remove organization tokens or link/unlink selected domains. Organization changes can affect other domains; keep tokens private. |
| Caching | Enable Redis caching, Disable Redis caching, Enable PHP Opcache, Disable PHP Opcache: check application compatibility and normal requests afterward. |
| PHP | Update PHP version, Restart PHP container, Manage PHP extensions: see the steps below. Version changes and restarts can interrupt requests. |
| Nginx | Enable FastCGI cache, Disable FastCGI cache, Purge FastCGI cache, Add cache exclusion, Remove cache exclusion: use applicable Nginx sites and the intended URL path, such as /cart. Purge discards cached responses. |
| Backups | Bulk create website backups, Bulk report website backups, Bulk delete website backups: creation/deletion continue in the background. Deletion requires Delete My Backups and permanently removes selected website backups; keep independent recovery copies first. |
Enhance backups are separate from cPFence settings archives and WordPress snapshot backups.
Install WordPress apps
Section titled “Install WordPress apps”Use this action for existing Enhance websites with no installed applications. Refresh and select the intended empty websites; this does not create new websites or upgrade an existing WordPress installation.
-
Follow the website selection steps, then choose Provisioning → Install WordPress apps.
-
Fill the form, or use the blank-field defaults below:
Field What to choose WordPress Version A listed version, or Auto-select latest version. Install Path An intended path such as /blog; blank uses/.WP Admin Username Your intended username; blank generates one. WP Admin Password Your private password; blank generates one. Use letters, numbers and the special characters shown in the form; spaces and commas are not allowed. WP Admin Email Your administrator address; blank uses admin@domainfor each target domain.
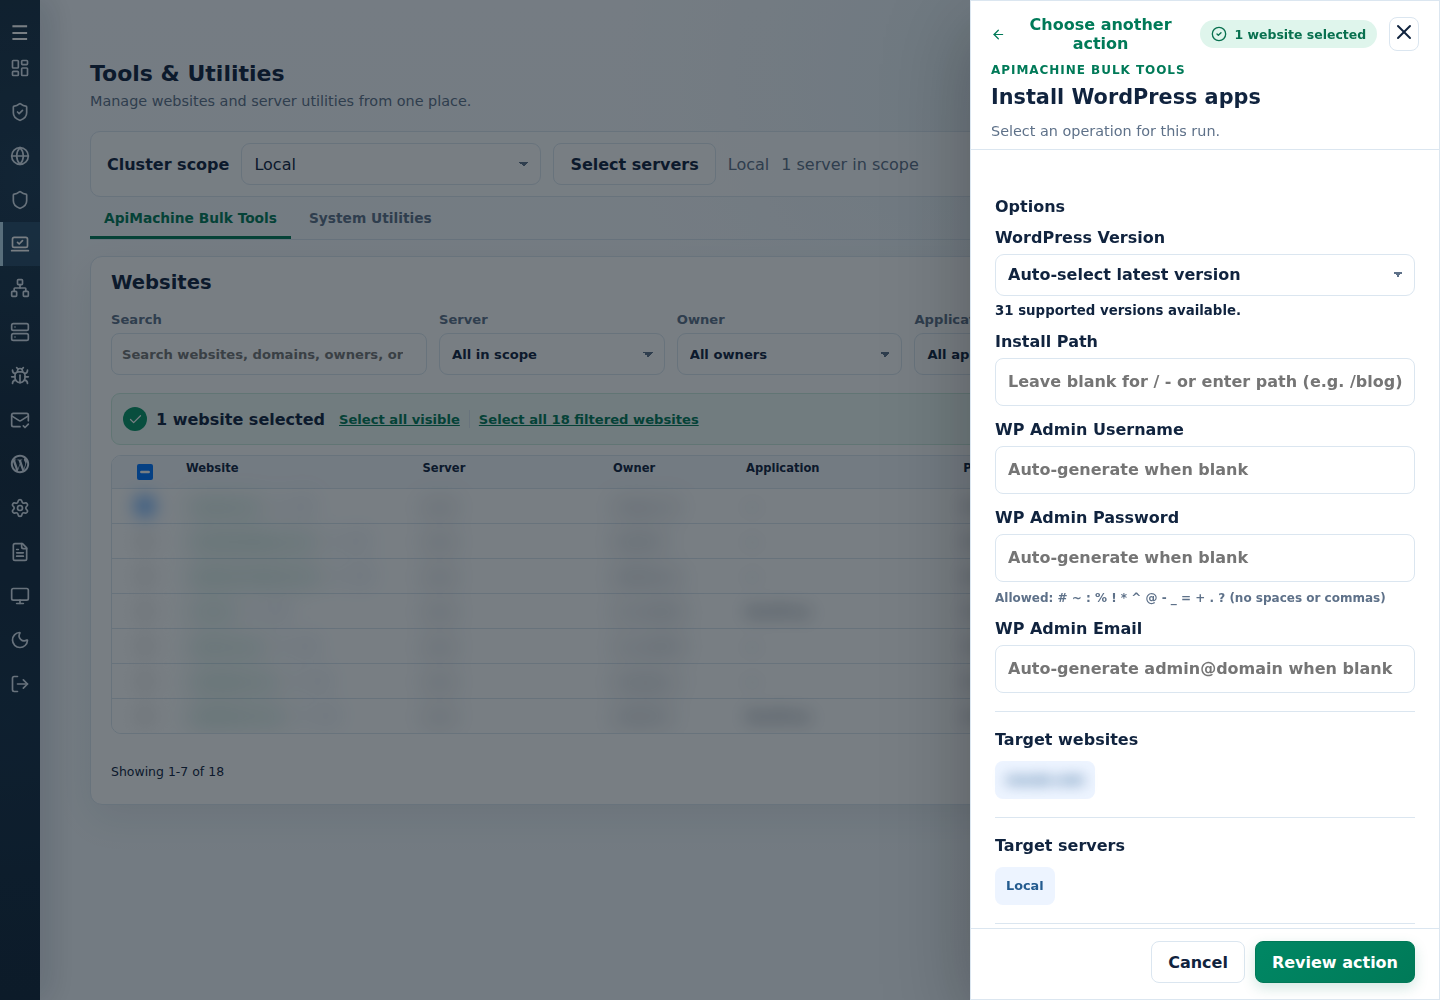
- Select Review action. Check Target websites, Target servers, the version and path. If asked to confirm all filtered websites, type
Install WordPress Everywhereonly when that scope is intended. - Select Confirm and run, then read the created, skipped and failed counts. Verify the resulting application in Enhance and the website itself.
- Retrieve successful installations’ administrator details privately from
/var/log/cpfenceav/cluster-wordpress-apps-credentials.logon the main control panel server. Secure your own copy promptly; never paste this file into shared output or screenshots.
If an application was added after you selected a website, refresh and make a new selection. After interrupted output or a partial result, check which applications were created and select only the intended empty websites for a retry.
Change PHP
Section titled “Change PHP”- Select a small intended site set and check the table’s PHP column. A dash means metadata was unavailable.
- Choose PHP → Update PHP version, set Select PHP version, then Review action and confirm the targets. Check the new version and application behavior afterward.
- For extensions, choose Manage PHP extensions, select the intended boxes, and choose Enable selected extensions or Disable selected extensions under Operation. Review and confirm.
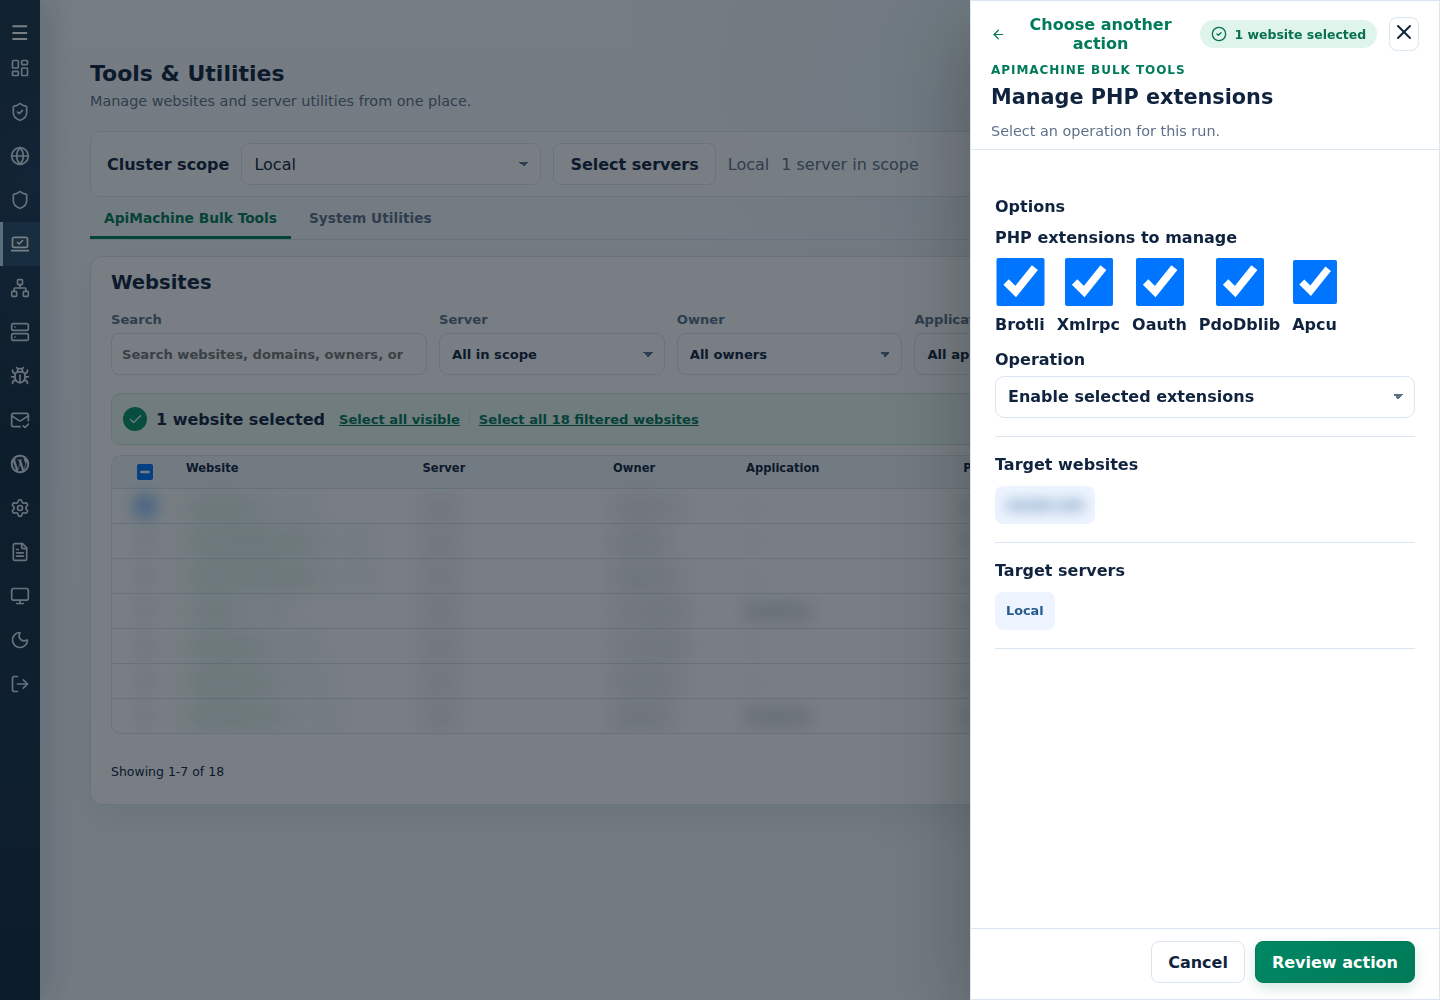
The extensions offered are Brotli, Xmlrpc, Oauth, PdoDblib, and Apcu. Review every selected box. Use Restart PHP container only when a runtime restart is intended. If a change fails, check which sites changed before restoring a previous version/extension setting.
Read the result
Section titled “Read the result”- Finished: the foreground command succeeded; read per-target output and verify the change.
- Needs attention: inspect failures and changed targets before retrying.
- Dispatched: backup work continues. Follow the success/error logs named in the output and check Enhance backup status or Bulk report website backups. Request completion is not completed backup creation/deletion.
- Queued: a cPFence update is waiting/running; use Refresh Update Status.
After a lost output stream, check actual state before repeating provisioning, deletion, or restore. Background backup jobs do not automatically retry failed targets.
Server utilities
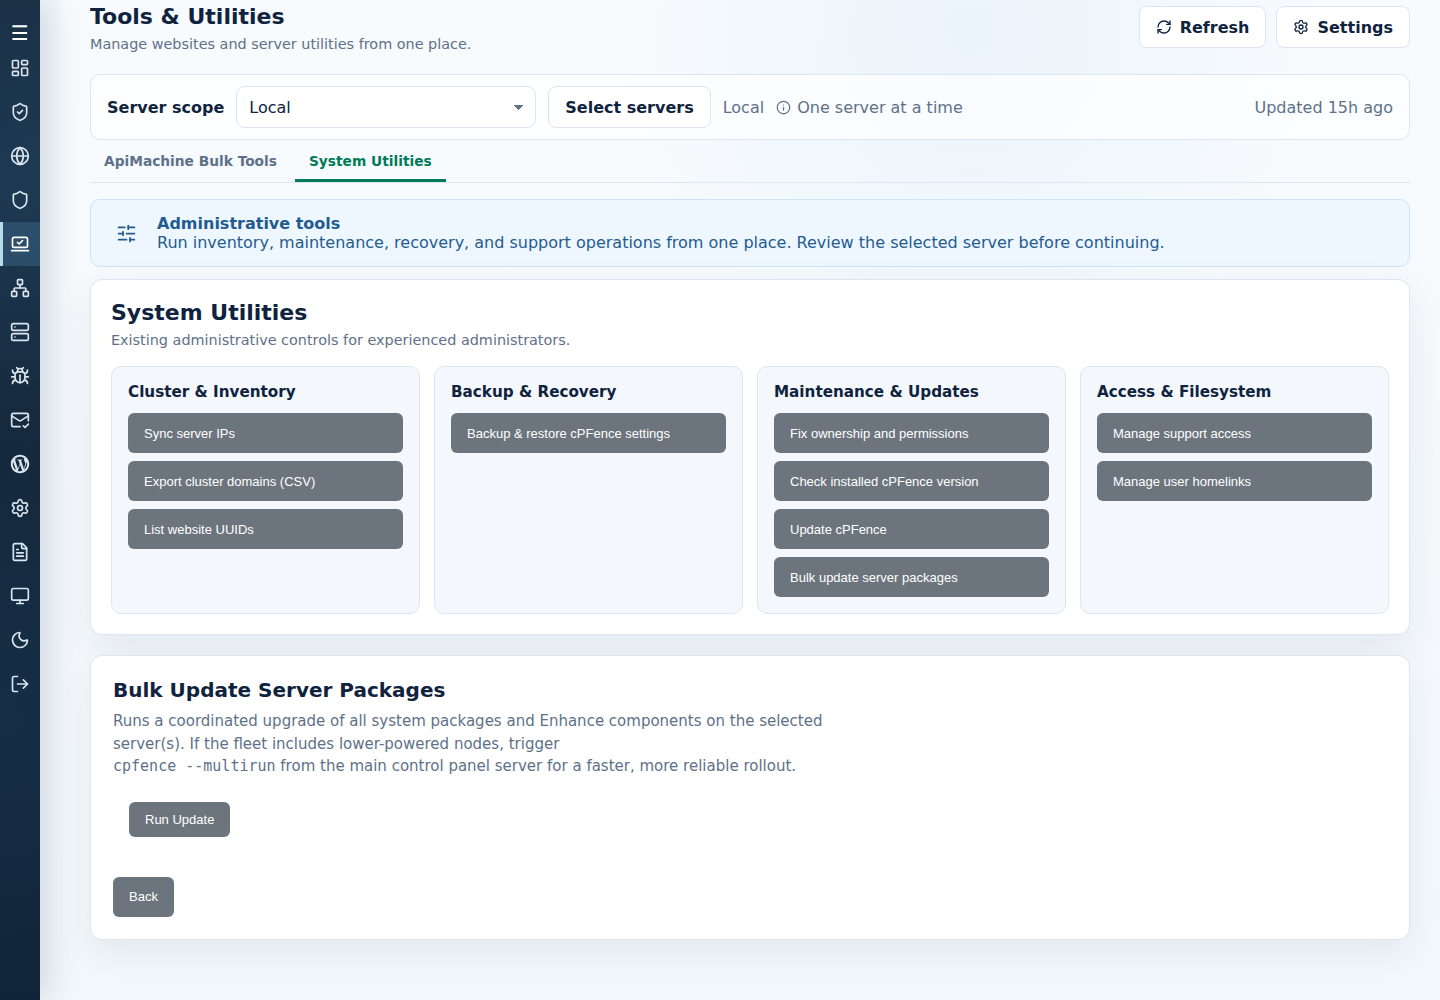
Section titled “Server utilities”Open System Utilities, inspect Server scope or Select servers, open the utility, and confirm its exact server targets. Website filters do not limit these operations.
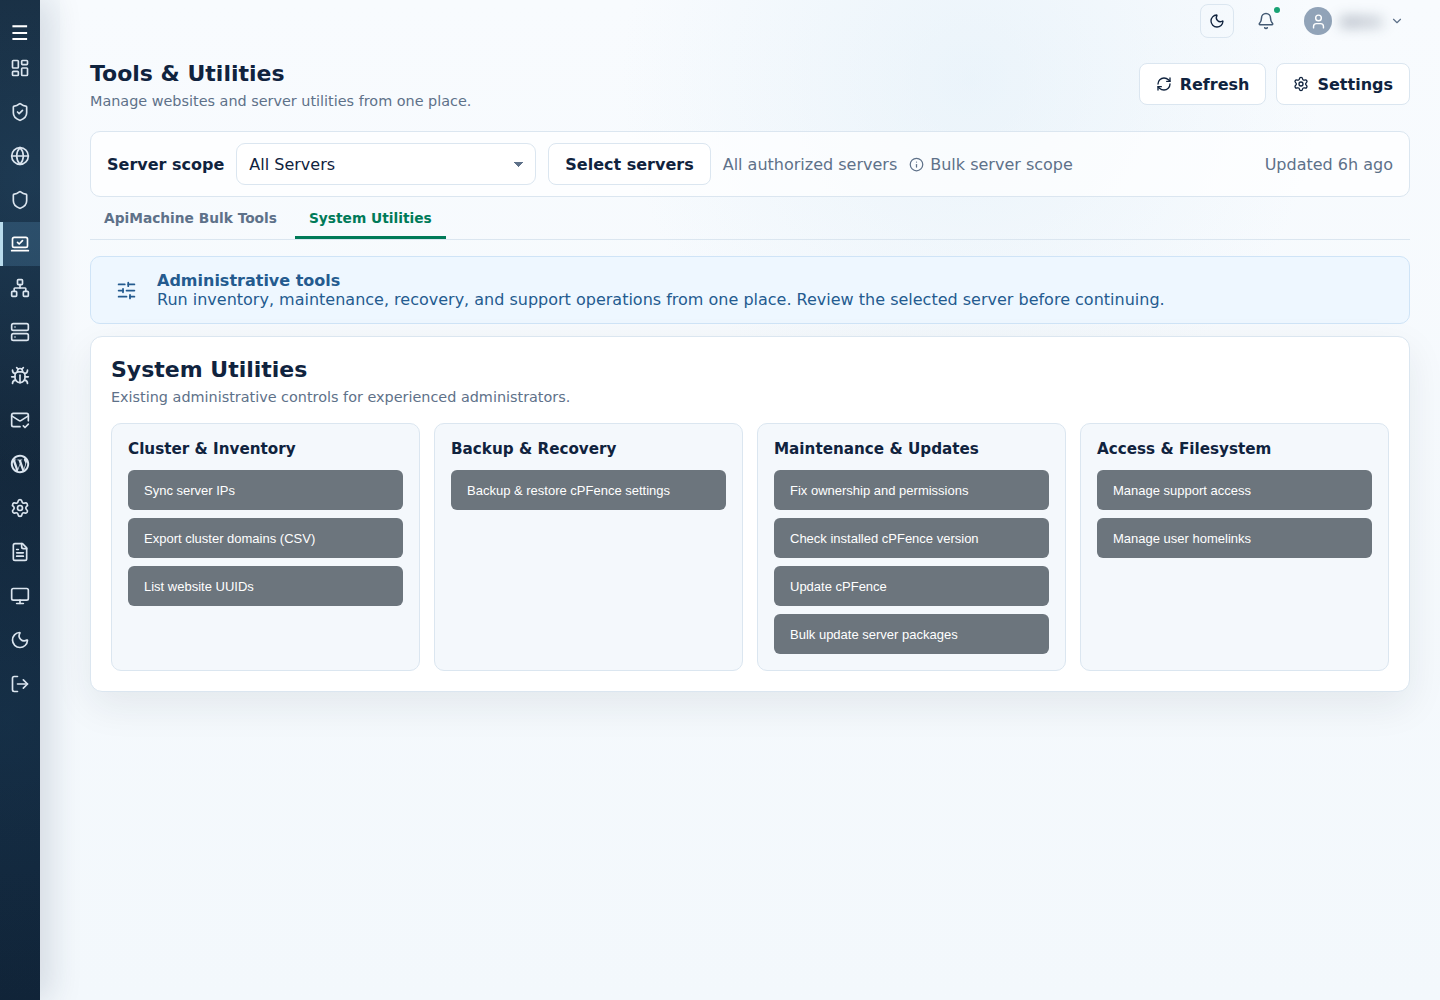
| Utility | Steps and effects |
|---|---|
| Backup & restore cPFence settings | Use Backup Settings or Restore Settings; follow settings backup and restore. |
| Fix ownership and permissions | Start with Preview Changes. Review the full scope before Apply Fix; this acts across the server, beyond selected website rows. |
Sync license IPs
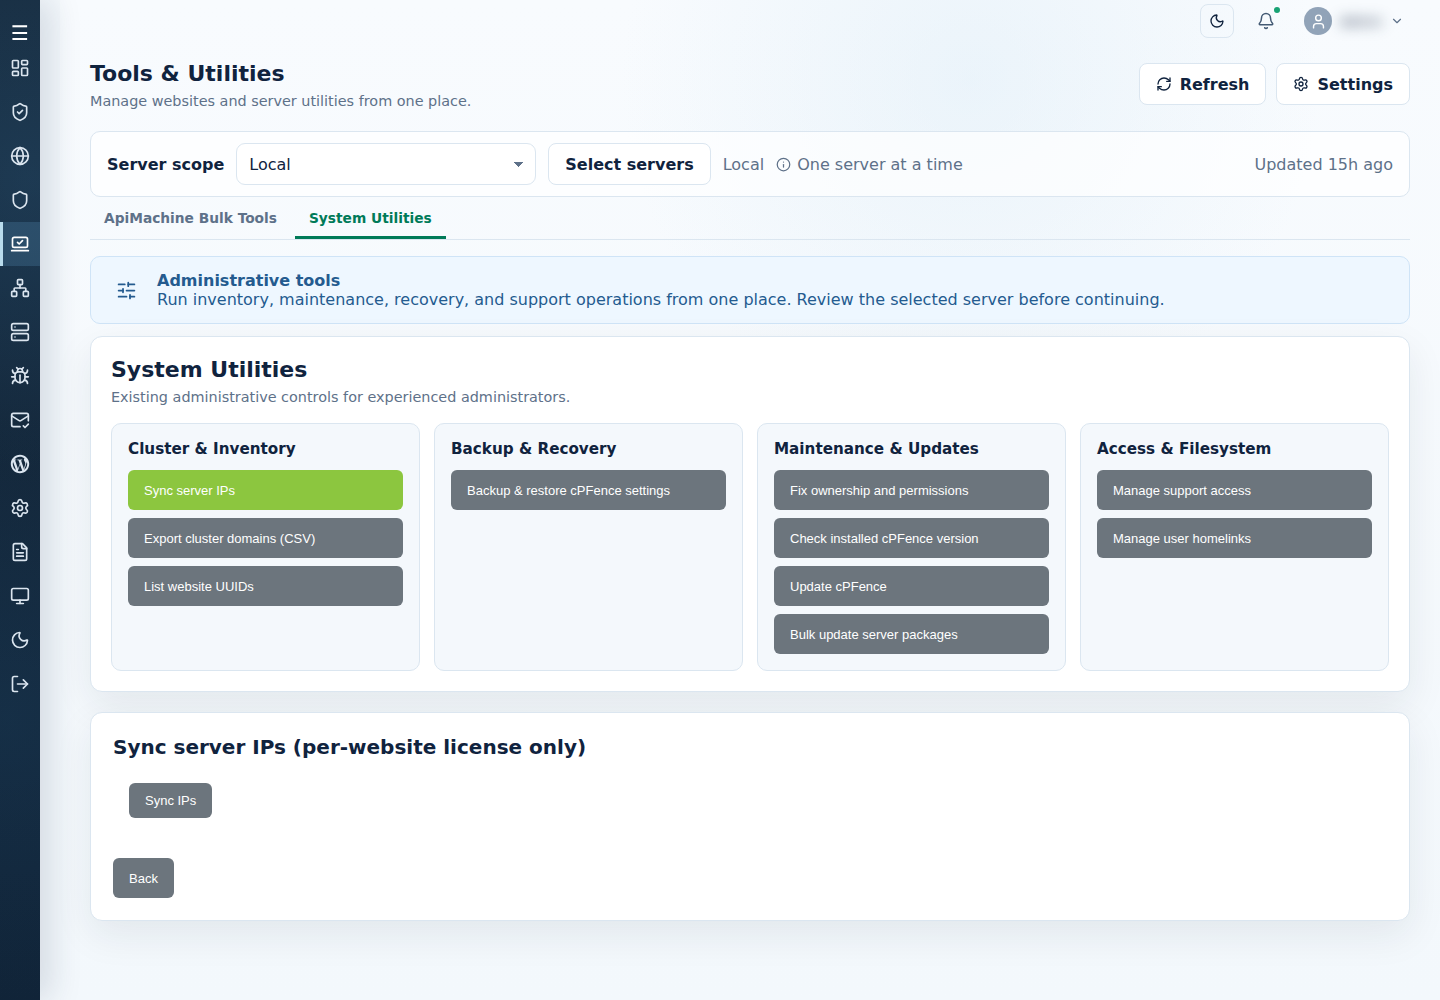
Section titled “Sync license IPs”Open Sync server IPs, then select Sync IPs for per-website licensing. This requires the appropriate license/account setup; it does not repair server connections.
Export domains and list website identifiers
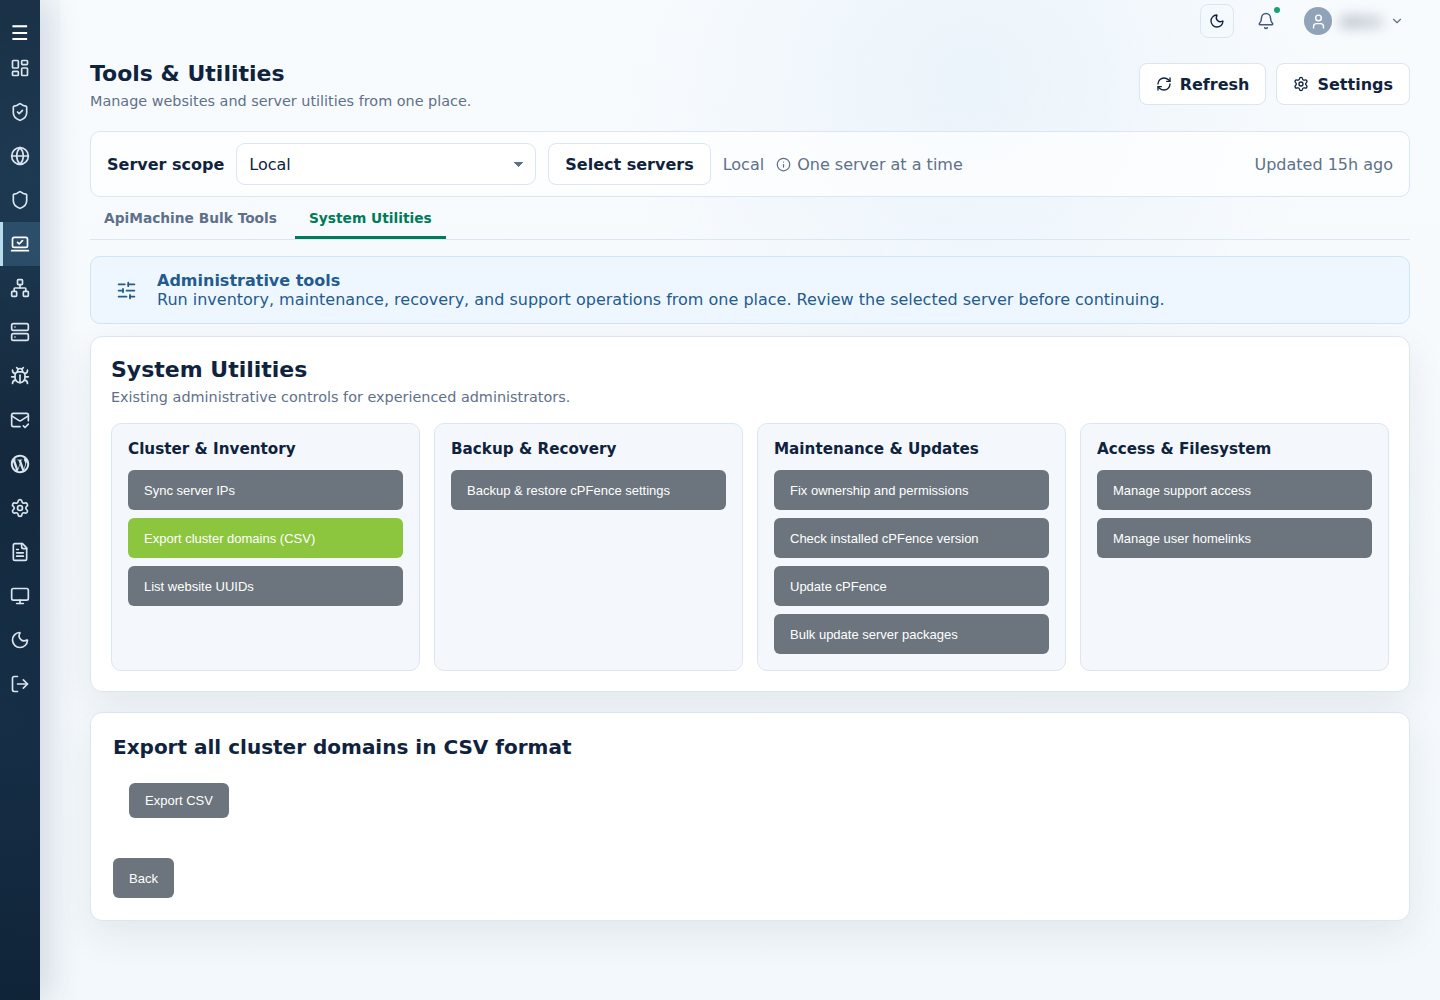
Section titled “Export domains and list website identifiers”Open Export cluster domains (CSV), select Export CSV, and inspect the reported output/location. Keep customer inventory private.
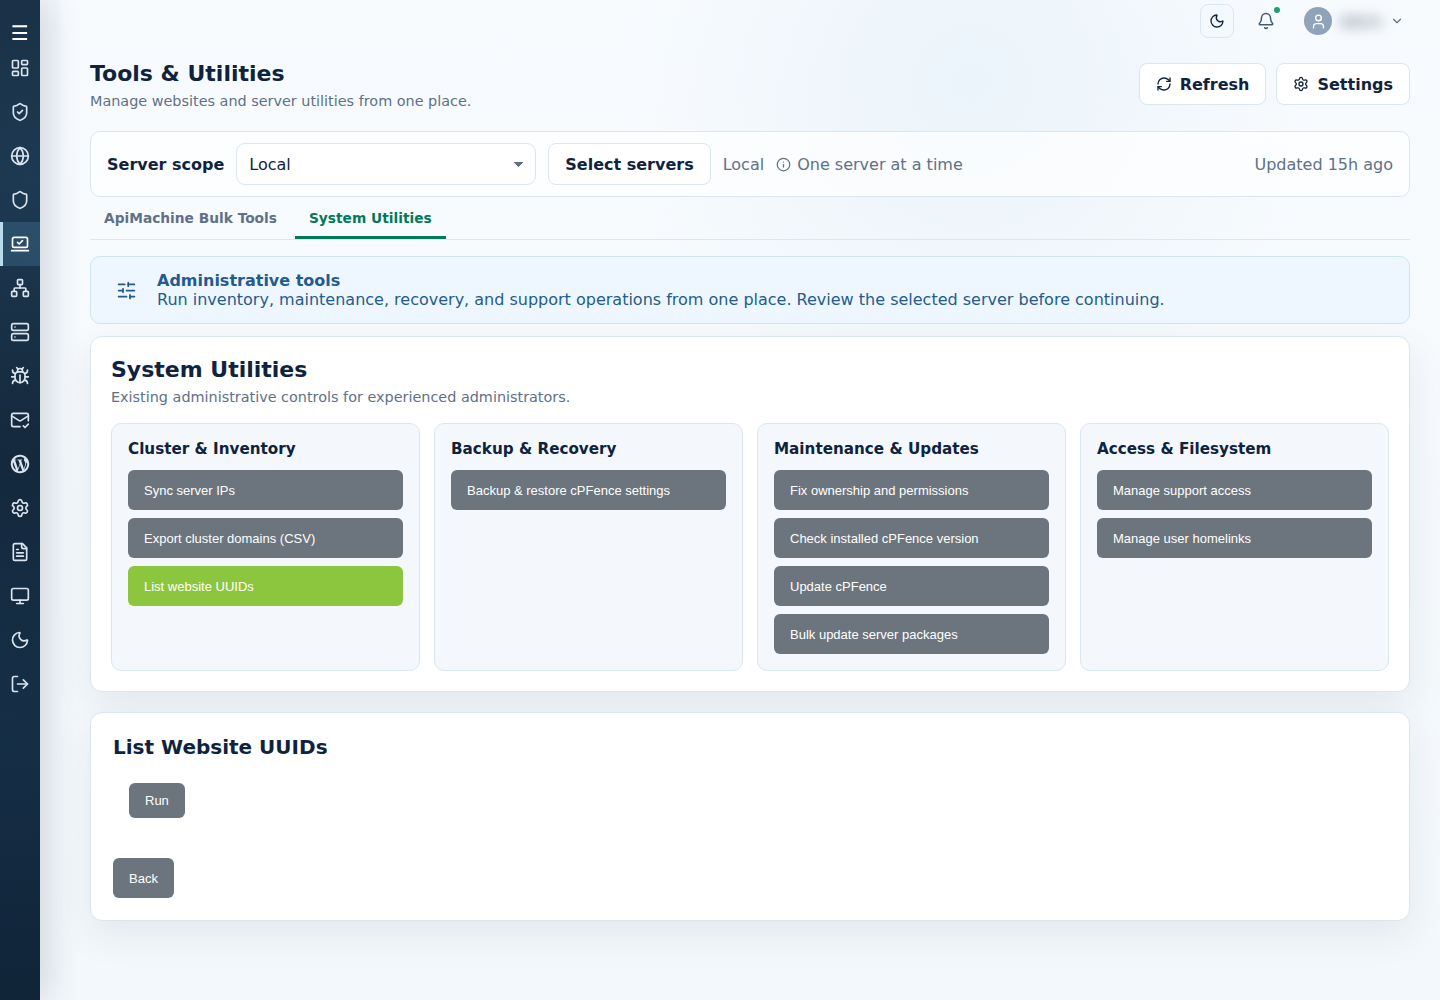
For website identifiers, open List website UUIDs, then select Run to list them.
cPFence updates and installed versions
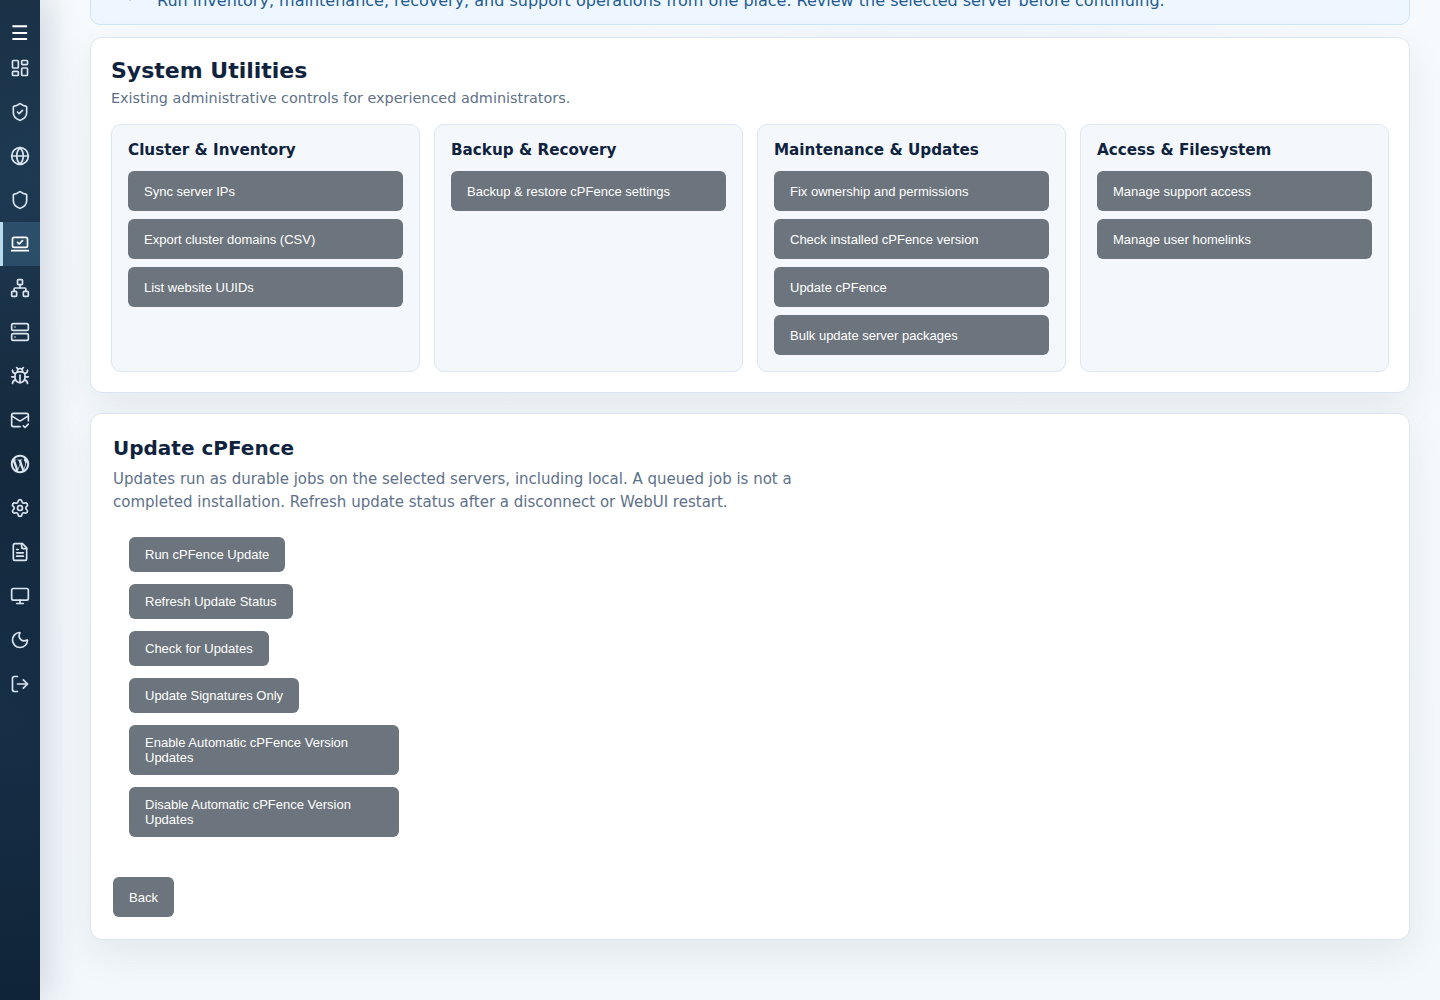
Section titled “cPFence updates and installed versions”Open Update cPFence and follow licensing and updates for software/signatures, automatic installation and queued-job status.
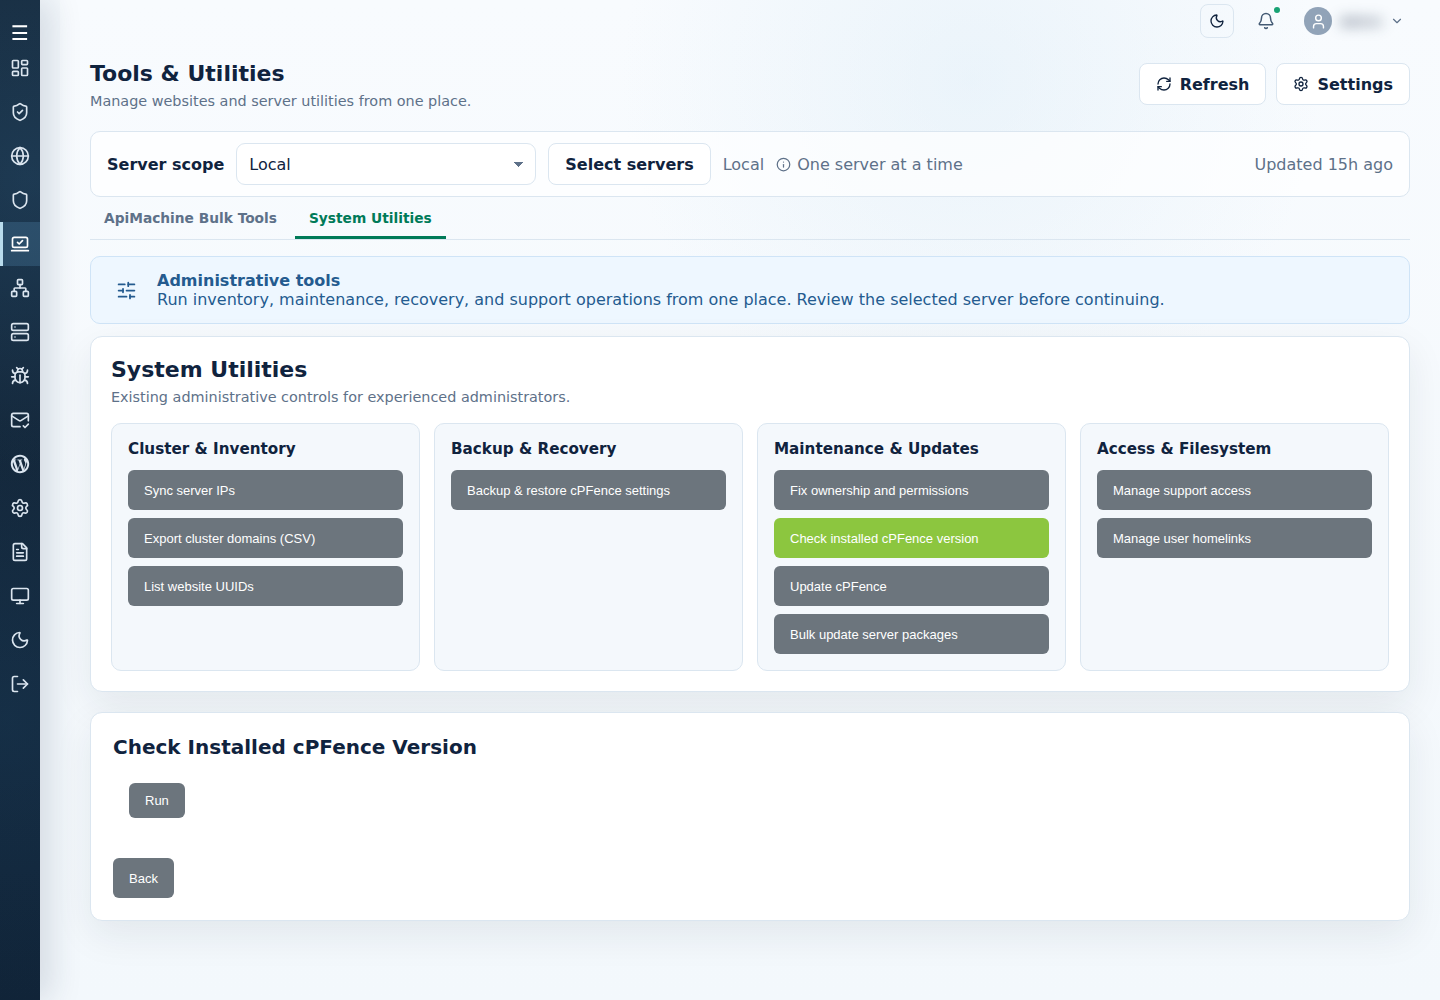
Open Check installed cPFence version, then select Run to inspect each target’s version. Follow the version steps to interpret the results.
Temporary support access
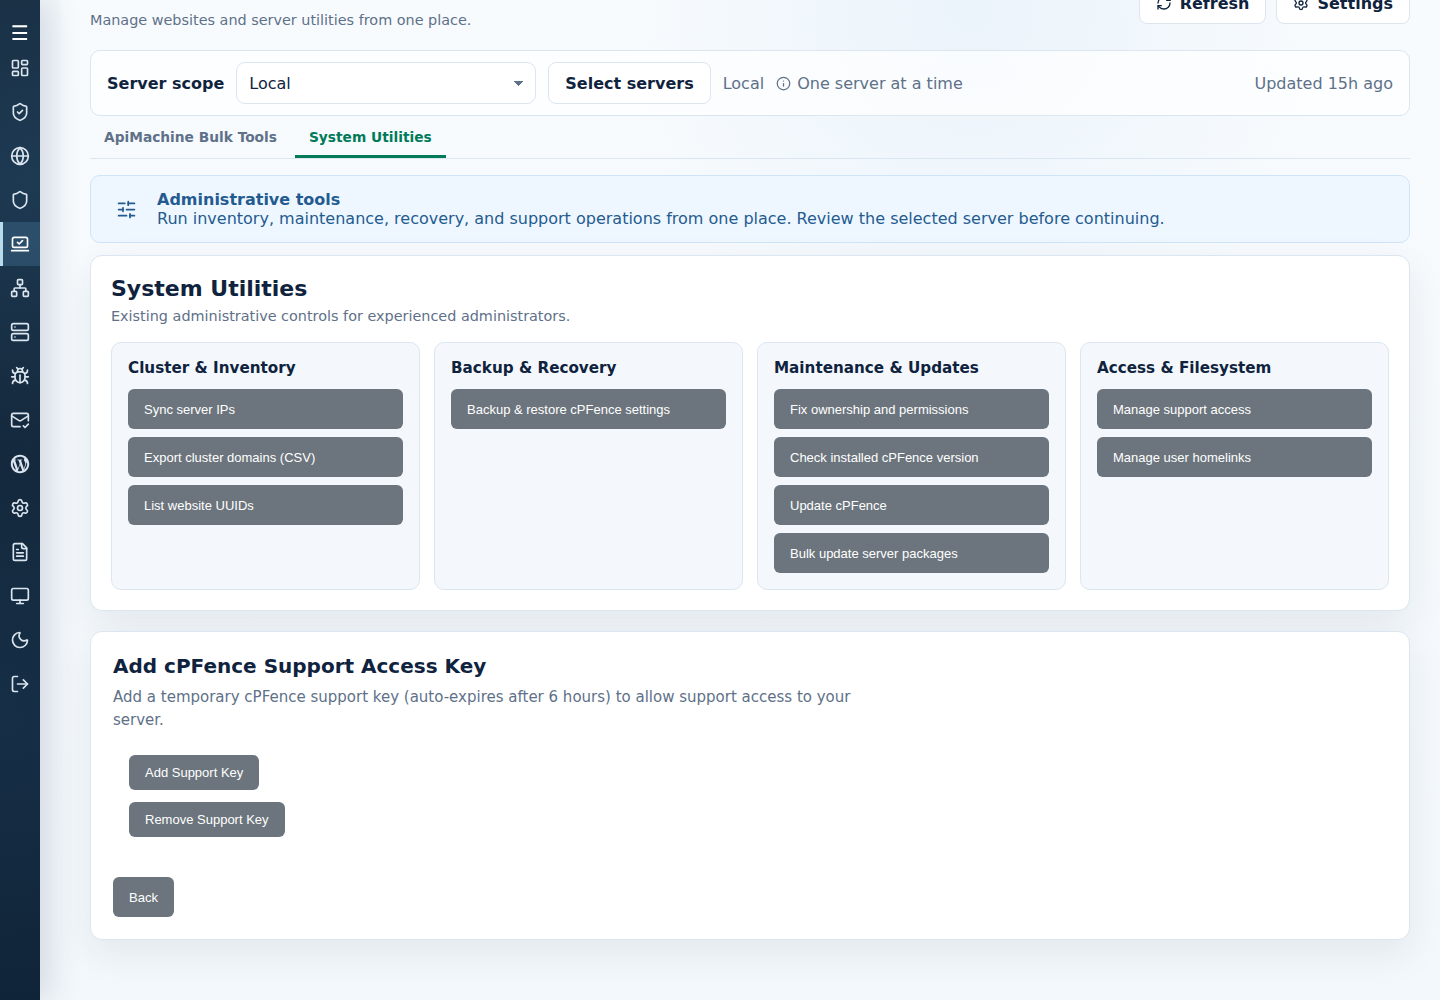
Section titled “Temporary support access”Open Manage support access. Add Support Key grants temporary SSH support access for six hours; Remove Support Key ends it earlier. This is separate from WebUI Support Users.
Manage username-based homelinks
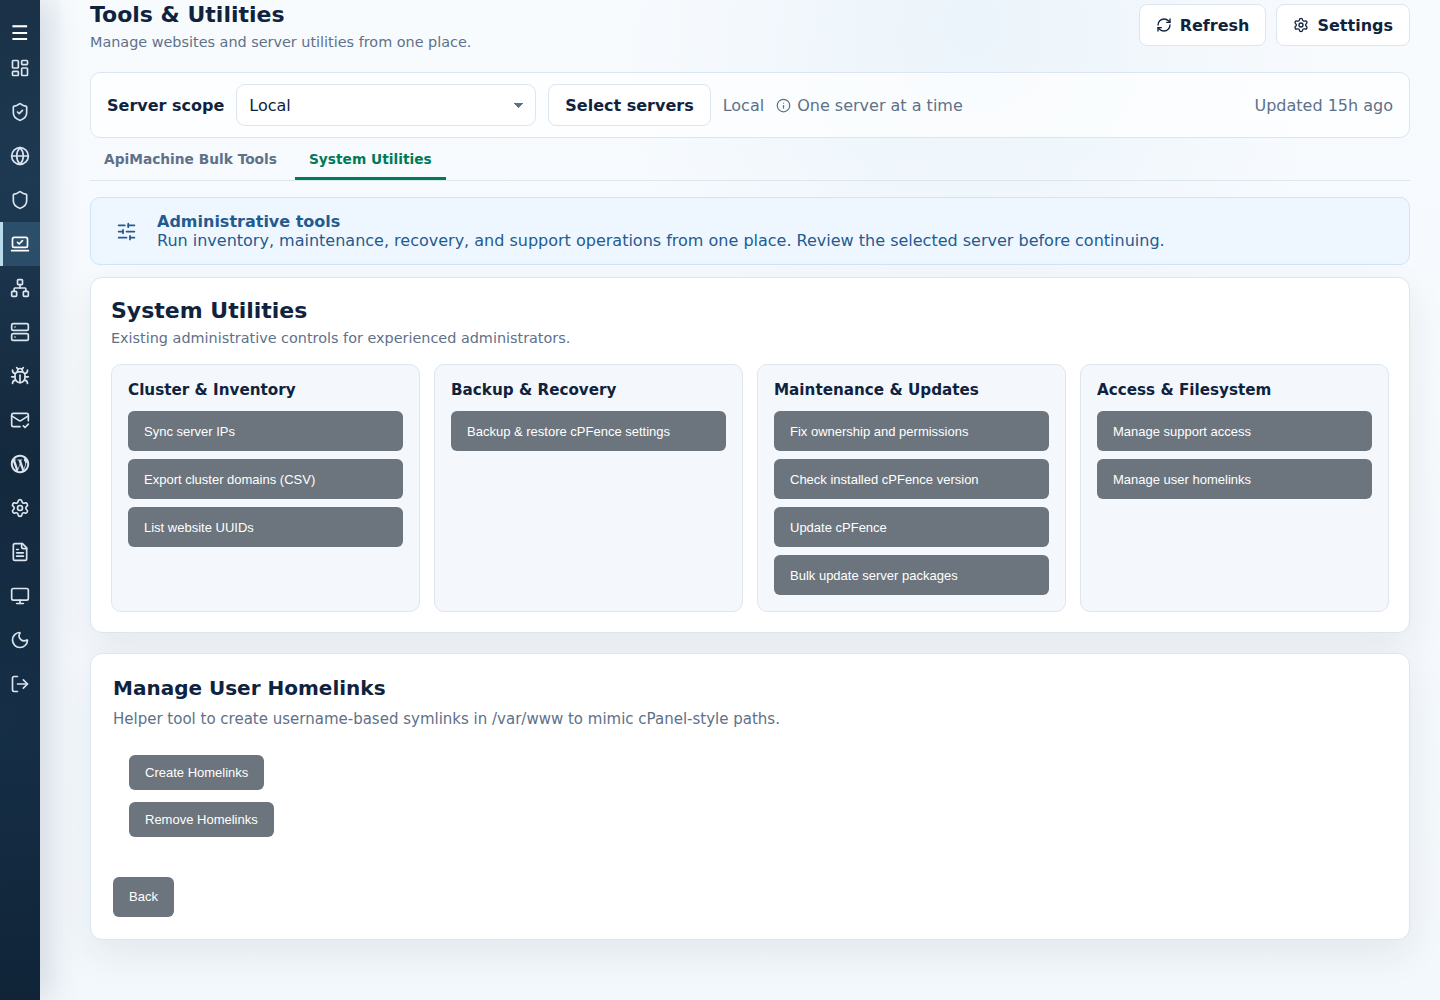
Section titled “Manage username-based homelinks”Open Manage user homelinks. Create Homelinks adds username-based links under /var/www; Remove Homelinks removes cPFence-owned links while preserving unrelated links.
Server package updates
Section titled “Server package updates”Open Bulk update server packages. Run Update upgrades OS packages and Enhance components. Schedule maintenance and recovery; any reboot is a separate administrator decision.
Use MultiRun from the terminal
Section titled “Use MultiRun from the terminal”MultiRun opens synchronized SSH terminal panes, including a local pane. Commands you type can affect every connected pane. Use root, a valid license, an interactive terminal, and tested passwordless SSH access to each target. Follow SSH access first.
-
Review
/etc/cpfcli/remote/multirun.txtif it already exists. On the main control panel server, MultiRun can fetch the Enhance cluster addresses; elsewhere, provide the server entries manually. -
Start the mode that retains setup prompts:
Terminal window cpfence --multirun manual -
Read the confirmation. When an existing list is offered, use
sto preserve your deliberate list or choose to refresh it. Verify the connected panes before typing an administrative command. -
Wait for every server to finish before entering the next command. Type
exitto close the synchronized shells, or press Ctrl+B, then D to detach and leave the session running.
Bare cpfence --multirun skips the setup confirmations and reuses an existing list. Detaching does not cancel work already running. Check actual server state after an interrupted or uncertain command before retrying.
Need help?
Section titled “Need help?”Check API-key permissions, site eligibility, server availability, and the exact error. For a partial result, verify successful targets before selecting a retry set. Wait for busy operations; do not widen scope or replay an uncertain action to work around an error.
Focused ApiMachine guides
Section titled “Focused ApiMachine guides”- Redis caching, Nginx cache, cache purge, and cache exclusions.
- Force HTTPS, website SSL, mail SSL, DNSSEC, and DKIM.
- Create, report, or delete Enhance backups.
- Update PHP and restart PHP containers.
For workload-specific protection choices, see Secondary server settings. For host access, follow server hostname, SSH access, and WebUI browser access.